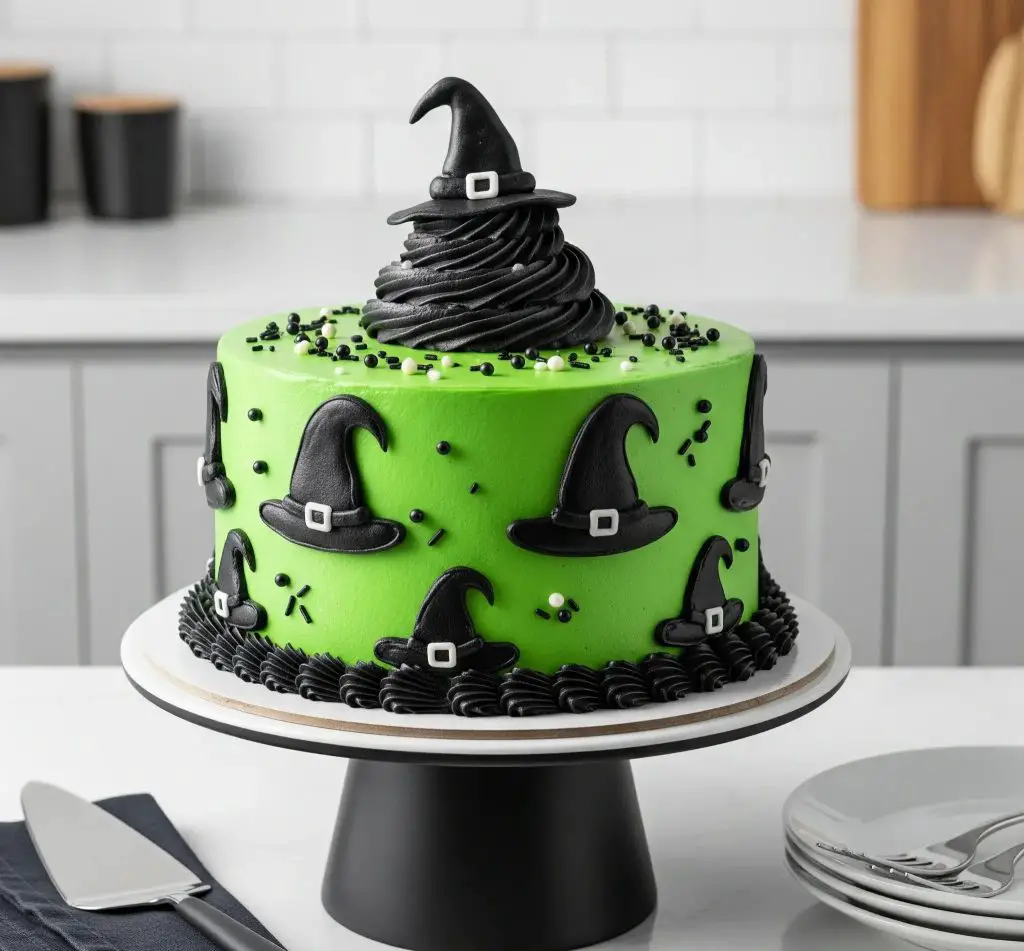
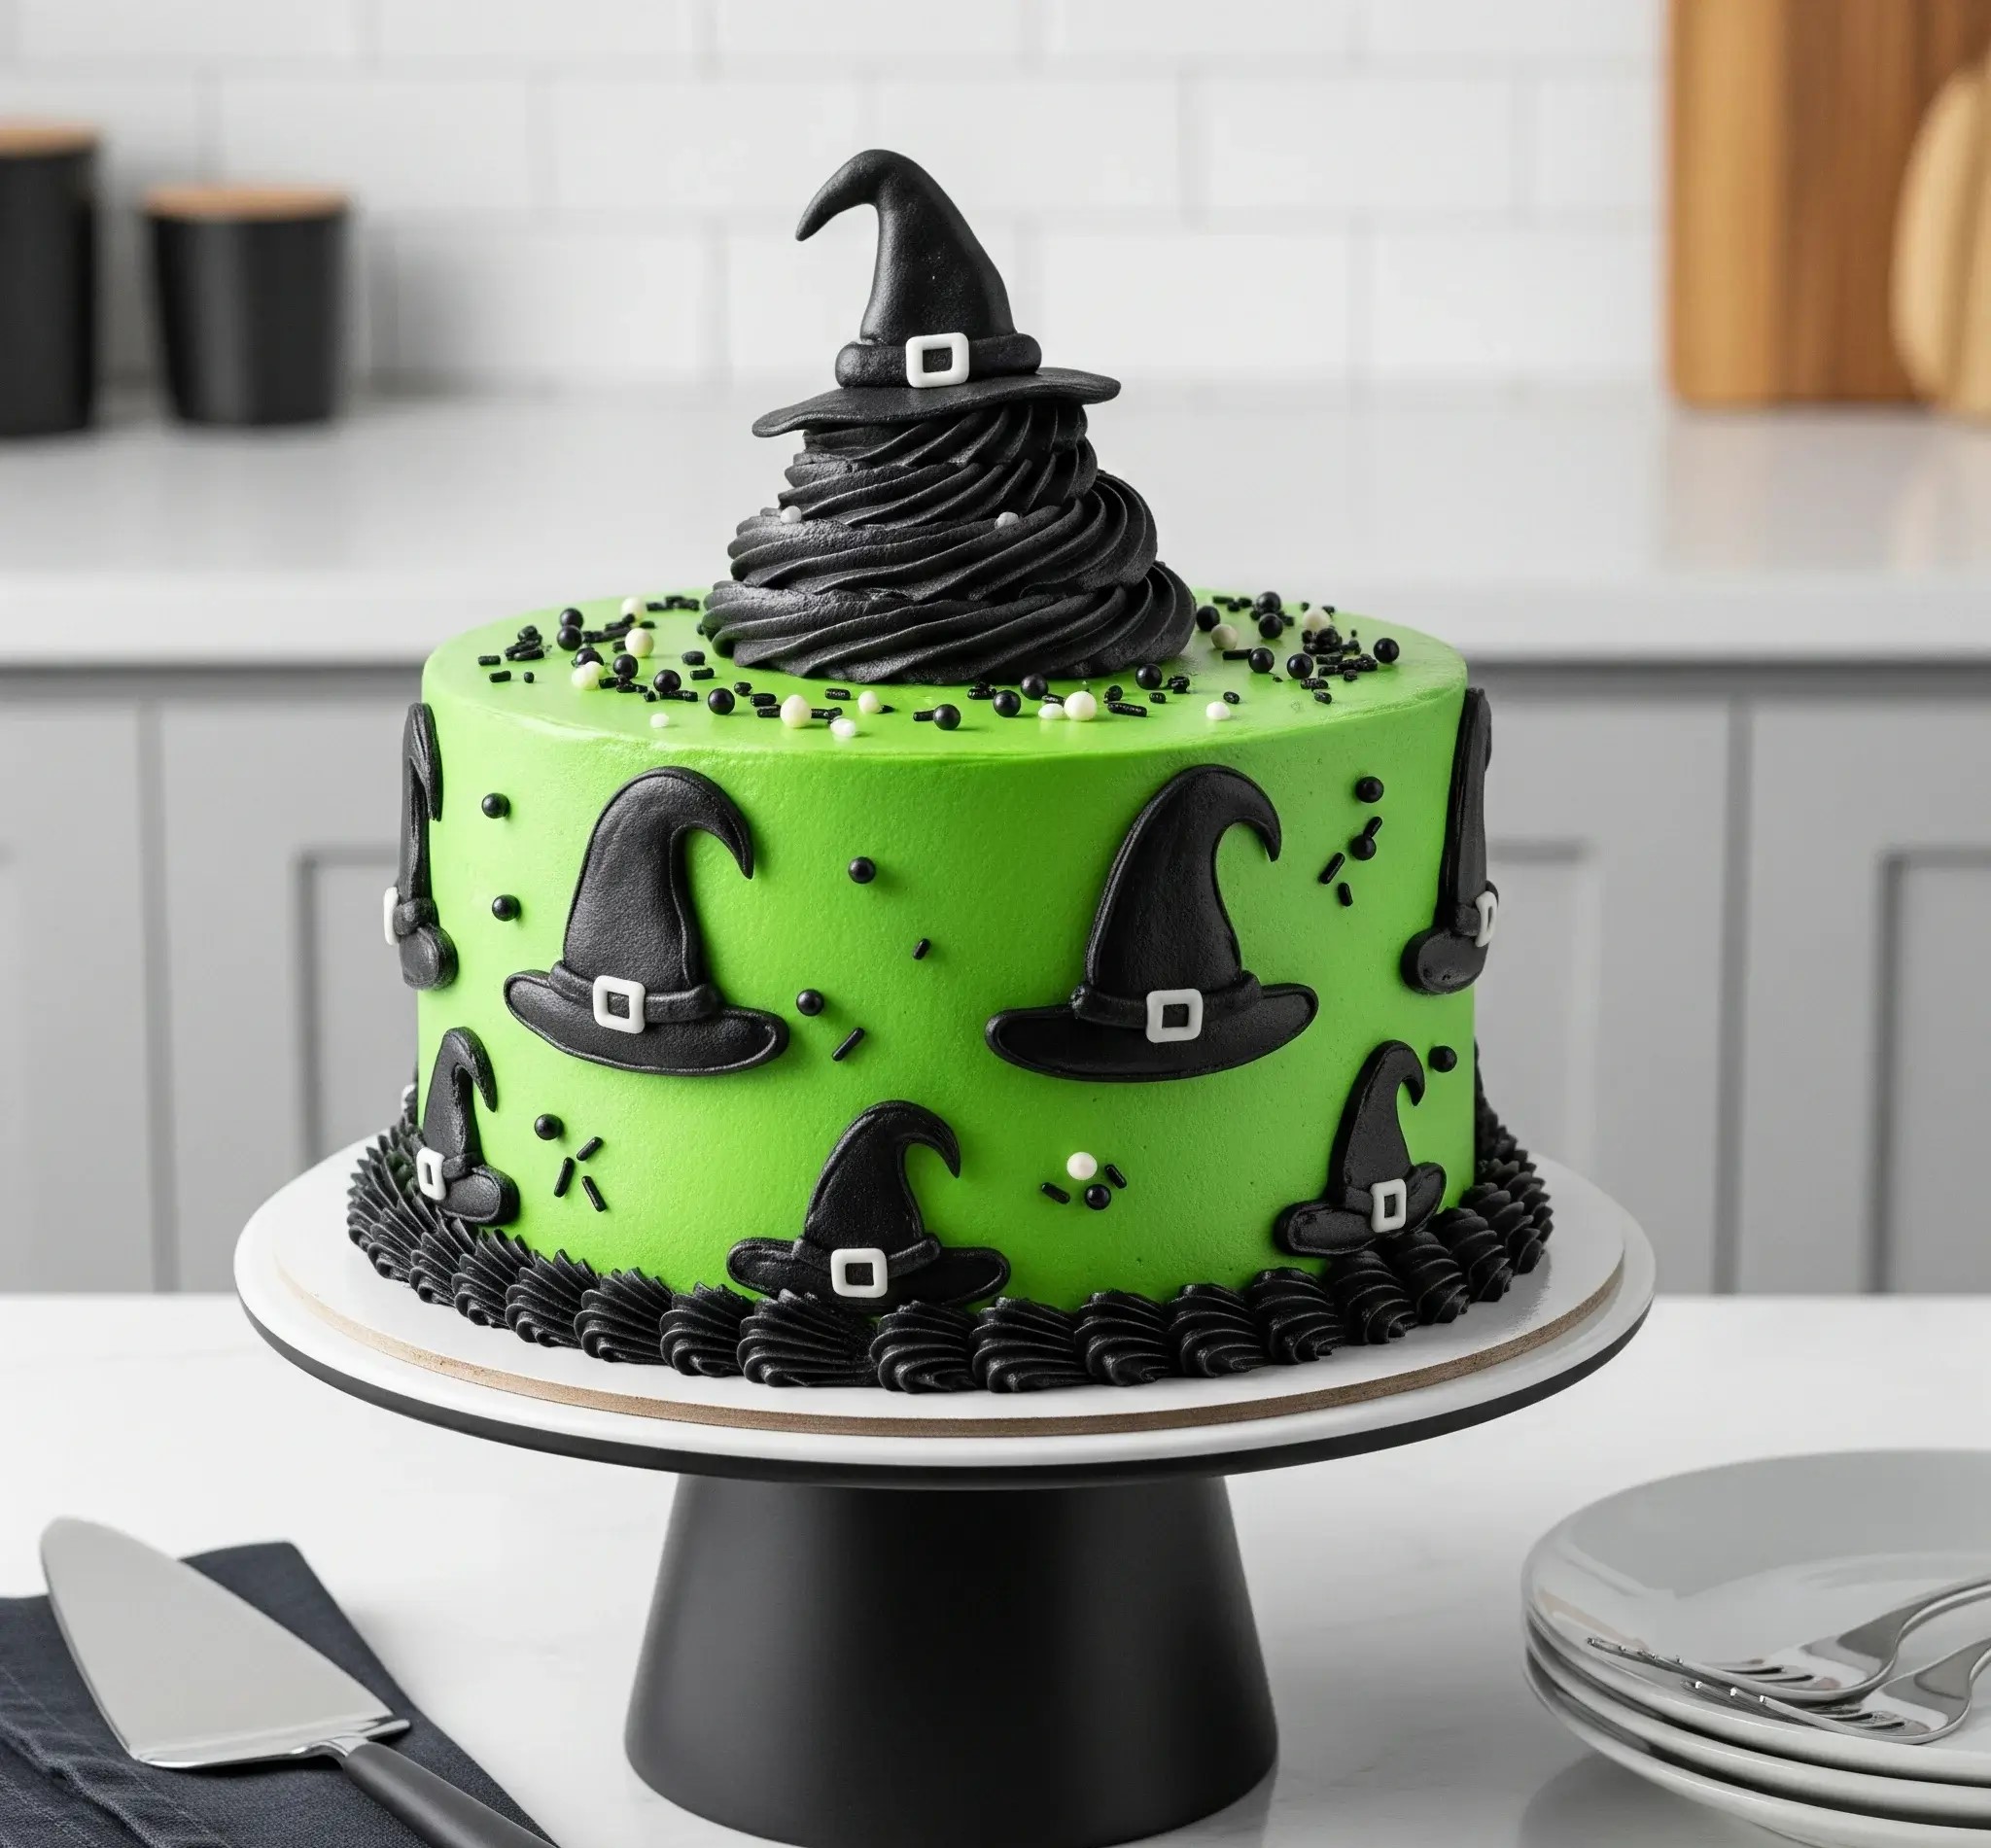
Alright, I’ll be honest—this Witch Cake? It’s my favorite thing to make in October.
Not because it’s super complicated or takes forever (it doesn’t), but because the final result makes people’s jaws drop every single time.
You cut into it and everyone’s like, “Wait… you made that?” Yup. Totally homemade.
The first time I made it, I was just trying to make something fun for my niece’s Halloween party. I wanted it to be bold, kinda silly, and totally over-the-top.
I didn’t expect it to become the thing everyone would ask about every year. But here we are. And now it’s tradition.
What makes this cake so fun is the bright green frosting, the little witch hats stuck all around it, and that giant swirl on top shaped like a hat?
That’s just the cherry on top. And don’t worry—this cake isn’t just about looks. The chocolate inside is rich and soft, the buttercream is smooth and not-too-sweet, and everything tastes as good as it looks.
You don’t need fancy baking skills or anything stressful. Just a few easy tools, a free afternoon, and maybe a little Halloween music playing in the background while you decorate. Trust me, it’s totally worth it.
Witch Cake Recipe (Serves 12)
Prep Time: 2 hours
Bake Time: 35 minutes
Chill Time: 1 hour
Skill Level: Intermediate
Ingredients
For the Chocolate Cake (2 layers, 8-inch round):
- 1¾ cups all-purpose flour
- ¾ cup unsweetened cocoa powder (dark preferred)
- 2 tsp baking powder
- 1 tsp baking soda
- ½ tsp salt
- 1½ cups granulated sugar
- ¾ cup vegetable oil
- 2 large eggs
- 1 cup buttermilk
- ½ cup hot water
- 1 tbsp vanilla extract
For the Green Vanilla Buttercream:
- 1½ cups unsalted butter, softened
- 5 cups powdered sugar, sifted
- 2 tbsp heavy cream
- 2 tsp clear vanilla extract
- Green gel food coloring (lime green for vibrancy)
For the Black Chocolate Buttercream:
- 1 cup unsalted butter, softened
- ½ cup cocoa powder (black cocoa preferred)
- 3 cups powdered sugar, sifted
- 2 tbsp milk
- 1 tsp vanilla extract
- Black gel food coloring
For the Witch Hat Decorations:
- Black fondant
- White fondant (for buckles)
- Cornstarch (for dusting)
- Small rolling pin
- Small knife or witch-hat cookie cutter
- Edible glue or water
Sprinkle Mix:
- Black nonpareils
- Green jimmies
- White sugar pearls
Instructions
1. Prepare the Cake Layers:
- Preheat oven to 350°F (175°C). Grease and line two 8-inch round cake pans with parchment paper.
- In a large bowl, sift together flour, cocoa powder, baking powder, baking soda, and salt.
- In another bowl, whisk sugar, oil, and eggs until light. Add buttermilk and vanilla.
- Gradually add the dry mixture. Pour in hot water and mix until smooth.
- Divide batter evenly between pans. Bake for 30–35 minutes or until a toothpick comes out clean.
- Cool in pans for 10 minutes, then remove and let cool completely on wire racks.
2. Make the Green Buttercream:
- Beat softened butter until pale and fluffy (about 4 minutes).
- Gradually add powdered sugar, then cream and vanilla.
- Add green gel coloring until a vibrant lime green is achieved. Mix well.
3. Make the Black Buttercream:
- Beat butter until creamy. Add cocoa powder and mix.
- Slowly add powdered sugar, then milk and vanilla.
- Add black gel coloring until rich black is reached. Let sit 10 mins; color darkens.
4. Assemble and Frost:
- Level the cake layers with a serrated knife.
- Place one layer on a cake board. Add a layer of green buttercream.
- Place second layer on top and frost entire cake smoothly with green buttercream.
- Chill the cake for 30 minutes.
5. Pipe Black Border & Swirl:
- Fill piping bag fitted with a large star tip with black buttercream.
- Pipe a rope border around the base.
- On top center, pipe a tall swirl (like soft-serve) to resemble the witch hat cone.
6. Add Witch Hat Decorations:
- Roll black fondant to ⅛-inch thickness. Cut 10–12 witch hats (hand-cut or with cutter).
- Roll tiny white fondant strips and shape into buckles.
- Attach buckles to hats with edible glue or water.
- Press hats gently into sides of the chilled cake, evenly spaced.
7. Final Touch:
- Sprinkle the top of the cake with the black, white, and green sprinkles.
- Place a pre-shaped black fondant witch hat (with a buckle) on top of the swirl.
- Chill the cake for 20 more minutes before serving for clean slices.
- Store in the fridge in a cake box. Let sit at room temperature for 30 minutes before serving. Best eaten within 3 days.

How Do I Get Bright Green Frosting Like a Witch Cake?
Getting that bold, eye-catching green color is all about using the right type of coloring and applying it correctly.
- Use gel food coloring: Gel colors are more concentrated than liquid ones and give stronger results without thinning the frosting.
- Start with a pale base: Make your frosting as light as possible before adding color—white or very pale yellow works best.
- Go slowly: Add color a little at a time, mixing well in between until you reach the shade you want.
- Let it sit: Color deepens over time. After mixing, let the frosting rest for 15–20 minutes before deciding if it needs more color.
- Use brands made for baking: Not all green food coloring gives a neon or lime finish. Choose colors labeled “leaf green,” “electric green,” or “neon green.”
Can I Make a Witch Cake Without Fondant?
Yes, you can absolutely skip fondant and still make your cake look amazing. Everything can be done with buttercream and other simple decorations.
- Use piped buttercream: Create shapes and textures using star, round, or leaf tips.
- Make chocolate decorations: Melt and pipe black chocolate onto parchment to make mini hats or webs.
- Add candy toppers: Use Halloween-themed candies like mini brooms or eyeballs.
- Use printable cake toppers: Print witch hats or signs and attach them to toothpicks.
How Do I Make a Witch Cake Kid-Friendly?
You can easily make your Witch Cake fun, safe, and exciting for kids with a few simple changes.
- Skip sharp objects: Avoid toothpicks or wires in toppers—use edible decorations instead.
- Go light on black colors: Too much black coloring can taste strong for little ones.
- Use familiar flavors: Chocolate, vanilla, and strawberry are always safe picks.
- Let kids help decorate: Give them small piping bags or sprinkles to add their own touch.
- Use soft candies: Add marshmallows, jelly beans, or gummy worms for fun textures.
Can I Use Store-Bought Cake Mix For Witch Cake?
Yes, you can use cake mix and still make it taste special. The decorations are what make it a Witch Cake—not just the cake base.
- Add extra egg: Makes the cake richer and softer.
- Replace water with milk: Adds more flavor and moisture.
- Add vanilla extract: A small splash goes a long way in improving flavor.
- Use chocolate or vanilla base: Both work perfectly under colored frosting.
How Do I Stop The Black Color From Tasting Bitter?
Black frosting can taste strong if you use too much coloring. Here’s how to avoid that bitter flavor.
- Use black cocoa powder: Gives you a natural black shade with a rich, deep flavor.
- Start with chocolate buttercream: It needs less black coloring to turn dark.
- Let it sit overnight: The color deepens over time, so you don’t need to use too much.
- Use quality gel colors: Some cheaper brands add a chemical taste—invest in a good one.

What Size Cake Pans Are Best For Making a Witch Cake?
The right pan size helps give your Witch Cake the proper height and structure.
- Two 8-inch round pans: Ideal for layered witch cakes with room to decorate.
- Three 6-inch round pans: Good if you want a taller look.
- One 9×13-inch pan: Works if you’re making a sheet-style witch cake with flat decorations.
How To Make Mini Witch Hats From Fondant?
These little hats are a fun and easy decoration you can make ahead of time.
- Roll black fondant into a small ball: Shape into a cone with your fingers.
- Flatten a small circle: This will be the hat’s brim.
- Place cone on circle: Use a tiny dab of water to stick them together.
- Add buckle: Roll a tiny strip of white fondant and shape into a square.
- Let them dry: Place on parchment and air-dry for 1–2 hours before using.
Can I Freeze a Witch Cake After Decorating?
Yes, you can freeze it, but you need to protect the decorations so nothing gets ruined.
- Chill the cake first: Let it set in the fridge for 1 hour so frosting hardens slightly.
- Wrap gently: Use plastic wrap and foil without pressing too hard.
- Label and date: So you know when to use it by—within 3–4 weeks is best.
- Thaw in fridge: Leave it overnight in the fridge, then let it sit at room temperature before serving.
How Do I Transport a Decorated Witch Cake Safely?
Transporting a cake safely is all about packing it right and keeping it cool.
- Use a cake box: One with a snug fit to avoid sliding.
- Place on a flat surface: Car floor works better than the seat.
- Chill before moving: A cold cake holds shape better.
- Avoid stacking anything on it: Even light items can crush decorations.
- Drive carefully: Avoid sudden stops and sharp turns.

