The first time I made a softball cake, I wasn’t trying to impress anyone—I just wanted to see my niece’s face light up after her weekend tournament.
She’d been tossing that ball in the yard every single evening, and even though her team didn’t win, I figured…she deserved something sweet anyway. Something big and happy and so her. That’s how this cake happened.
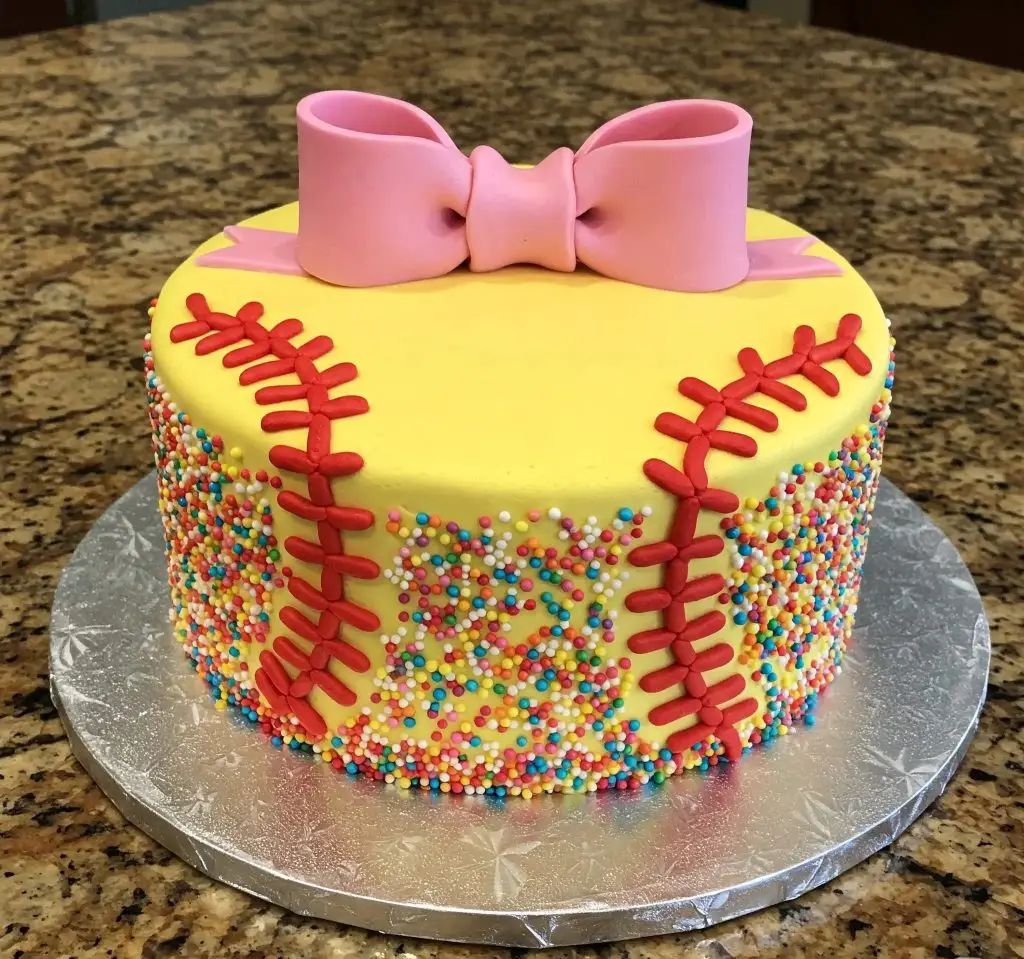
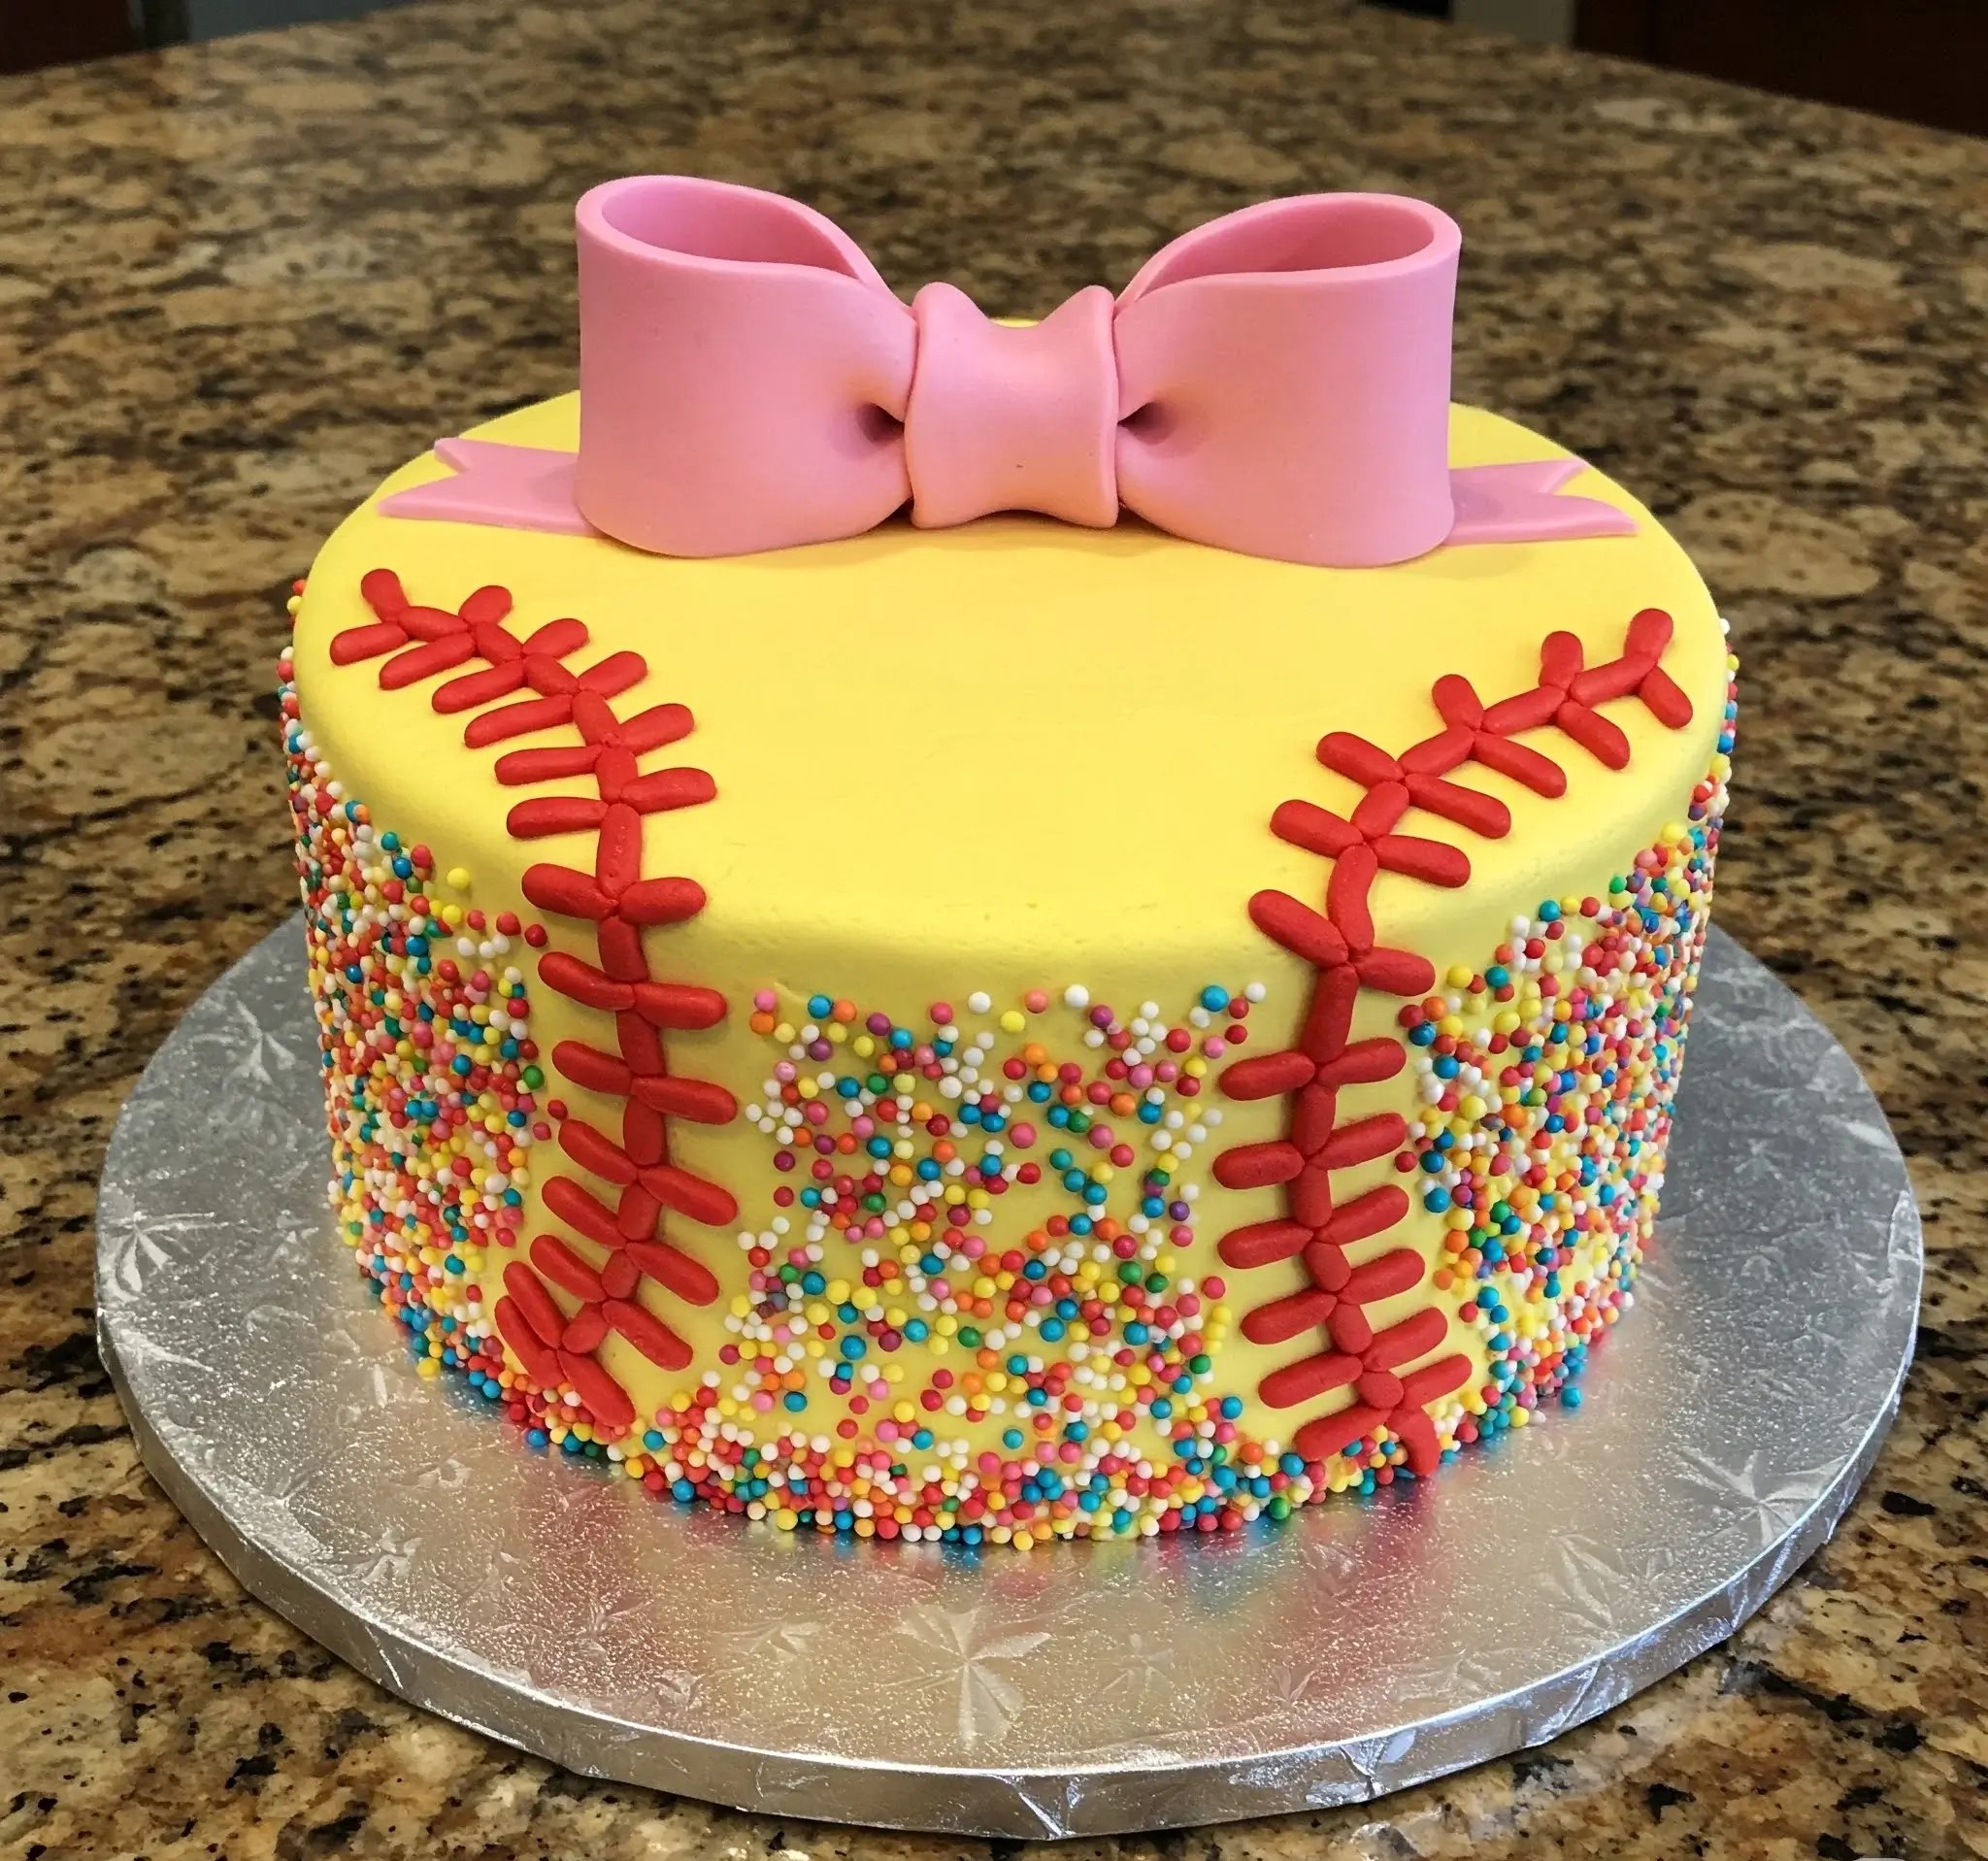
I didn’t go fancy. No hard-to-pronounce ingredients. No confusing tools. Just yellow frosting, bright red stitching, a pink bow, and enough rainbow sprinkles to cover a small country.
And let me tell you—her face when she saw it? Worth every second I spent in the kitchen.
This softball cake isn’t just cute. It’s fun. It’s loud. And it’s surprisingly simple to pull off, even if you’re not a pro with fondant.
If you’ve got someone in your life who’s obsessed with the game, this cake might just be the sweetest way to show them you’re cheering them on—loudly, proudly, and with sprinkles on top.
Softball Celebration Cake Recipe
Ingredients
Cake Layers
- 2⅓ cups (300 g) all-purpose flour
- 1½ cups (300 g) granulated sugar
- 1 tbsp baking powder
- ½ tsp salt
- ¾ cup (170 g) unsalted butter, room temperature
- ¾ cup (180 ml) whole milk
- 4 large eggs, room temperature
- 2 tsp pure vanilla extract
Buttercream Filling & Crumb Coat
- 1¼ cups (285 g) unsalted butter, room temperature
- 4 cups (500 g) powdered sugar, sifted
- 2–3 tbsp whole milk
- 1 tsp vanilla extract
Exterior Frosting & Decoration:
- Yellow roll-out fondant (approx. 1 kg)
- Pink roll-out fondant (200 g)
- Red fondant or gum-paste (100 g)
- Rainbow nonpareil sprinkles (about 1¾ cups)
- Cornstarch or powdered sugar (for dusting)
- Shortening (for kneading fondant)
Equipment:
- Two 8-inch (20 cm) round cake pans
- Stand mixer or hand mixer
- Offset spatula and bench scraper
- Rolling pin
- Small sharp knife or fondant stitching cutter
- Turntable (optional)
Instructions
- Preheat oven to 350 °F (175 °C). Grease two 8-inch pans, line bottoms with parchment rounds, and dust lightly with flour.
- In a bowl, whisk together flour, baking powder, and salt. In your mixer, cream the butter and sugar on medium speed for 3 minutes until light and fluffy.
- With mixer on low, add eggs one at a time, scraping down sides between additions. Mix in vanilla. Alternately add dry ingredients and milk in three additions (dry → milk → dry), mixing just until combined after each.
- Divide batter evenly between pans. Smooth tops, then bake 25–30 minutes, or until a toothpick comes out clean. Cool in pans for 10 minutes, then invert onto wire racks to cool completely.
- In a clean bowl, beat butter on medium until creamy (2 minutes). Gradually add powdered sugar, one cup at a time, on low. Once incorporated, add vanilla and 2 tbsp milk; beat on medium-high for 2–3 minutes. Adjust consistency with remaining milk if needed for spreadability.
- Level cake tops with a serrated knife. Place one layer on a cake board or turntable. Spread about ½ inch of buttercream evenly.
- Top with second layer. Coat the entire cake with a thin “crumb coat” of buttercream. Chill 20 minutes until firm.
- For extra smoothness, apply a final thin layer of buttercream, using an offset spatula and bench scraper. Chill again briefly so the surface is firm to the touch.
- Dust your work surface with cornstarch. Knead yellow fondant with a bit of shortening until pliable. Roll to about 1⁄8-inch thickness, large enough to drape over the cake (approx. 14 inches diameter).
- Carefully lift and smooth over cake, trimming excess at the base with a sharp knife. Tuck and smooth edges for a clean finish.
- Cut two vertical curved lines in the fondant to represent the seams (spacing them about 5 inches apart).
- Roll out red fondant into thin logs (about ¼ inch diameter) and cut into short 1–inch pieces for the stitches. Press these gently along each seam, alternating direction.
- Between the seams on each side, press rainbow nonpareils into the fondant in a rectangular block about 3 inches wide and extending from top edge down to 1 inch above the cake board. Tap off excess sprinkles.
- Roll pink fondant to 1⁄8-inch thickness. Cut two 6-inch long strips (1.5 inches wide) and two 3-inch strips (1 inch wide).
- Form loops with the long strips by bringing the ends together and pressing gently; support them with rolled balls of fondant inside until they set (about 10 minutes).
- Wrap the two short strips around the center as the knot and tail accents, attaching with a dab of water.
- Once set, position the bow atop the cake, pressing the tails flush against the top surface.
- Smooth any fingerprints with a clean dry brush.
- Examine stitching and sprinkle borders, filling any gaps.
- Let cake rest at room temperature for up to 2 hours before serving, so fondant and buttercream meld perfectly.
- Slice with a hot, dry knife for clean cuts.
- Store covered at room temperature for up to 2 days, or refrigerate up to 4 days (bring to room temperature before serving).

How To Decorate a Softball Cake With Fondant?
Decorating a softball cake with fondant is simple with the right approach:
- Use a ball-shaped pan or two round pans: Helps achieve the perfect spherical shape.
- Apply a thin layer of buttercream before fondant: Acts as an adhesive and smooths the surface.
- Roll out yellow fondant evenly: Ensure it is large enough to cover the entire cake without tearing.
- Smooth the fondant gently over the cake: Use your hands or a fondant smoother to remove air bubbles.
- Create red stitching using edible markers or fondant strips: Mimics the seams of a real softball.
- Add personalized details: Use colored fondant for names, numbers, or team logos.
Can I Make a Gluten-Free Softball Cake?
Yes, making a gluten-free softball cake is easy with the right ingredients and precautions:
- Use a high-quality gluten-free flour blend: Prefer a 1:1 substitute for regular flour.
- Add moisture-retaining ingredients: Use sour cream, yogurt, or oil for a soft texture.
- Ensure all ingredients are gluten-free: Double-check baking powder, vanilla extract, and decorations.
- Choose gluten-free fondant: Confirm the brand is certified gluten-free.
- Prevent cross-contamination: Use clean utensils and a separate workspace for gluten-free baking.
How Do I Make a 3D Softball Cake?
Creating a 3D softball cake is about shaping and assembling layers:
- Use a ball-shaped cake pan or two hemispherical pans: Bake two dome-shaped cakes.
- Level the flat sides of the domes: Ensures they fit together perfectly.
- Apply buttercream between the halves: Acts as a glue.
- Chill the assembled ball for stability: Makes it easier to decorate.
- Cover with yellow fondant: Smooth it carefully for a perfect sphere.
- Add red stitches using fondant strips or edible markers: Complete the softball look.
How To Make An Edible Softball Cake Topper?
Edible toppers can make your softball cake stand out:
- Use fondant for a flat topper: Roll yellow fondant, cut a circle, and draw red stitches.
- Create a 3D topper with gum paste: Shape a small ball, color it yellow, and add red stitches.
- Use edible pens for details: Ideal for precise designs.
- Dry the topper for at least 24 hours: Ensures it is firm enough to stand on the cake.

How Do I Create a Softball Cake For a Team Celebration?
For a team celebration, a softball cake should be fun and personalized:
- Use the team colors for the cake and decorations: Makes it more meaningful.
- Add player names or numbers: Personalizes the cake.
- Consider a multi-layered design: Each layer can represent different team achievements.
- Make extra cupcakes with softball designs: Perfect for sharing.
How Do I Transport a Large Softball Cake Safely?
Transporting a large cake can be challenging, but these tips make it easy:
- Use a sturdy cake board: It should be slightly larger than the cake.
- Secure the cake box: Place non-slip mats underneath.
- Chill the cake before transport: Makes it more stable.
- Drive carefully: Avoid sudden stops or sharp turns.
- Consider using a cake support system: Helps prevent the cake from shifting.
Can I Use Edible Markers On a Softball Cake?
Yes, edible markers are perfect for detailed designs:
- Use food-safe edible markers: Specifically made for cakes.
- Let the fondant dry slightly before drawing: Prevents smudging.
- Draw the red stitching for a softball: Use a fine-tip red marker.
- Practice on a spare fondant piece: Ensures your design is perfect.
How Do I Achieve a Perfect Round Shape For a Softball Cake?
Achieving a perfectly round softball cake is all about careful preparation:
- Use a ball-shaped cake pan: Guarantees a round shape.
- Trim the top if using two round pans: Creates a flat surface for stacking.
- Use a serrated knife to shape the edges: Makes it smoother.
- Apply a crumb coat before the final frosting: Locks in any crumbs.
- Chill the cake after stacking and frosting: Helps maintain the round shape.
You May Also Like To Check Out These Recipes:
- Bento Cake
- Gemini Cake
- Funnel Cake
- Watergate Cake
- Bee Sting Cake
- Lemon Ricotta Cake
- Blue And White Cake
- Wedding Sheet Cake
- Diy Wedding Cake
- Rustic Wedding Cake
- Simple Wedding Cake
- Wedding Cake Pops
- Pink Wedding Cake
- Anniversary Cake
- Sweet Potato Cake
- Lunch Box Cake
- Ferrero Rocher Cake
- Shark Birthday Cake
- 3 Ingredient Dog Cake

