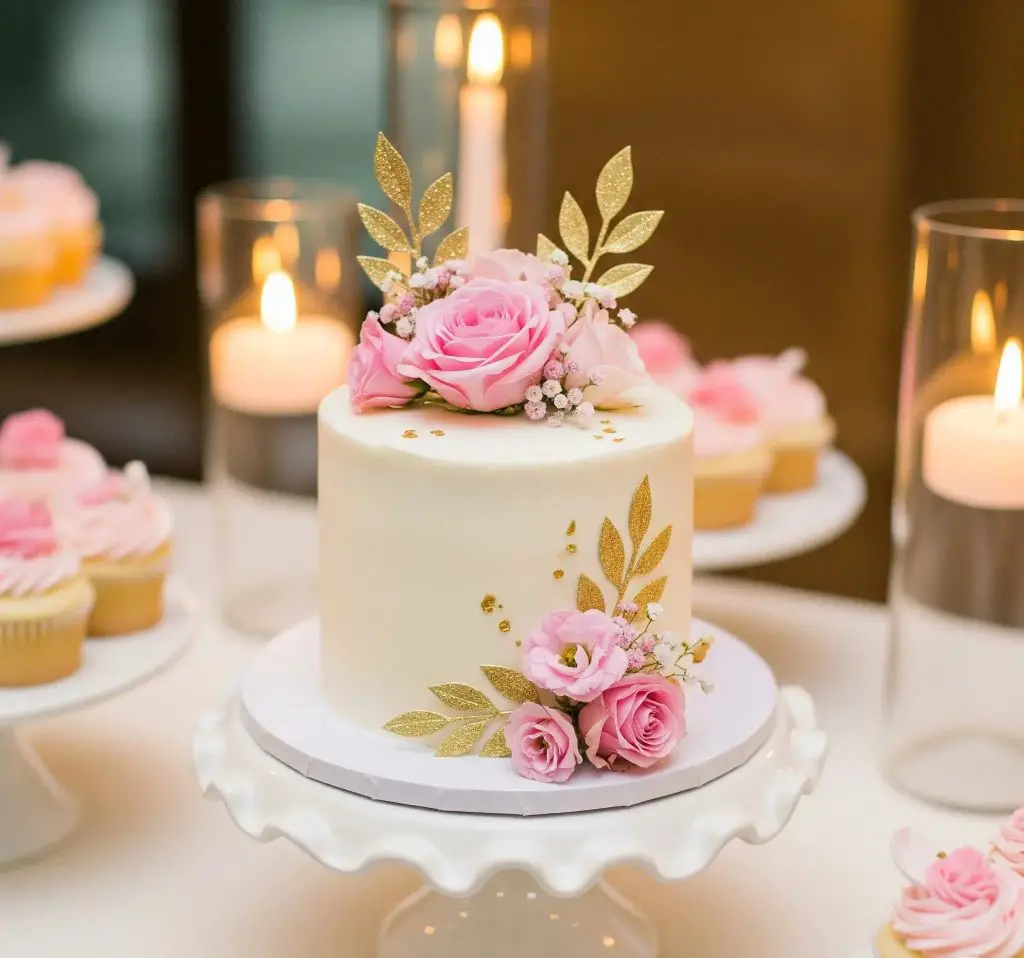
Some cakes are loud — layers on layers, dripping sauces, fireworks of colors. But this one… this one is quiet.
Simple. Honest. It’s the kind of cake I’d make when I want something that looks like love without trying too hard.
When I first made a single-tier wedding cake like this, I wasn’t aiming to impress anyone. I just wanted it to feel gentle, calm, and beautiful — like the soft pink roses in my grandmother’s garden.
And when I set it down on the table, everyone paused for a moment.
No loud compliments, just small smiles and that wide-eyed look people get when something feels right. That’s what this cake is about.
It’s smooth on the outside, soft and buttery on the inside, and it holds its shape like it knows it’s got a purpose.
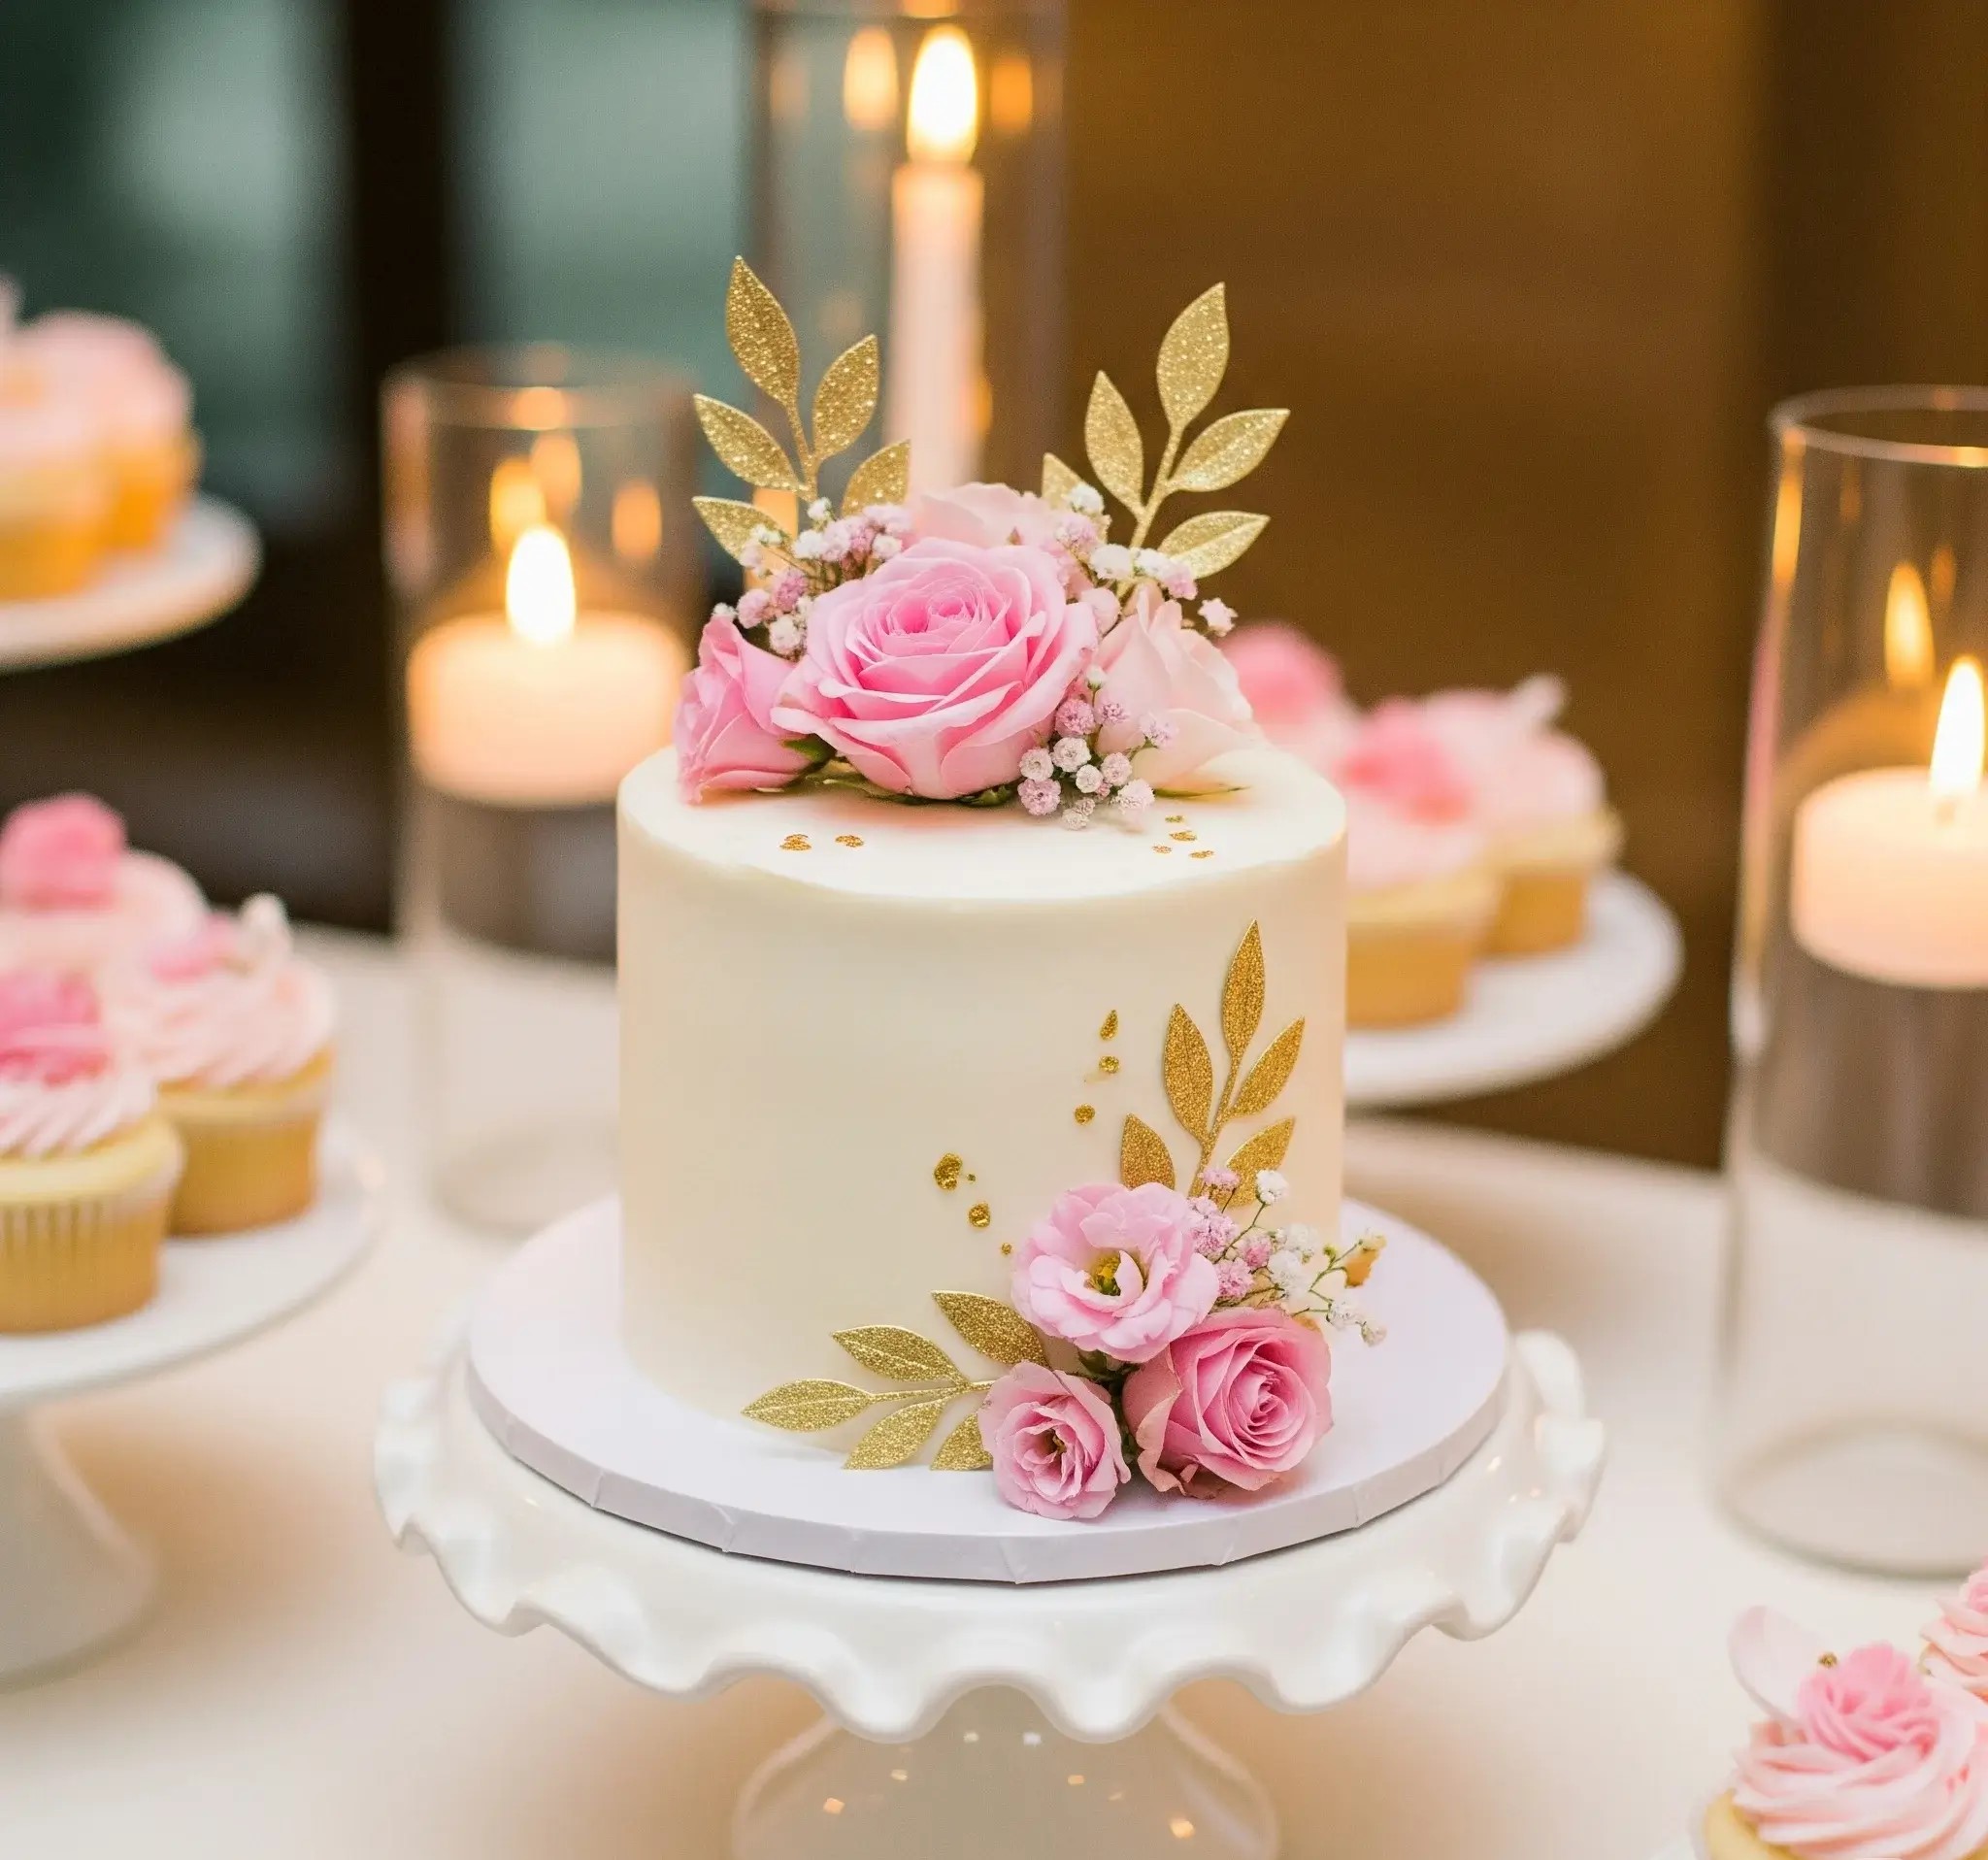
I’m sharing every single detail with you — not just the ingredients and steps, but the little things that make it look exactly like the one in the photo.
Nothing vague, nothing rushed. I wrote this for you like I’d write it for a friend who wants to make something they’ll be proud of.
So if you’re ready to create a cake that whispers elegance and makes people quietly fall in love with it — let’s begin.
Single Tier Wedding Cake Recipe
Yields: 1 three-layer 6-inch cake (serves 12–14)
Prep Time: 2.5 hours
Bake Time: 30–35 minutes
Decorating Time: 1.5 hours
Ingredients
For the Vanilla Cake:
- 2 ¼ cups (280g) cake flour (sifted)
- 2 ½ tsp baking powder
- ½ tsp fine salt
- ¾ cup (170g) unsalted butter, room temperature
- 1 ½ cups (300g) granulated sugar
- 3 large eggs, room temperature
- 1 tbsp pure vanilla extract
- 1 cup (240ml) whole milk, room temperature
For the Vanilla Buttercream (for crumb coating and final coat):
- 1 ½ cups (340g) unsalted butter, room temperature
- 5 cups (625g) powdered sugar, sifted
- 3 tbsp whole milk
- 1 ½ tsp pure vanilla extract
- Pinch of fine salt
For Fondant Covering:
- 600g white rolled fondant
- Cornstarch for dusting
- Shortening (optional, for smoothing cracks)
Decorative Elements:
- 6–8 edible gold leaves
- Edible gold paint (for flakes and touch-ups)
- 1 small bunch of fresh pink roses (cleaned, pesticide-free, and stems wrapped with floral tape)
- 1–2 pink lisianthus blooms
- Baby’s breath sprigs (small amount)
- Edible glue or water (for attaching fondant decorations)
- 6–8 fondant gold leaves (made ahead, instructions below)
Equipment:
- 3 x 6-inch round cake pans
- Parchment paper
- Offset spatula
- Bench scraper
- Rolling pin
- Fondant smoother
- Cake turntable
- Edible gold paintbrush
- Scissors
- Piping bags (optional for neat crumb coat)
Instructions
- Preheat oven to 350°F (175°C). Grease and line three 6-inch pans with parchment rounds.
- In a medium bowl, whisk cake flour, baking powder, and salt. Set aside.
- In a large bowl, beat butter and sugar with an electric mixer on medium-high speed until pale and fluffy (about 4–5 minutes).
- Add eggs one at a time, beating well after each. Add vanilla extract.
- On low speed, add ⅓ of the flour mixture, then half the milk, repeat, and finish with flour. Mix just until smooth.
- Divide batter evenly between pans. Smooth tops. Bake for 30–35 minutes until a skewer comes out clean. Cool in pans for 10 minutes, then invert onto a wire rack and cool completely.
Make the Buttercream:
- Beat butter until pale and creamy (3 minutes).
- Add powdered sugar, 1 cup at a time, mixing on low.
- Add vanilla, milk, and salt. Beat for 4–5 minutes until fluffy.
- Set aside about ¼ cup if needed for flower attachment.
Assemble the Cake:
- Use a serrated knife to level the cake tops. Stack the first layer on a cake board.
- Spread a thin buttercream layer between each cake. Apply a crumb coat all over. Chill for 30 minutes.
- Add a smooth final layer of buttercream. Use a bench scraper and turntable for a flawless surface. Chill again for 20 minutes.
Fondant Covering:
- Dust surface with cornstarch. Roll out fondant to ⅛-inch thickness, about 14 inches in diameter.
- Drape fondant over the cake, smooth the top, then the sides with a fondant smoother. Trim excess at the base.
- Polish with shortening if needed to eliminate dry spots.
Gold Leaf Details:
- Lightly brush edible glue or water on the lower front side of the cake.
- Using tweezers, gently apply gold leaves in a sweeping upward pattern. Avoid overhandling — they tear easily.
- For scattered gold flakes, use a food-safe brush dipped in edible gold paint and lightly flick across the fondant.
Gold Fondant Leaves (Make Ahead):
- Roll white fondant thinly and cut using leaf cutters.
- Let dry for 12 hours. Then paint with edible gold paint and let dry fully before applying.
Floral Decoration:
- Remove thorns and leaves. Wrap stems in floral tape.
- Insert 3 pink roses, 1 lisianthus, baby’s breath, and 2–3 gold fondant leaves in a bouquet on top center.
- Secure 2 small roses, 1 lisianthus bloom, baby’s breath, and 2 gold leaves to the bottom front left edge using buttercream or floral picks.
Finishing Touch:
- Place finished cake on a white or ivory cake stand.
- Light candles or soft lights around it for a romantic, elegant effect.

How To Add Fresh Flowers To a Wedding Cake Safely?
Adding real flowers can make your cake look naturally beautiful, but it’s important to do it safely. Here’s how to do it the right way:
- Use pesticide-free flowers: Always choose flowers that haven’t been sprayed with any chemicals.
- Clean the stems properly: Rinse them gently with cold water and pat them dry with paper towels.
- Wrap stems before inserting: Use floral tape to cover each stem, then wrap a small piece of plastic wrap over it. This keeps any moisture or sap away from the cake.
- Use straws or flower picks: Insert straws or food-safe flower holders into the cake and place the wrapped stems inside. This keeps the flowers from touching the cake directly.
- Add flowers just before serving: Fresh flowers wilt quickly, so decorate close to the event time — preferably the same day.
- Avoid toxic flowers: Stay away from harmful types like lilies, foxglove, daffodils, hydrangeas, etc. Always check if the flower is safe for cake use.
How To Make a Single Tier Cake Look Elegant?
Even with one tier, your cake can look graceful and luxurious. It’s all in the details:
- Smooth finish matters: Use a bench scraper and turntable to smooth buttercream or fondant perfectly.
- Stick to soft colors: Light shades like ivory, blush, white, and pale pink feel more romantic and refined.
- Add real flowers or delicate sugar flowers: Just 2–3 roses or lisianthus can add a soft touch.
- Use edible gold leaf: A small touch of gold makes the cake look expensive without being flashy.
- Add texture with a pearl border or fondant lace: Small, neat details at the base or side give it a high-end look.
- Place it on a beautiful cake stand: A white or gold stand lifts the cake and makes it feel more special.
- Keep it minimal: Don’t overcrowd the design — a little goes a long way for elegance.
Do You Need Fondant For a Single Tier Wedding Cake?
No, you don’t always need fondant — it depends on the style you want.
- If you want a smooth, formal, and polished look like the one in wedding magazines: use fondant.
- If you prefer a softer, more natural look: use buttercream instead.
- Some cakes even use both: buttercream underneath and fondant on top for a strong, smooth finish.

How Far In Advance Can You Make a Single Tier Wedding Cake?
Planning ahead saves time, but you need to store everything properly so the cake stays fresh.
- Bake the cake layers: 2–3 days before. Wrap them tightly in cling wrap and keep in the fridge.
- Make the buttercream or frosting: 3–4 days before. Store in an airtight container in the fridge, then bring to room temperature and rewhip before using.
- Stack and crumb coat the cake: 1 day before. This keeps everything firm and easy to cover.
- Add fondant and final decorations: The evening before the event or early on the same day.
- Add fresh flowers: Only on the day of serving — preferably just a few hours before.
How To Transport a Single Tier Wedding Cake?
Transporting a finished cake can be stressful — but with a few smart steps, it’s totally doable.
- Use a cake board that’s 1–2 inches larger: This keeps the base stable and gives you space to hold it.
- Chill the cake before moving it: A cold cake holds its shape better and doesn’t slide easily.
- Place the cake on a non-slip mat in the car: This keeps the box from moving around.
- Use a sturdy cake box that fits well: Not too tight, not too loose.
- Keep the car cool: Turn on the AC before putting the cake in.
- Drive slowly and avoid sudden turns: Gentle driving makes a big difference.
- Add flowers and gold leaf after arriving: If possible, do the final touches once you reach the venue.
You May Also Like To Check Out These Recipes:
- Red Cake
- White Wedding Cake
- Flower Cake Design
- 16th Birthday Cake
- Flamingo Cake
- Yogurt Cake
- Sugar Cookie Cake
- Pecan Pie Dump Cake
- Butterfinger Poke Cake
- Pineapple Heaven Cake
- Pecan Upside Down Cake
- Butter Pound Cake
- Butter Pecan Cake
- Cinnamon Roll Poke Cake
- Lemon Blueberry Pound Cake
- Peach Upside Down Cake
- 30th Birthday Cake For Women

