I still remember the first time I baked a wedding cake. My hands were shaking, I had butter on my cheek, and I kept rereading my notes like it was an exam.
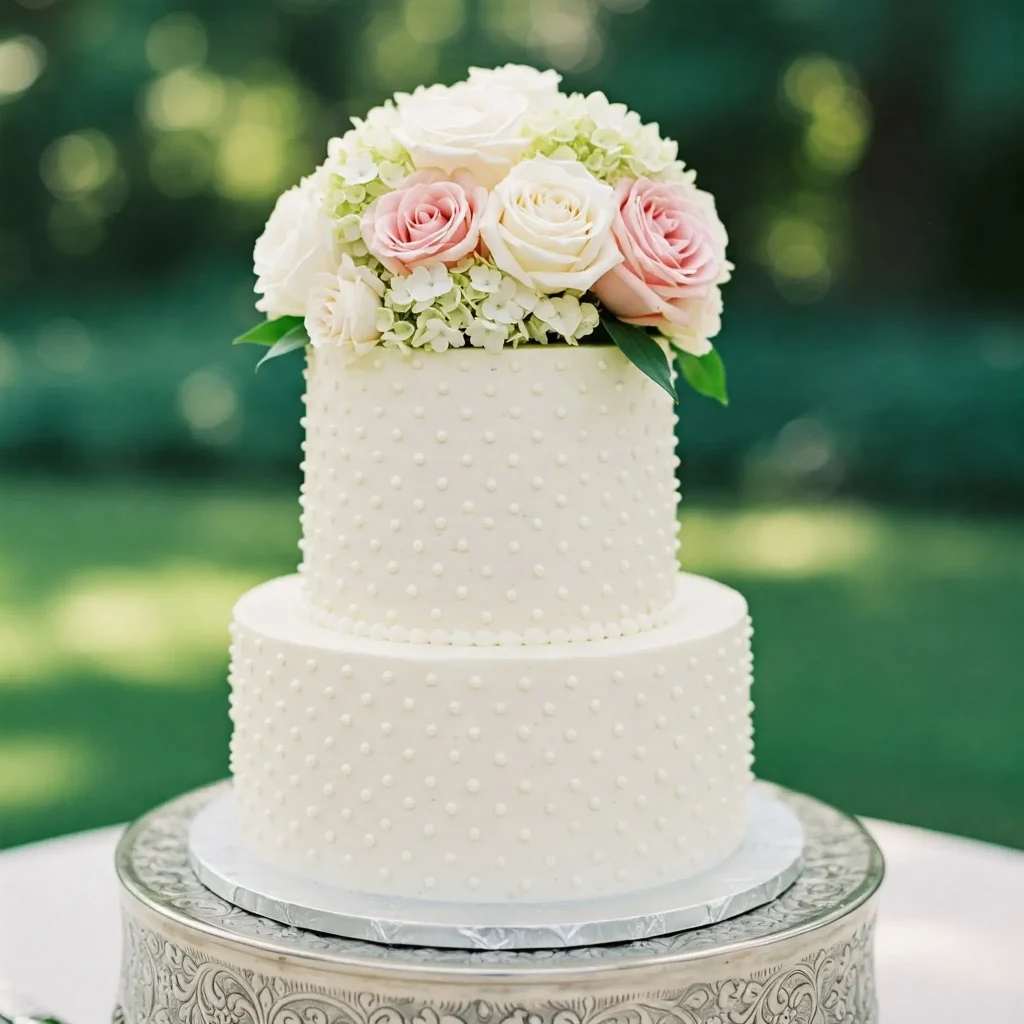
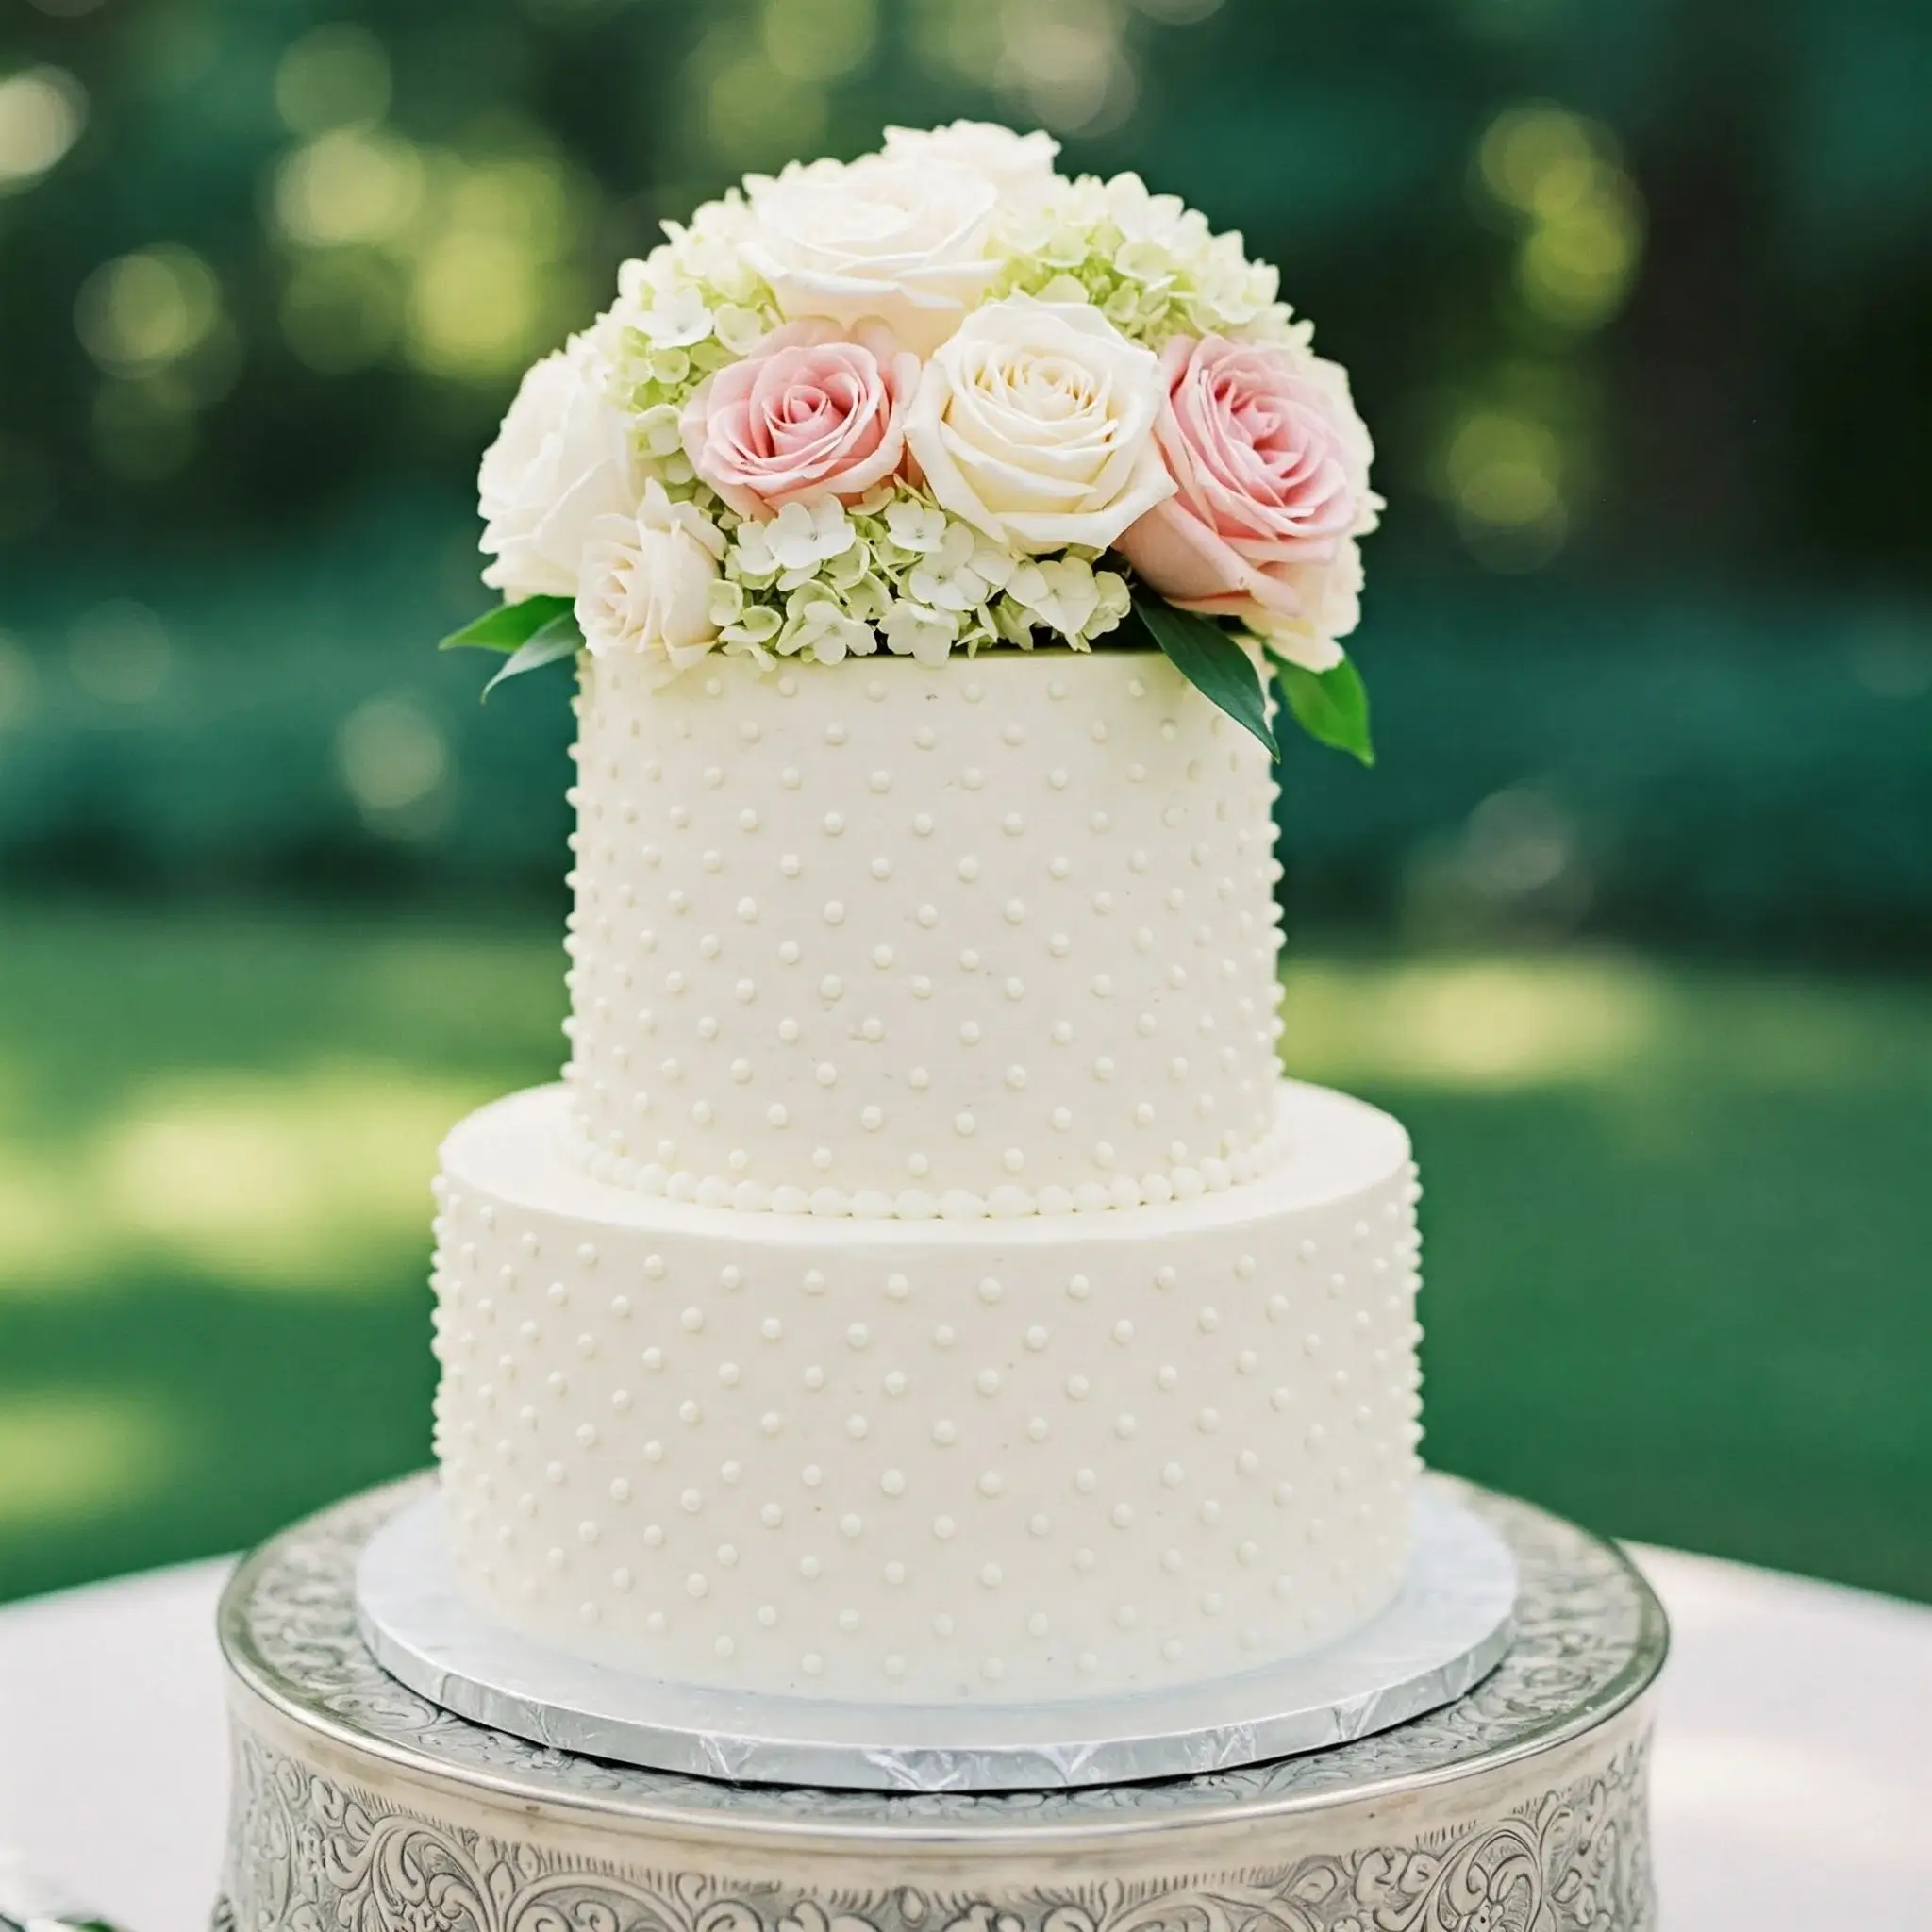
But when that cake finally stood tall—simple, elegant, and covered in tiny white pearls—it was more than just dessert. It was a quiet moment of pride.
If you’re here because you’re about to make a wedding cake—maybe for someone special, maybe for yourself—take a deep breath.
You don’t need to be a pro or own a fancy bakery to pull this off. You just need patience, good instructions, and a bit of trust in yourself.
This isn’t a 12-tier, gold-dusted masterpiece that needs an engineering degree to build. This is a simple wedding cake—clean, classic, and absolutely stunning.
It’s the kind of cake that gets people leaning in to take a photo, then nodding with a full mouth after their first bite.
I’ve broken everything down so clearly that even if you’ve never made anything more than boxed cupcakes, you’ll still feel in control from start to finish.
No complicated tools. No weird ingredients. Just a soft, vanilla cake with silky buttercream, tiny dotted pearls, and fresh flowers on top.
If you’re nervous, that’s okay. I’ve got you. This cake is going to be beautiful—and yes, you can make it.
Two-Tier Elegant Wedding Cake with Pearl Dots and Fresh Flowers
Tools & Materials:
- Two round cake pans (6-inch and 9-inch diameter, 3-inch deep)
- Cake boards (one 6″, one 9″)
- Offset spatula
- Bench scraper
- Piping bags + round piping tip (Wilton #3 recommended)
- Dowels or bubble tea straws (for support)
- Turntable (highly recommended)
- Cake stand
- Floral tape + parchment paper
- Fresh flowers (roses, hydrangeas, etc.)
Ingredients
Vanilla Cake (Makes 2 tiers)
For each 9-inch layer (double for two layers):
- 2 ½ cups (315g) all-purpose flour (sifted)
- 2 ½ tsp baking powder
- ½ tsp salt
- 1 cup (226g) unsalted butter, softened
- 2 cups (400g) white granulated sugar
- 4 large eggs (room temperature)
- 1 tbsp vanilla extract
- 1 cup (240ml) whole milk (room temperature)
For each 6-inch layer (double for two layers):
- 1 ½ cups (190g) all-purpose flour (sifted)
- 1 ½ tsp baking powder
- ¼ tsp salt
- ¾ cup (170g) unsalted butter, softened
- 1 ½ cups (300g) white granulated sugar
- 3 large eggs (room temperature)
- 2 tsp vanilla extract
- ¾ cup (180ml) whole milk (room temperature)
Vanilla Buttercream (For frosting + piping dots):
- 3 cups (678g) unsalted butter, softened
- 10 cups (1.2kg) powdered sugar (sifted)
- 6 tbsp milk or whipping cream (as needed)
- 1 tbsp vanilla extract
- Pinch of salt
Decoration:
- Fresh pale pink and ivory roses
- White hydrangeas
- Floral tape, floral wire (optional), parchment for food safety
Instructions
- Preheat oven to 350°F (175°C). Grease pans and line bottoms with parchment circles.
- In a bowl, whisk flour, baking powder, and salt.
- In a large bowl, cream butter and sugar until pale and fluffy (about 4-5 mins).
- Add eggs one at a time, beating well after each addition.
- Mix in vanilla extract.
- Add flour mixture in 3 additions, alternating with milk. Start and end with flour. Mix until just combined—do not overmix.
- Divide batter evenly into pans (ensure level surfaces).
- Bake 9-inch cakes for 35–40 minutes and 6-inch cakes for 30–35 minutes or until toothpick comes out clean.
- Cool in pans for 10 minutes. Turn onto wire racks to cool completely.
- Beat softened butter until smooth and creamy (2-3 mins).
- Gradually add powdered sugar with mixer on low.
- Add vanilla extract and a pinch of salt.
- Add milk 1 tbsp at a time until smooth, fluffy, and spreadable.
- Beat on high speed for 3–4 minutes to whip it for a light texture.
- Level each cake layer with a serrated knife for flat tops.
- Place one 9-inch cake layer on a 9-inch cake board. Add buttercream. Top with second 9-inch layer. Crumb coat lightly. Chill.
- Repeat with 6-inch cakes on a 6-inch board.
- Frost both tiers smoothly with final coat using offset spatula and bench scraper. Chill until firm.
- Fill a piping bag fitted with a small round tip (#3) with buttercream.
- Pipe small evenly spaced dots across the entire surface of both tiers in a uniform pattern. Use a light, consistent pressure for clean dots.
- Refrigerate again to firm up the dots.
- Insert 4 trimmed dowels or bubble tea straws in the center of the bottom tier, spaced in a square, just inside the 6-inch cake’s footprint.
- Place the 6-inch tier gently on top.
- Ensure it’s centered and level.
- Wrap flower stems in floral tape. Cover in parchment or food-safe barrier.
- Create a small flower dome using roses and hydrangeas.
- Insert into the center of the top tier carefully. Use flower picks if needed for added hygiene.
- Best served at room temperature.
- Store in a refrigerator (in cake box or under a dome) for up to 3 days.
- Allow to sit at room temperature for 1–2 hours before serving for ideal texture.

Can I Use Buttercream For a Wedding Cake Instead Of Fondant?
Yes, buttercream is a great choice for a wedding cake and can look just as elegant as fondant—plus, it usually tastes better to most people.
- Choose a stable buttercream: American or Swiss meringue buttercream works best for a smooth, sturdy finish.
- Crumb coat matters: Apply a thin crumb coat first to lock in any loose crumbs before the final layer.
- Chill before decorating: Always refrigerate the cake after applying buttercream to help it firm up.
- Smooth it out: Use a bench scraper and turntable for clean, straight edges.
- Pipe details confidently: Buttercream holds swirls, borders, and pearl dots very well.
How Far In Advance Can I Make a Wedding Cake?
Planning ahead helps avoid stress, and yes—you can make parts of the cake in advance.
- Bake early: Cake layers can be baked, wrapped tightly, and frozen up to one month ahead.
- Make frosting ahead: Buttercream can be stored in the fridge for up to one week—just bring it to room temperature before using.
- Assemble 1–2 days before: This keeps everything fresh while giving you enough time to decorate carefully.
- Leave decorating for last: Fresh flowers and finishing touches should go on the day before or the morning of the event.
What Kind Of Flowers Can I Put On a Wedding Cake?
Fresh flowers make a simple wedding cake look stunning—but only use types that are known to be safe.
- Use non-toxic flowers only: Safe options include roses, pansies, lavender, violets, marigolds, jasmine, and chamomile.
- Clean them well: Gently rinse and pat them dry before use.
- Protect your cake: Wrap flower stems in floral tape or place them in food-safe flower picks.
- Add them close to serving: This keeps the flowers fresh and the cake looking perfect.
How Do I Keep a Wedding Cake Fresh Overnight?
Keeping a wedding cake fresh overnight is easy if you store it the right way.
- Cool it completely first: A warm cake can create moisture and ruin the texture.
- Wrap it well: Use plastic wrap to cover the cake or each tier tightly.
- Use airtight containers: This keeps air out and prevents drying.
- Keep it cool: Store in the refrigerator if using dairy-based frosting or fillings.
How Do I Stack a Two-Tier Wedding Cake Safely?
Stacking is all about balance and support.
- Add supports: Insert 3 to 5 plastic straws or wooden dowels into the bottom tier to hold the top one.
- Use cake boards: Place the top tier on a thin cake board the same size as the tier.
- Keep it chilled: Cold cakes are firmer and easier to stack cleanly.
- Stack on a flat surface: Make sure your table or counter is 100% level when stacking.
What Size Pans Should I Use For a Two-Tier Wedding Cake?
Choosing the right pan sizes helps with both portioning and visual balance.
- Use a 10-inch base: The bottom tier should be 10 inches wide.
- Use a 6-inch top: A 6-inch top tier creates a nice size contrast.
- Aim for 4-inch height per tier: This gives the cake a beautiful proportion.
- Serves about 40–50 guests: Perfect for small to medium weddings.

How Do I Transport a Wedding Cake Without Damage?
Transporting the cake safely is just as important as baking it right.
- Use a strong base: Place the cake on a thick cake drum or sturdy board.
- Secure it in a box: Choose a box that fits snugly to prevent sliding.
- Drive with care: Set the cake flat in the trunk or on the car floor—avoid seats.
- Keep it cool: If the weather is warm, run the AC in your car and avoid direct sunlight.
What Tools Do I Need To Decorate a Simple Wedding Cake?
You don’t need a professional kit—just a few essential tools.
- Cake turntable: Makes frosting and smoothing easier.
- Offset spatula: For spreading buttercream smoothly.
- Bench scraper: Helps achieve sharp edges on buttercream.
- Piping bags and tips: Needed for borders, flowers, and pearl dots.
- Cake leveler or serrated knife: For even cake layers.
Can I Freeze a Wedding Cake Before The Event?
Yes, freezing cake layers ahead of time is a smart move and keeps them fresh.
- Wrap tightly: First in plastic wrap, then in foil to avoid freezer burn.
- Label and date: So you know what’s what when it’s time to defrost.
- Thaw slowly: Move it to the fridge 24 hours before using, then bring to room temp before decorating.
- Don’t freeze fully decorated cakes: Fresh decorations look and taste better.
How Long Does It Take To Decorate a Simple Wedding Cake?
It depends on your design and prep—but you don’t need all day.
- Basic buttercream finish: Takes around 2 hours if you’ve prepped ahead.
- Add floral touches: Another 30–60 minutes for arranging flowers or pearl accents.
- Plan ahead: Have everything ready before you start decorating.
- Avoid rushing: Decorating too fast causes uneven finishes and mistakes.
Is It Okay To Use Fresh Flowers On a Wedding Cake?
Yes, just make sure you handle them the right way.
- Stick to known safe types: Choose flowers that are commonly used on cakes.
- Avoid spraying or treating them: No chemicals or preservatives.
- Clean before use: Rinse gently to remove dirt or bugs.
- Use a barrier: Insert stems using picks or wrap in plastic wrap or tape.
What Frosting Holds Up Best For Outdoor Weddings?
Hot weather and outdoor setups need a frosting that won’t melt easily.
- Use American buttercream: It’s the most stable in warm weather.
- Skip whipped cream frostings: They break down quickly outdoors.
- Avoid over-beating: Too much air makes frosting soft and unstable.
- Keep it chilled until serving: Store the cake in a cool area before the event.
How Can I Make Pearl Dots On a Wedding Cake?
Pearl dots give a soft, elegant look—and they’re easy to create.
- Use round piping tips: Size 2 or 3 for small, neat dots.
- Chill the cake first: This keeps the dots from sliding.
- Practice on parchment: Get your pressure right before starting on the cake.
- Even spacing: Use a toothpick or ruler to mark out placement first.

