When my nephew turned six, he asked for a “wild cake with animals and trees and mud and jungle stuff.” I’ll be honest—I had no idea what that meant at first.
But we sat together, pulled out his animal toys, and I started sketching ideas on the back of a cereal box. That’s how this Safari Cake came to life.
It’s fun and loud and full of little surprises—just like him.
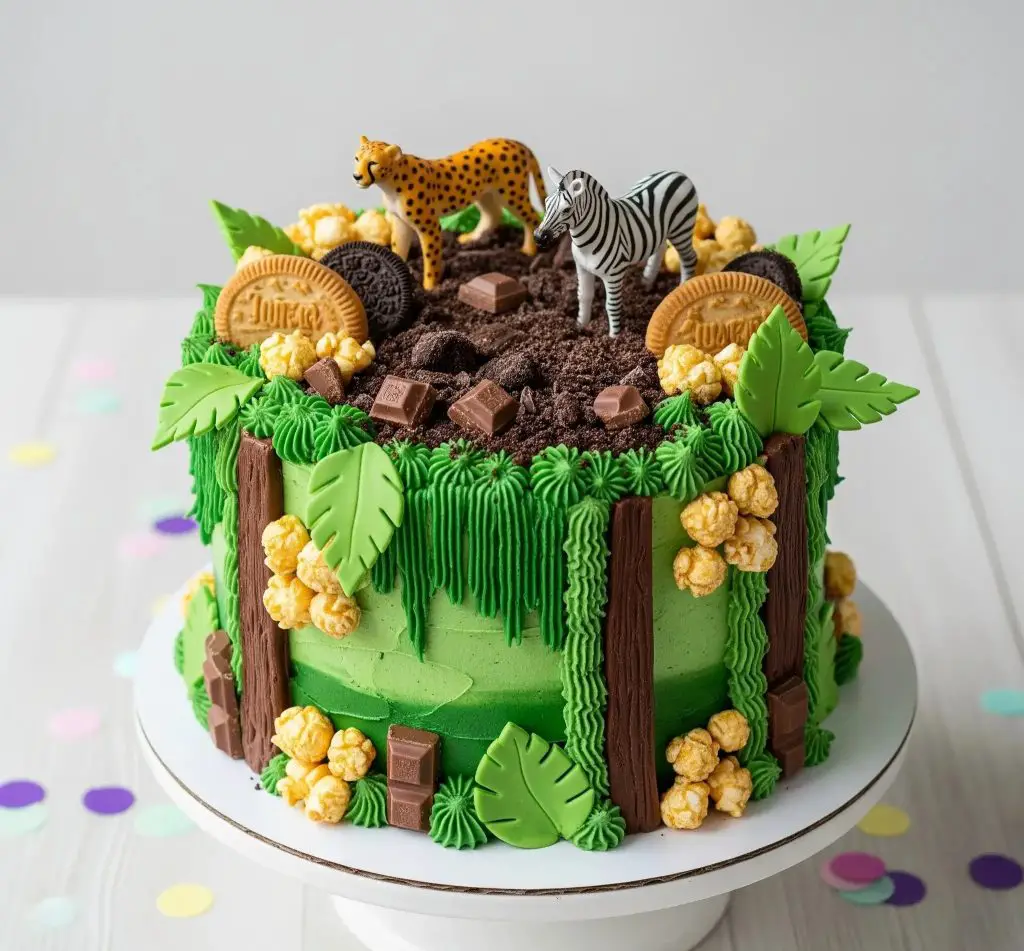
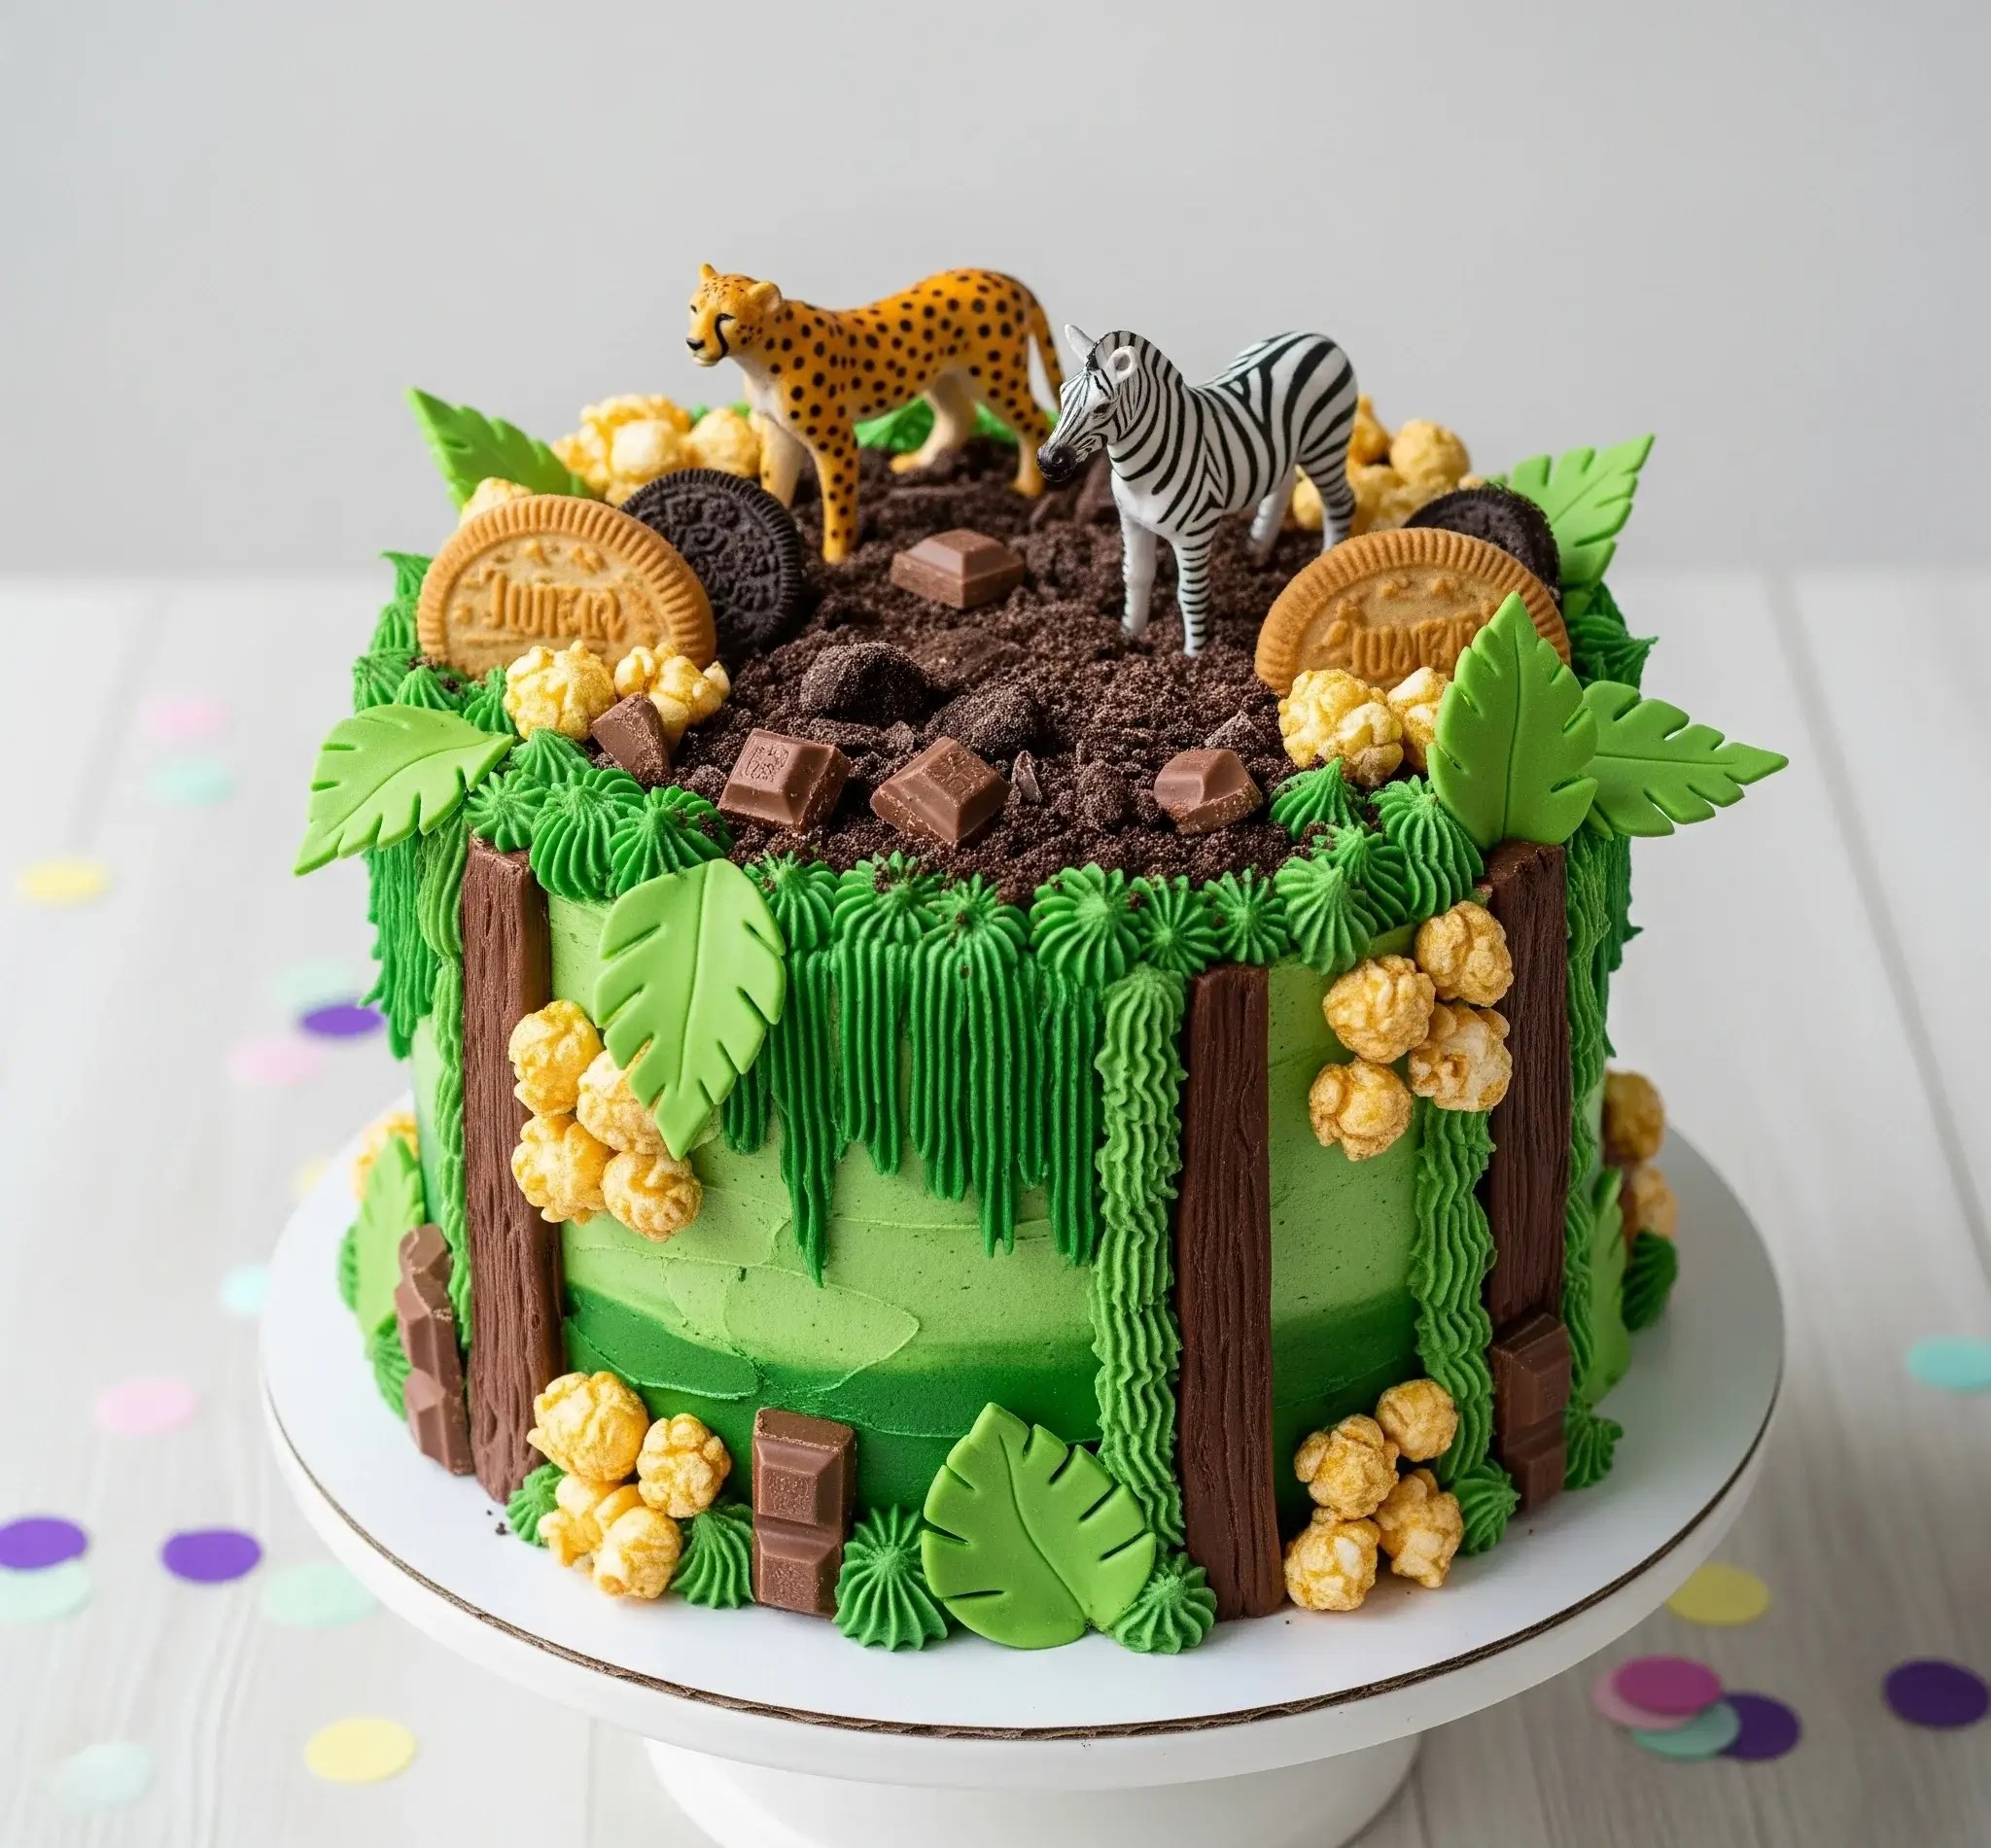
The top looks like a mini jungle floor with crushed cookies for soil, chocolate chunks like rocks, caramel popcorn like jungle fruit, and leafy vines hanging down the sides.
And of course, two toy animals standing proudly on top like they rule the cake.
But what I love most is how doable it is. You don’t need any special baking tools or fancy ingredients. You just need a little time, a handful of treats from your pantry, and a bit of imagination.
If you’re like me—someone who enjoys baking but doesn’t want to spend hours fussing over it—you’re going to love how this turns out.
Let me show you exactly how to make it from scratch, from the soft vanilla cake inside to every last crunchy leaf and chocolate log.
Safari Cake Recipe (Jungle Theme)
Servings: 12–14
Cake Size: 3-layer 8-inch round
Prep Time: 2.5 hours
Decorating Time: 1.5 hours
Total Time: ~4 hours
For the Cake (Vanilla Butter Cake)
Ingredients:
- 2 ½ cups all-purpose flour (sifted)
- 2 ½ tsp baking powder
- ½ tsp salt
- 1 cup unsalted butter, softened
- 1 ¾ cups granulated sugar
- 4 large eggs, room temperature
- 1 tbsp pure vanilla extract
- 1 cup whole milk, room temperature
Instructions:
- Preheat your oven to 175°C (350°F). Grease and line three 8-inch cake pans with parchment.
- In a bowl, whisk together flour, baking powder, and salt.
- In a large mixing bowl, beat the butter and sugar until pale and fluffy (about 3-4 mins).
- Add eggs one at a time, beating after each addition. Stir in vanilla.
- Alternate adding flour mixture and milk, beginning and ending with flour.
- Divide the batter evenly between pans and smooth the tops.
- Bake 25–30 minutes or until a toothpick comes out clean. Cool completely before decorating.
For the Vanilla Buttercream (Jungle Green)
Ingredients:
- 1 ½ cups unsalted butter, softened
- 5 cups powdered sugar, sifted
- 3–4 tbsp whole milk
- 2 tsp vanilla extract
- Green gel food coloring (a mix of leaf green + touch of moss green)
Instructions:
- Beat butter until creamy and pale (2–3 minutes).
- Gradually add powdered sugar, one cup at a time.
- Mix in milk and vanilla until smooth.
- Add green gel food coloring and beat until the color is fully blended and vivid.
- Reserve ½ cup of this buttercream and add a deeper green to it for the vine piping.
For the Chocolate “Dirt” Layer
Ingredients:
- 10 chocolate sandwich cookies (like Oreo), crushed
- 4 milk chocolate squares, roughly chopped
Instructions:
- Crush cookies into fine crumbs using a food processor or rolling pin.
- Chop chocolate into chunks for added texture.
Chocolate “Tree Trunk” Panels
Ingredients:
- 150g milk chocolate
- 150g dark chocolate
Instructions:
- Melt chocolates separately using a double boiler or microwave in 30-sec intervals.
- Pipe or spread lines onto parchment in vertical strips (~3–4 inches long) to resemble bark.
- Chill in fridge until firm. These will be used around the cake.
Edible Jungle Decorations
Fondant Leaves:
- Green fondant (light and dark shades)
- Leaf-shaped cutters or small knife
- Veining tool or toothpick for detail
Instructions:
- Roll out fondant and cut leaf shapes.
- Use a veining tool or toothpick to add lines. Let them dry for at least 1 hour to hold shape.
Popcorn Clusters:
- 1 cup caramel popcorn
- Small amount of melted white chocolate for sticking
Instructions:
- Stick popcorn pieces into small clusters using melted chocolate.
- Let them set for 10 minutes before applying.
Animal Toppers:
- 1 plastic zebra
- 1 plastic cheetah or leopard (or any wild cat)
Ensure these are clean and food-safe
Assembly Instructions
Stack & Frost:
- Level cakes and place the first layer on your cake board.
- Spread a layer of green buttercream between each.
- Crumb coat the entire cake with green buttercream. Chill for 20 minutes.
- Apply a final coat of green buttercream and smooth with a scraper.
Add Tree Trunks:
- Attach chocolate bark vertically around the cake edges using buttercream.
Pipe Jungle Vines:
- Using a grass or multi-opening tip, pipe draping vines over the top edge with darker green buttercream.
Decorate Top:
- Sprinkle crushed cookies on top to create a dirt effect.
- Scatter chopped chocolate and place animal toppers standing on “soil”.
Finish Jungle Look:
- Stick fondant leaves around the sides and top.
- Press popcorn clusters into buttercream around the cake.
- Add cookies (like golden Oreos) to represent safari trail stones.
Tips:
- For extra detail, use edible gold dust on the fondant leaves.
- Chill the cake between steps to keep edges clean.
- You can use a green ombré effect for the buttercream base to mimic jungle depth.

Can I Make a Safari Cake Without Fondant?
Yes, you absolutely can. Fondant looks clean, but it’s not the only way to get a great jungle-style look.
- Buttercream details: Use different shades of green buttercream to pipe vines, leaves, or grass.
- Chocolate decorations: Melted chocolate can be spread and shaped into bark, rocks, or even tree trunks.
- Crushed cookies: These make perfect “dirt” or soil on top of the cake.
- Toy animals: Clean plastic animals add the safari theme without needing fondant animals.
- Popcorn clusters or cereal: Great for adding texture, like bushes or fruit bunches.
- Piped shapes: You can pipe buttercream leaves or shapes on baking paper, freeze them, and stick them on the cake.
How Far In Advance Can I Make a Safari Cake?
Making the cake ahead can save time, but it’s important to plan smartly.
- Cake layers: Bake up to 3 days in advance. Wrap well in plastic wrap and store in the fridge.
- Buttercream frosting: Make 4–5 days ahead. Store in an airtight container in the fridge. Let it come to room temperature before using.
- Chocolate decorations and cookie dirt: Prepare 5–6 days ahead. Store in a cool, dry place.
- Assembled cake: Decorate 1–2 days before serving. Keep it refrigerated but bring it to room temperature before cutting.
How Do I Transport a Tall Decorated Cake Like This Safely?
Transporting a tall cake feels scary, but with the right steps, it’s totally doable.
- Use a sturdy cake board: Make sure the board is thick and at least 2 inches larger than the cake.
- Place it in a tall cake box: Get a cake box with enough height for the decorations.
- Add support inside: Use dowels or straws inside the cake to keep the layers stable.
- Keep it cold: Chill the cake for at least an hour before moving it so it’s firm.
- Transport on a flat surface: The car floor is better than the seat.
- Drive carefully: Avoid sharp turns and sudden brakes.

Can I Use Toy Animals On a Cake? Are They Safe?
Yes, you can use toy animals on cakes, but cleanliness is important.
- Choose new, non-toxic plastic toys: Make sure they’re food-safe or made for cake decorating.
- Wash them well: Clean the toys with warm soapy water and rinse thoroughly.
- Use a barrier if needed: You can wrap the base in clean plastic wrap or parchment before placing it on the cake.
- Avoid glittery or painted surfaces: These can flake and fall onto the cake.
How Do I Make a Safari Cake For a Baby Shower?
A safari cake works beautifully for a baby shower—just keep the colors soft and the design sweet.
- Use soft pastel colors: Light green, beige, cream, and baby yellow work well.
- Add sleeping or baby animals: Use toy animals that look gentle or baby-like.
- Include tiny fondant or piped leaves: Smaller, more delicate decorations create a softer look.
- Use animal face toppers: Lion, elephant, or monkey faces can be added on cupcakes or as the cake topper.
- Decorate with name or “Welcome Baby” text: Use piped buttercream letters or a topper stick.
How To Decorate a Safari Cake Without Professional Tools?
You don’t need fancy tools to make a cake look amazing. Many everyday kitchen items work just fine.
- Use a spoon or butter knife: Great for spreading frosting or creating rough bark textures.
- Ziploc bags instead of piping bags: Cut a small corner to pipe buttercream vines or leaves.
- Forks for texture: Drag a fork along the frosting to make grass, bark, or stone textures.
- Use cookie cutters for shapes: Press them onto soft chocolate or fondant to make leaves or animals.
- DIY cake toppers: Print animal images on card, tape them to a stick, and add them on top.
- Crushed snacks and cereal: Use for ground texture without needing molds or cutters.

