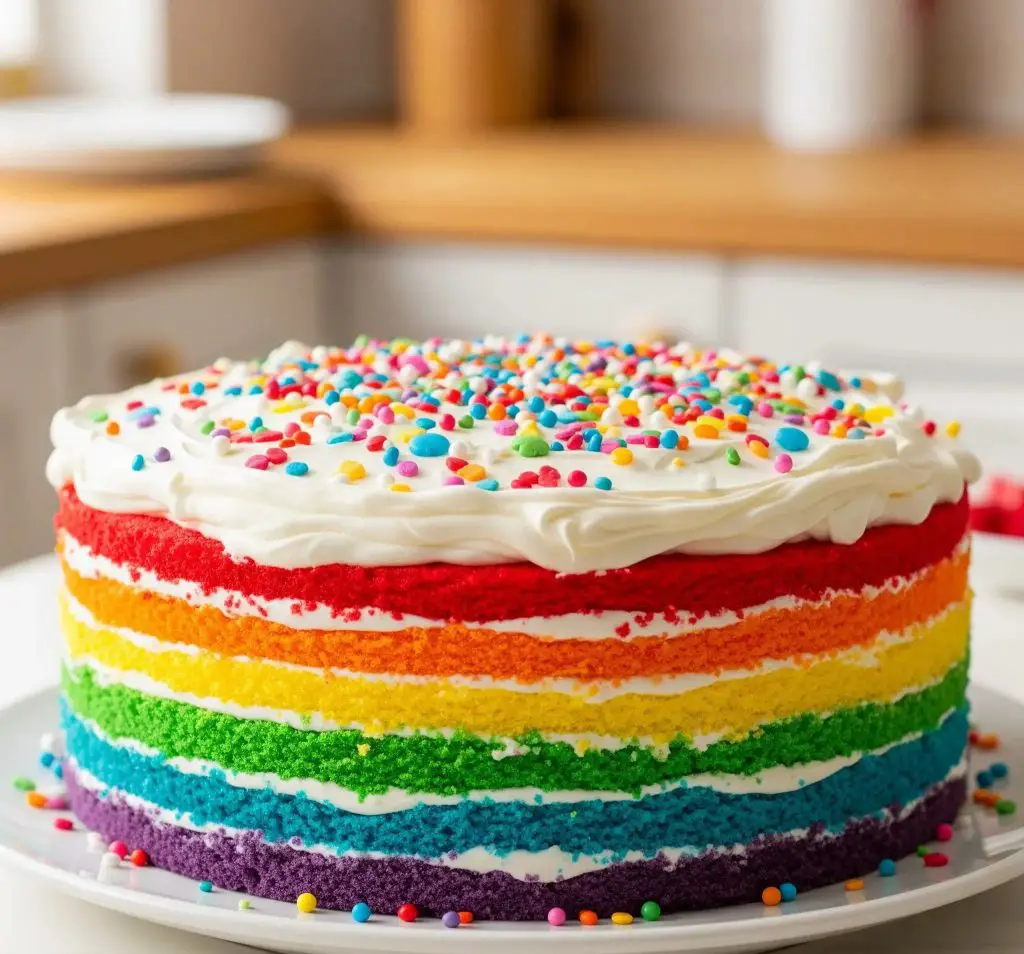
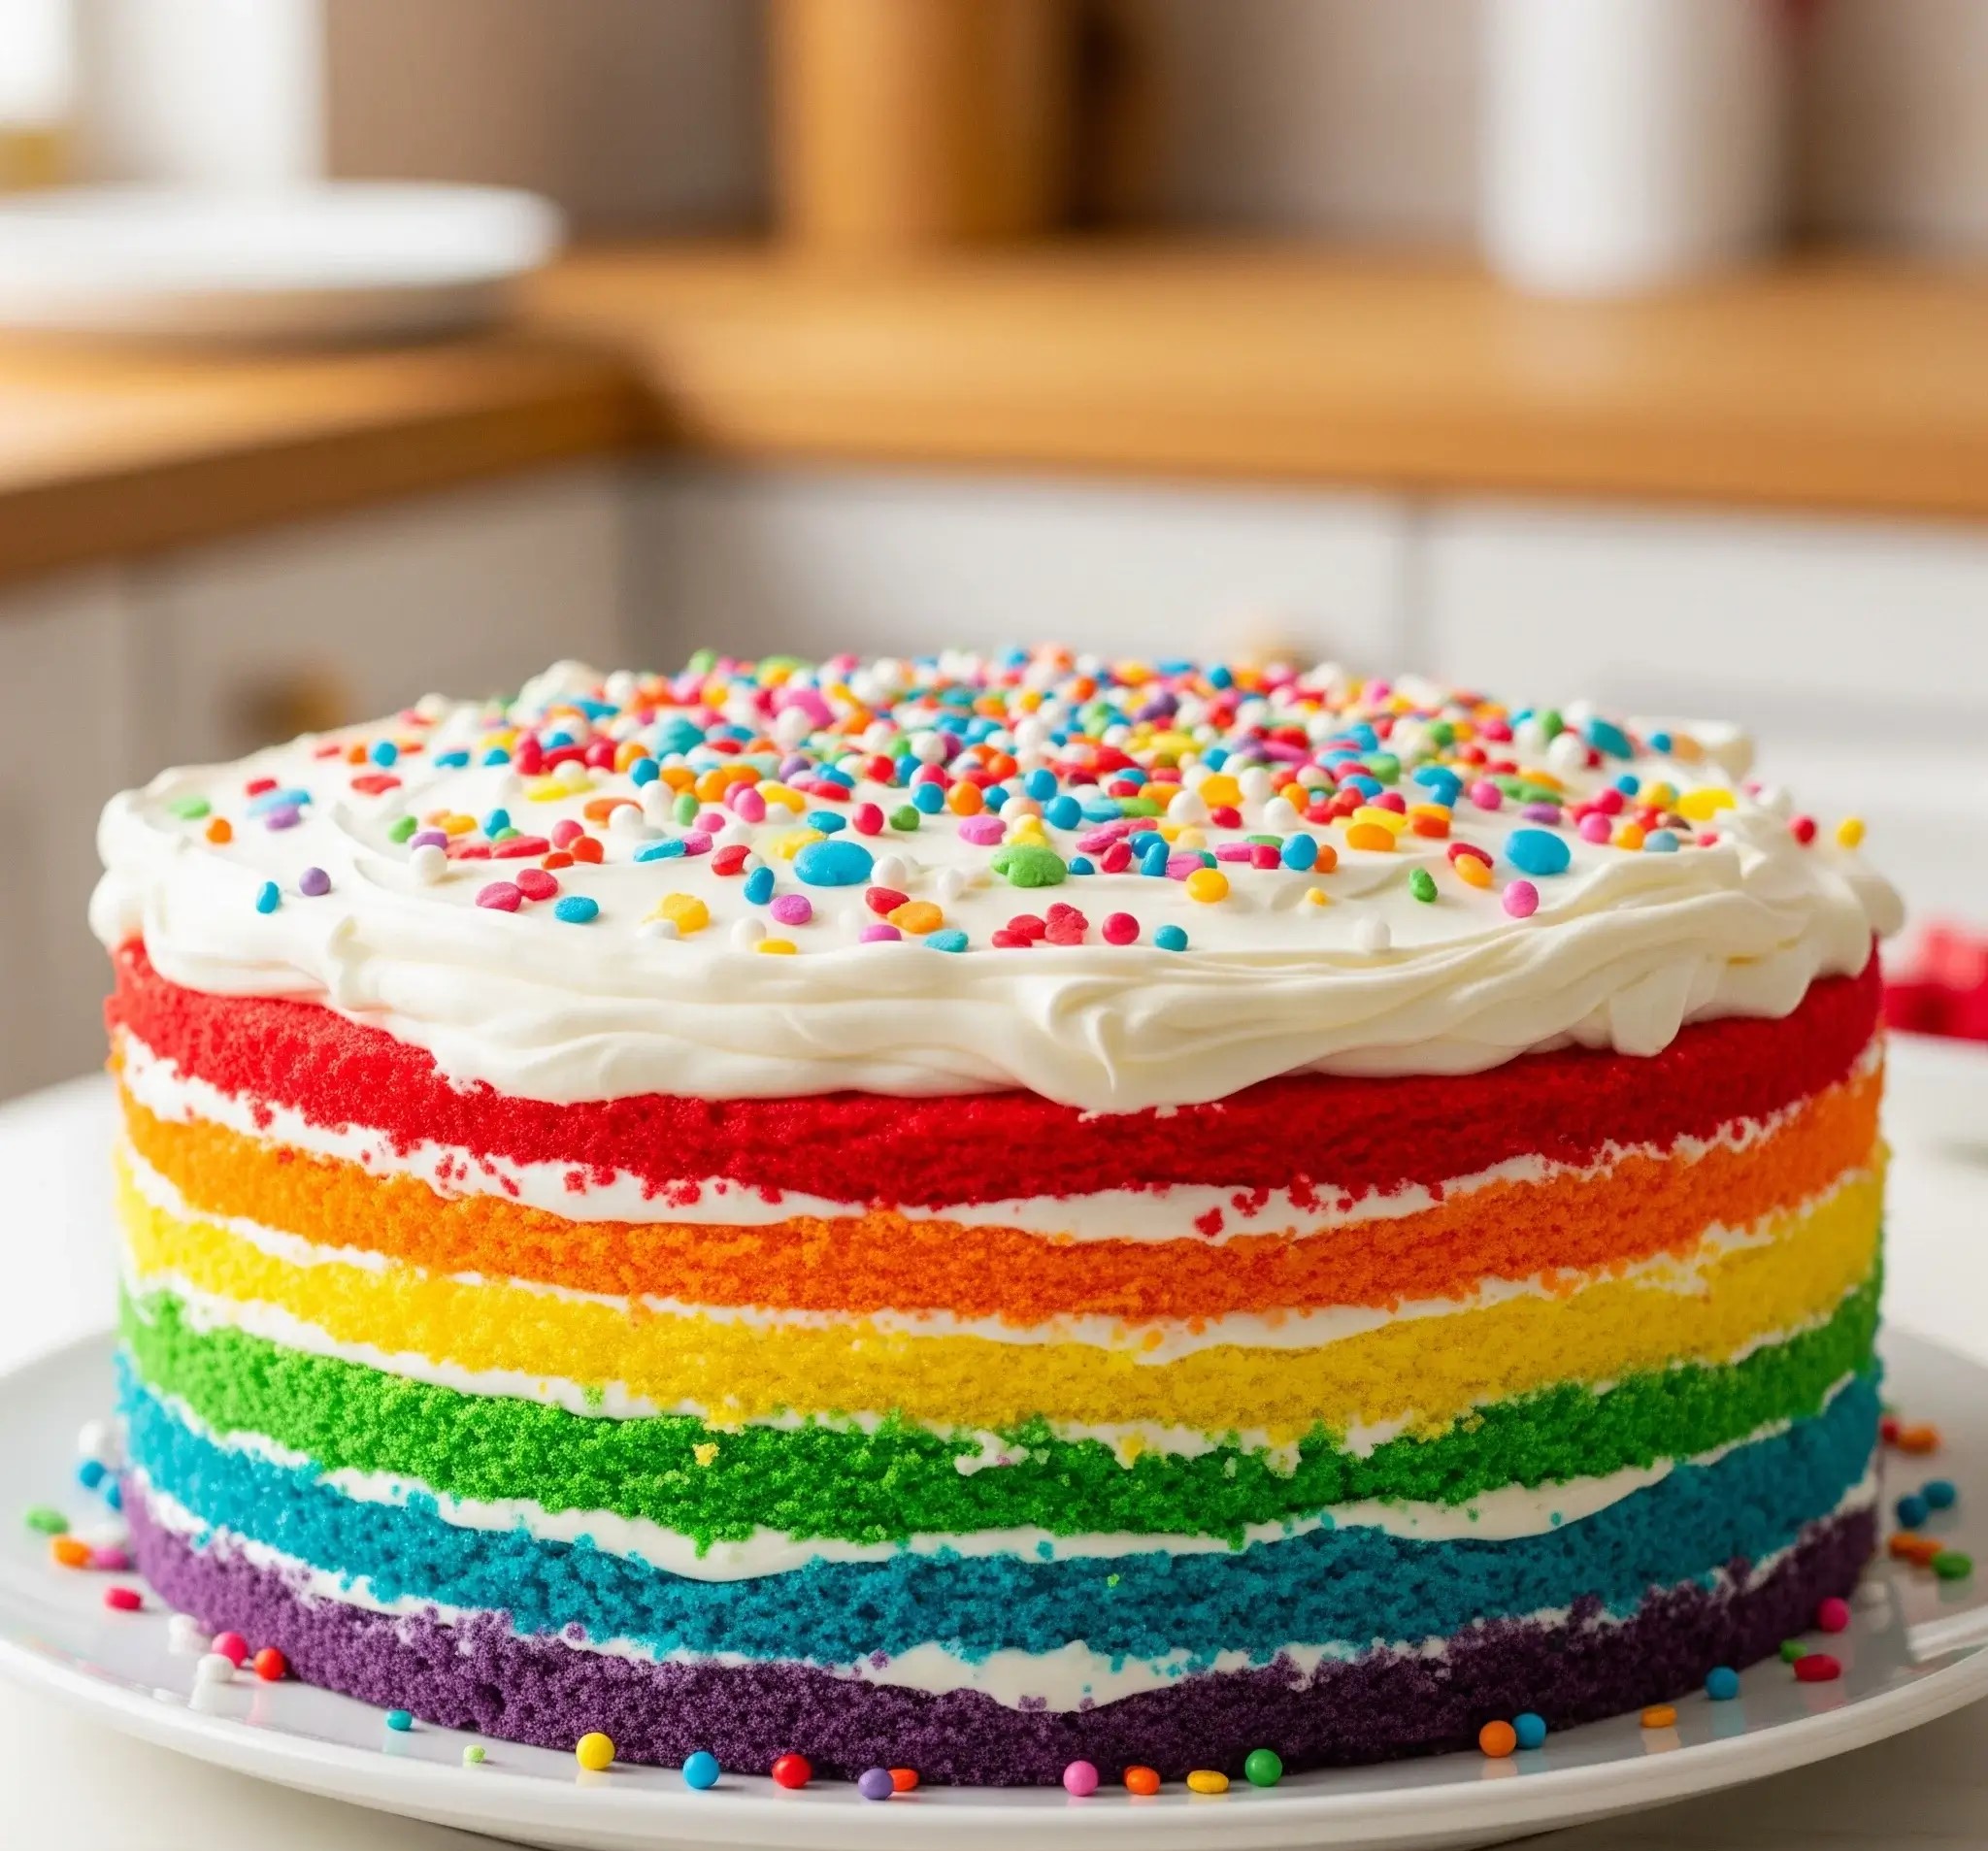
I still remember the mess in my kitchen the first time I baked this rainbow cake—bowls everywhere, drops of food coloring on my fingertips, flour on my shirt, and me nervously checking the oven every five minutes.
But when I finally stacked those colorful layers and sliced into the cake? It was like opening a wrapped gift.
Every single person at the table smiled. Not the polite kind, but the real kind—the one you don’t even realize you’re doing.
That moment made all the extra dishes and food coloring stains totally worth it.
This rainbow cake has become my go-to for birthdays, surprises, or just random days when I feel like doing something special.
It’s bright without being too sweet, soft with just the right amount of frosting, and honestly? It just makes people happy. That’s reason enough for me to keep making it.
I won’t make you scroll through a hundred stories or fancy baking terms. If you’ve got a little time, I’ll walk you through every step the way I wish someone had walked me through it the first time—simple, clear, and with no stress.
So if you’re ready for a cake that feels like a celebration the moment you cut it, you’re in the right place.
Rainbow Cake Recipe (6 Layers)
Serves: 12–14 | Prep Time: 1 hour | Baking Time: 20 minutes per batch
Ingredients
For the Cake Batter:
- 3 ½ cups (440g) all-purpose flour (sifted)
- 1 tbsp baking powder
- ½ tsp baking soda
- ½ tsp salt
- 1 ¾ cups (400g) unsalted butter, room temperature
- 2 ½ cups (500g) granulated sugar
- 6 large eggs, room temperature
- 2 tsp vanilla extract
- 1 ½ cups (360ml) buttermilk, room temperature
- Gel food colors: red, orange, yellow, green, blue, purple (use concentrated gel colors for vibrant layers)
For the Vanilla Frosting:
- 2 cups (450g) unsalted butter, room temperature
- 6 cups (750g) powdered sugar (sifted)
- 1 tbsp vanilla extract
- 4–5 tbsp whole milk (adjust for consistency)
- Pinch of salt
For Decoration:
-
Rainbow confetti sprinkles or nonpareils
Instructions
- Preheat oven to 170°C (340°F).
- Grease and line three 8-inch round cake pans with parchment paper (you will bake in two batches to get six layers).
- Set out six small mixing bowls to divide and color the batter.
- In a large bowl, whisk together flour, baking powder, baking soda, and salt. Set aside.
- In a stand mixer, beat the butter on medium speed for 2 minutes until creamy.
- Add the sugar gradually and beat for another 3–4 minutes until light and fluffy.
- Add eggs one at a time, mixing well after each addition.
- Add vanilla extract and mix to combine.
- Reduce the mixer speed to low.
- Add one-third of the flour mixture, then half the buttermilk, then another third of the flour, the rest of the buttermilk, and finally the last of the flour.
- Mix until just combined. Don’t overmix.
- Weigh the total batter using a kitchen scale and divide it evenly into six bowls (each should have about 320–340g).
- Use gel food coloring to tint each bowl: one red, one orange, one yellow, one green, one blue, and one purple. Mix until no streaks remain.
- Pour two colored batters into the three pans (two at a time). Level the tops.
- Bake for 18–20 minutes or until a toothpick comes out clean.
- Let cakes cool in pans for 10 minutes, then transfer to wire racks.
- Clean, re-grease, and reuse the pans for the remaining layers.
- Once all layers are baked, cool completely before frosting.
- Beat the butter on high for 3 minutes until fluffy.
- Gradually add powdered sugar (1 cup at a time), mixing on low.
- Add vanilla, salt, and 2 tablespoons milk. Beat on high for 2–3 minutes.
- Add more milk, a teaspoon at a time, if needed to reach spreadable consistency.
- Level each layer if domed.
- Place the purple layer on a cake board. Add a thin layer of frosting using an offset spatula.
- Repeat with blue, green, yellow, orange, and red, layering with frosting between each.
- Lightly frost the outside and top with a thin crumb coat. Chill for 15 minutes.
- Apply a final smooth layer of frosting on top.
- Generously sprinkle rainbow nonpareils or confetti sprinkles over the top.
- Press a few sprinkles gently around the base or sides if desired.
- Store in an airtight container at room temperature for 1 day or refrigerate up to 5 days.
- Bring to room temperature before serving for the best texture.

Which Food Coloring Is Best For Rainbow Cake?
To get bold, bright colors that really pop in the oven, the type of coloring you use matters.
- Gel food colors: give the strongest color without changing the texture of the batter.
- Avoid liquid colors: they’re too weak and can thin out your cake batter.
- Use oil-based colors: if baking with white chocolate or oil-based batters.
- Brands that work well: Color Mill, AmeriColor, Chefmaster, Wilton Gel Colors.
Can I Make a Rainbow Cake Without Gel Colors?
Yes, but the result may not be as bold.
- Liquid food colors: work but give lighter pastel shades.
- Natural powders: like beetroot, matcha, or turmeric can be used but change the flavor.
- Homemade fruit and veggie dyes: can be made but fade during baking.
How Do I Prevent Rainbow Cake Layers From Drying Out?
Moist layers make all the difference. Follow these easy tips:
- Don’t overbake: remove cakes when a toothpick comes out with a few moist crumbs.
- Cover layers immediately: once cool, wrap each one tightly in plastic wrap.
- Use simple syrup: brush a thin layer of sugar water on each layer before stacking.
- Don’t leave out uncovered: always store cake covered, even while cooling.
How Do I Keep The Layers From Sliding While Stacking?
Tall cakes can slip if they’re not stacked right. These steps help hold everything in place.
- Level each layer: use a serrated knife or cake leveler.
- Apply frosting evenly: spread a flat layer of frosting between each cake.
- Chill as you go: after stacking 3 layers, chill for 15 minutes before adding more.
- Use a center dowel or straw: to hold all the layers steady.
- Place on a flat surface: no tilting cake boards or wobbly stands.
Can I Use Box Cake Mix For Rainbow Cake?
Absolutely! It’s a quick option that still gives great results.
- Choose a white or vanilla cake mix: so the colors show clearly.
- Use two boxes: to make six layers without them being too thin.
- Follow the package instructions: but divide batter evenly before coloring.
- Add 1 tbsp of sour cream: to each mix for extra moisture and density.
Can I Make a Rainbow Cake Without Eggs Or Dairy?
Yes, you can make a rainbow cake completely egg-free and dairy-free using these options:
- Egg replacers: like unsweetened applesauce, mashed banana, or commercial egg replacers.
- Plant-based milk: like almond, oat, or soy milk instead of regular milk.
- Vegan butter or oil: as a direct swap for regular butter.
- Use vinegar + baking soda: for fluffy, airy texture in eggless cakes.

Is It Safe To Use Food Coloring In Rainbow Cakes For Kids?
Yes, it’s safe—but use it in the right way.
- Stick to gel-based brands: they need less product to give strong color.
- Read labels: make sure they are free from harmful additives or allergens.
- Use only what you need: don’t go overboard with color quantity.
- Test with a small slice: if it’s your child’s first time eating food coloring.
How To Avoid Color Bleeding Between Layers In a Rainbow Cake?
To keep colors crisp and separate, follow these tips:
- Cool layers completely: never frost warm cakes.
- Use thick frosting: between layers to create a clean barrier.
- Chill the cake: between frosting and stacking.
- Don’t press too hard: when stacking, apply gentle pressure only.
How Do I Transport a Tall Rainbow Cake Safely?
Tall cakes need extra care during travel. Here’s how to move them without damage:
- Chill the cake well: cold cake is more stable.
- Use a non-slip mat: under the cake board inside the box.
- Place in a tall cake box: and secure the lid.
- Avoid sudden brakes or turns: drive slowly and keep the cake flat.
- Use a center dowel: for extra support through all layers.
Can I Freeze Rainbow Cake Slices?
Yes, freezing slices works well and keeps them fresh.
- Wrap each slice tightly: in plastic wrap, then foil.
- Store flat in an airtight container: or zip-top freezer bag.
- Label with date: and eat within 1–2 months.
- Thaw in the fridge overnight: and serve at room temperature.
You May Also Like To Check Out These Recipes:
- 50th Birthday Cake
- Car Cake Recipe
- Fall Wedding Cake
- Black Forest Cake
- Harry Potter Birthday Cake
- Birthday Cake Ideas For Men
- Vintage Wedding Cake
- Black And White Wedding Cake
- Bluey Birthday Cake
- Chocolate Cake Pops
- Chocolate Zucchini Cake
- Gluten Free Chocolate Cake
- No Bake Eclair Cake
- Dirt Cake With Gummy Worms
- Peanut Butter Chocolate Cake
- Winnie The Pooh Baby Shower Cake
- Baby Shower Cake Ideas For Girls & Boys

