I didn’t plan to bake this pumpkin coffee cake the first time I made it. I just had some quiet time, a can of pumpkin that had been sitting in the cabinet for weeks, and this tiny thought: “Maybe I’ll bake something warm.” That’s really all it took.
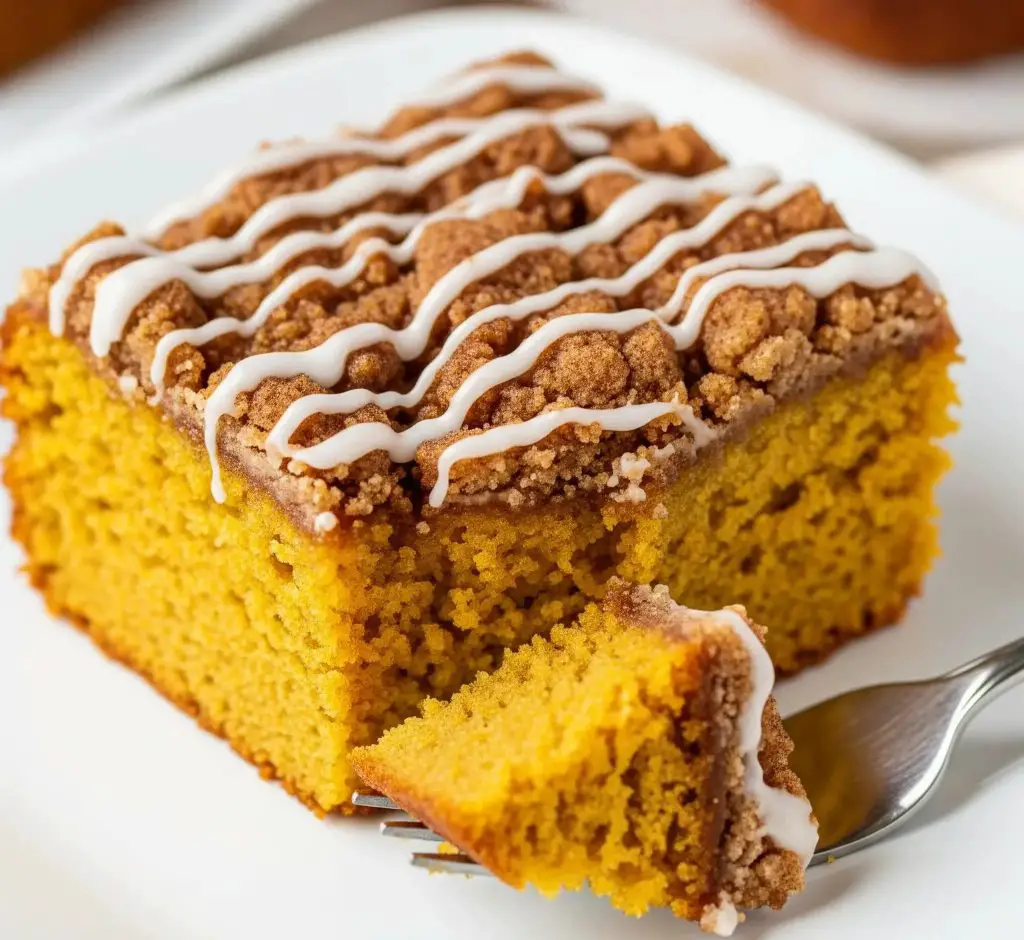
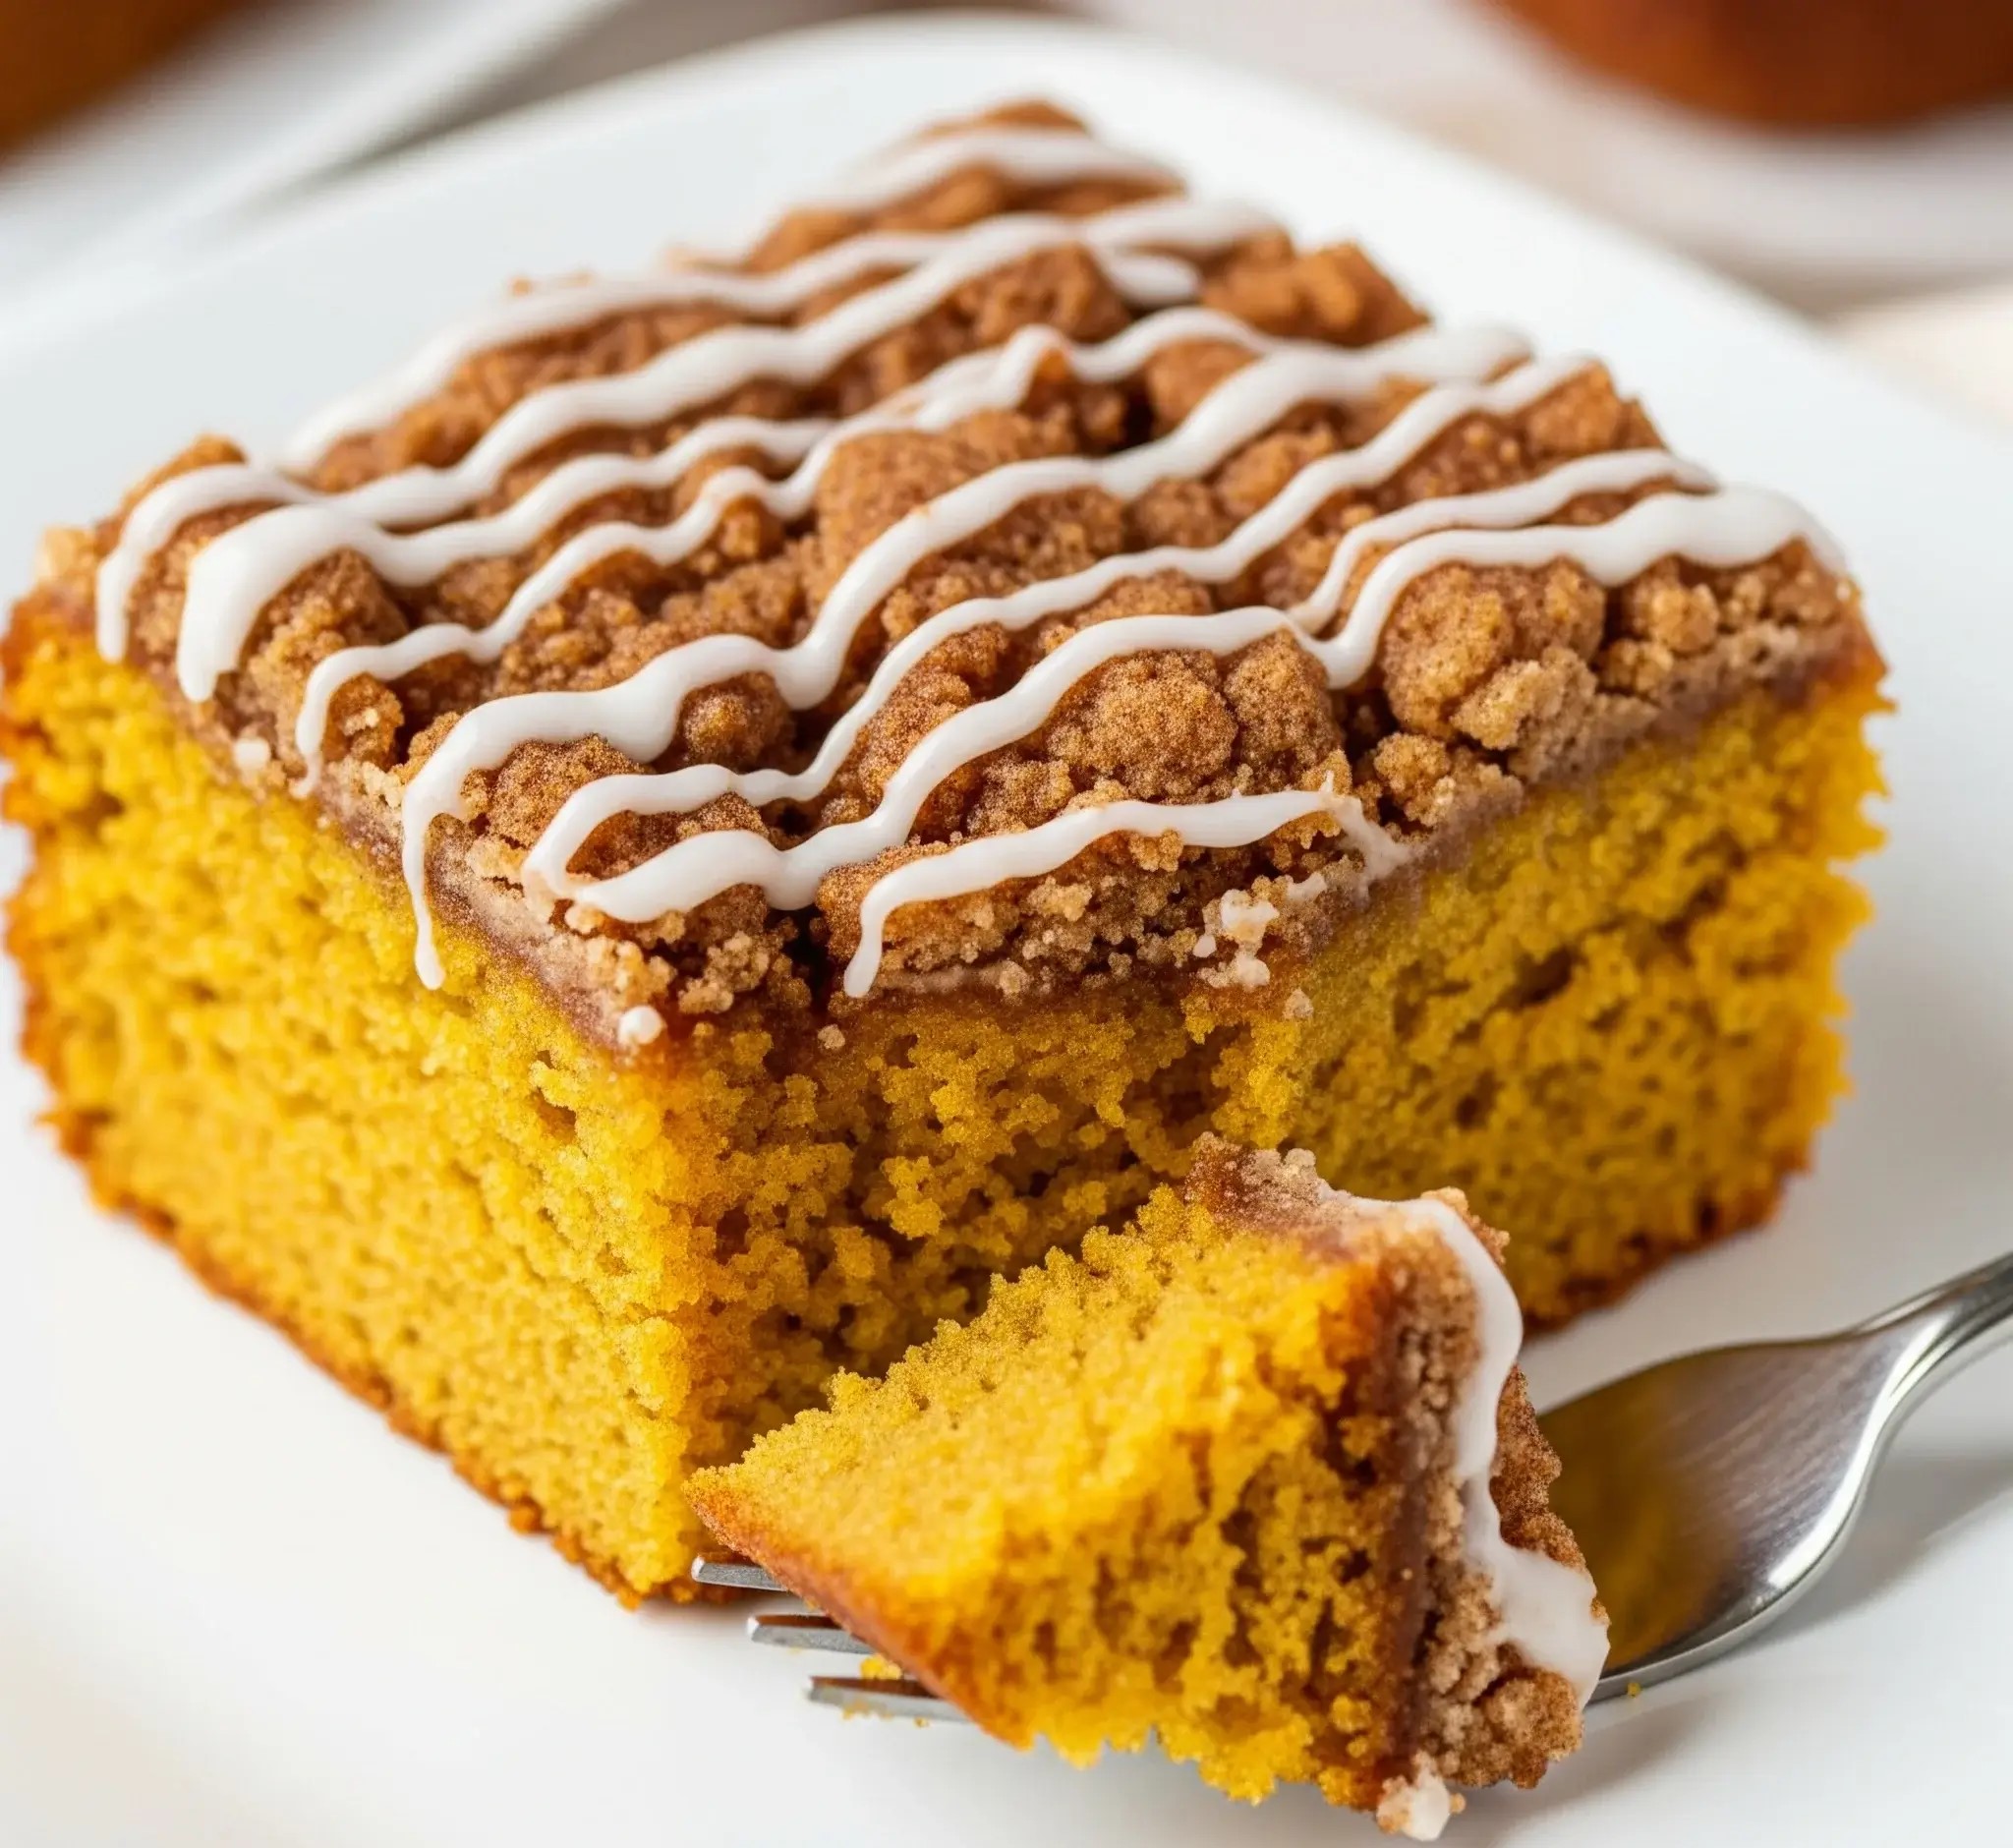
What came out of the oven surprised me more than anyone. Soft, golden cake with a deep pumpkin flavor, a thick layer of cinnamon-brown sugar crumble on top, and a sweet drizzle that made the whole thing feel a little extra special—without trying too hard.
No mixer, no special steps, nothing fancy. Just basic ingredients and a simple recipe that turned into something I now make again and again, almost by instinct.
It’s the kind of cake I make when I’m not in the mood for fuss but still want something that tastes like I put effort into it. And honestly?
I usually don’t wait for a special reason to bake it. Sometimes it’s just for a quiet evening with tea. Other times, it’s because I know it’ll make my kitchen smell amazing.
This recipe isn’t complicated. It’s warm, familiar, and a little nostalgic. If you’ve got a can of pumpkin and an hour to spare, you’re already halfway there.
Pumpkin Coffee Cake Recipe
Ingredients
For the Cake Batter:
- 1 ¾ cups (220g) all-purpose flour
- 1 tsp baking powder
- ½ tsp baking soda
- ½ tsp salt
- 1 tsp ground cinnamon
- ½ tsp ground nutmeg
- ¼ tsp ground ginger
- ¼ tsp ground cloves
- ½ cup (120ml) vegetable oil
- 1 cup (200g) granulated sugar
- ½ cup (110g) brown sugar, packed
- 2 large eggs
- 1 cup (240g) pumpkin purée (not pie filling)
- ¼ cup (60ml) plain yogurt
- 1 tsp vanilla extract
For the Crumb Topping:
- ¾ cup (95g) all-purpose flour
- ½ cup (100g) brown sugar, packed
- 1 tsp ground cinnamon
- ¼ cup (55g) unsalted butter, melted
For the Icing Drizzle:
- ½ cup (60g) powdered sugar
- 1 tbsp milk (or a bit more to thin as needed)
- ¼ tsp vanilla extract
Instructions
Step 1: Preheat & Prepare
- Preheat your oven to 350°F (175°C).
- Grease a 9×9-inch square baking pan or line it with parchment paper.
Step 2: Mix the Dry Ingredients
- In a medium bowl, sift together flour, baking powder, baking soda, salt, cinnamon, nutmeg, ginger, and cloves. Set aside.
Step 3: Make the Wet Batter
- In a large mixing bowl, whisk together vegetable oil, granulated sugar, and brown sugar until smooth and well combined.
- Beat in the eggs, one at a time.
- Add pumpkin purée, yogurt, and vanilla extract. Whisk until creamy and smooth.
Step 4: Combine Dry and Wet
-
Gradually fold the dry ingredients into the wet batter using a spatula or whisk. Mix just until combined. Don’t overmix.
Step 5: Make the Crumb Topping
- In a small bowl, mix flour, brown sugar, and cinnamon.
- Pour in the melted butter and stir with a fork until large, crumbly chunks form. Don’t overmix—you want clumps.
Step 6: Assemble the Cake
- Pour the cake batter into the prepared pan and spread evenly.
- Sprinkle the crumb topping evenly over the batter. Gently press the crumbs into the surface so they stick while baking.
Step 7: Bake
- Bake for 38–42 minutes, or until a toothpick inserted in the center comes out clean.
- The top should be golden and slightly crisp with visible cinnamon clusters.
Step 8: Cool and Drizzle
- Allow the cake to cool in the pan for at least 30 minutes.
- In the meantime, whisk together powdered sugar, milk, and vanilla extract until smooth and thick enough to drizzle. Add a few more drops of milk if too thick.
- Drizzle over the cooled cake using a spoon or piping bag in a zigzag motion, just like in the image.
Tips for Perfect Texture & Appearance:
- Pumpkin Purée: Use pure pumpkin, not pumpkin pie mix.
- Yogurt: Adds softness—use plain, unsweetened yogurt for best results.
- Crumb Topping: Let the topping chill for 5 minutes before sprinkling for chunkier crumbs.
- Don’t skip the drizzle: it adds that classic bakery-style look and balances the spices beautifully.

What Makes a Pumpkin Coffee Cake Moist?
The secret to a soft and moist pumpkin coffee cake lies in using the right ingredients and following a few simple tips:
- Pumpkin purée: Use pure pumpkin purée – it adds moisture and flavor naturally.
- Oil instead of butter: Oil helps make the cake softer and keeps it moist for longer.
- Don’t overmix: Overmixing the batter can make the cake dense and dry. Mix just until combined.
- Add yogurt or sour cream: These make the cake more tender and soft inside.
- Proper baking time: Don’t overbake. Take the cake out when a toothpick comes out with a few moist crumbs.
Can I Make Pumpkin Coffee Cake Without Eggs?
Yes, you can bake a delicious pumpkin coffee cake without eggs. Use any of these common egg alternatives:
- Yogurt: Use ¼ cup plain yogurt for each egg.
- Unsweetened applesauce: Use ¼ cup as a replacement for 1 egg.
- Mashed banana: Use ¼ cup mashed ripe banana per egg (adds a slight banana flavor).
- Commercial egg replacer: Follow the instructions on the package.
Can I Use Gluten-Free Flour For Pumpkin Coffee Cake?
Yes, pumpkin coffee cake can be made gluten-free with good results.
- Use a 1:1 gluten-free flour blend: Choose one that already includes xanthan gum or similar binding agents.
- Don’t skip resting the batter: Let the batter sit for 10–15 minutes before baking to improve texture.
- Watch baking time: Gluten-free cakes can bake slightly faster or slower—keep an eye on it.
What Kind Of Crumb Topping Goes Best With Pumpkin Cake?
The crumb topping is one of the best parts of a pumpkin coffee cake. A good one adds crunch and flavor.
- Brown sugar: Gives a rich, warm flavor that matches pumpkin perfectly.
- Cinnamon and spices: Add depth and balance the sweetness.
- Flour: Helps give the topping a crumbly texture.
- Melted butter: Binds everything together and helps it crisp up during baking.
Can I Make Pumpkin Coffee Cake In Advance?
Yes, making it ahead is easy and helpful.
- Bake the night before: Let it cool completely, then cover tightly and store at room temperature.
- Make the batter ahead: You can prepare the batter and crumb topping separately, refrigerate, and bake the next day.
- Freezing option: Bake, cool, and freeze slices for later use (details below).

How Do I Keep The Crumb Topping From Sinking Into The Cake?
To keep your crumb topping in place and crispy, follow these tips:
- Use thick batter: A thicker cake batter helps hold the crumb layer on top.
- Chill the topping: Refrigerate the crumb topping for 5–10 minutes before adding it.
- Press gently: Lightly press the crumbs into the top of the batter – not too hard.
- Bake right after topping: Don’t let the cake batter sit too long after adding crumbs.
How To Make Pumpkin Coffee Cake Without a Mixer?
You don’t need a mixer at all. This recipe is easy to do by hand.
- Use a whisk and spatula: Mix wet and dry ingredients separately, then combine gently.
- No need to cream butter: Since the recipe uses oil, it’s very simple to stir.
- Avoid overmixing: Stir just until everything is blended.
- Use room temperature ingredients: Makes mixing easier and smoother.
Is Pumpkin Coffee Cake a Breakfast Food Or Dessert?
Pumpkin coffee cake works great as both – and that’s what makes it so loved.
- For breakfast: It pairs perfectly with tea or coffee and isn’t too sweet.
- For dessert: Add the icing drizzle and serve warm for a light, cozy sweet dish.
- Also perfect for brunch or snacks: It’s soft, flavorful, and works any time of day.
How Do I Store Pumpkin Coffee Cake?
Storing it the right way keeps it fresh and soft for days.
- Room temperature: Store in an airtight container for up to 3 days.
- Refrigerator: Keeps well for 5–6 days in a sealed container.
- Cover it well: This prevents it from drying out and keeps the crumb topping crisp.
Can I Freeze Pumpkin Coffee Cake?
Yes, it freezes really well—just follow these steps for the best results:
- Slice before freezing: Cut the cake into portions for easy thawing.
- Wrap tightly: Use plastic wrap and then foil or a freezer bag.
- Label with date: Keeps things organized.
- Freeze for up to 2 months: Just thaw at room temp or microwave before serving.
- Add icing later: If you plan to glaze it, do it after thawing for best texture.

