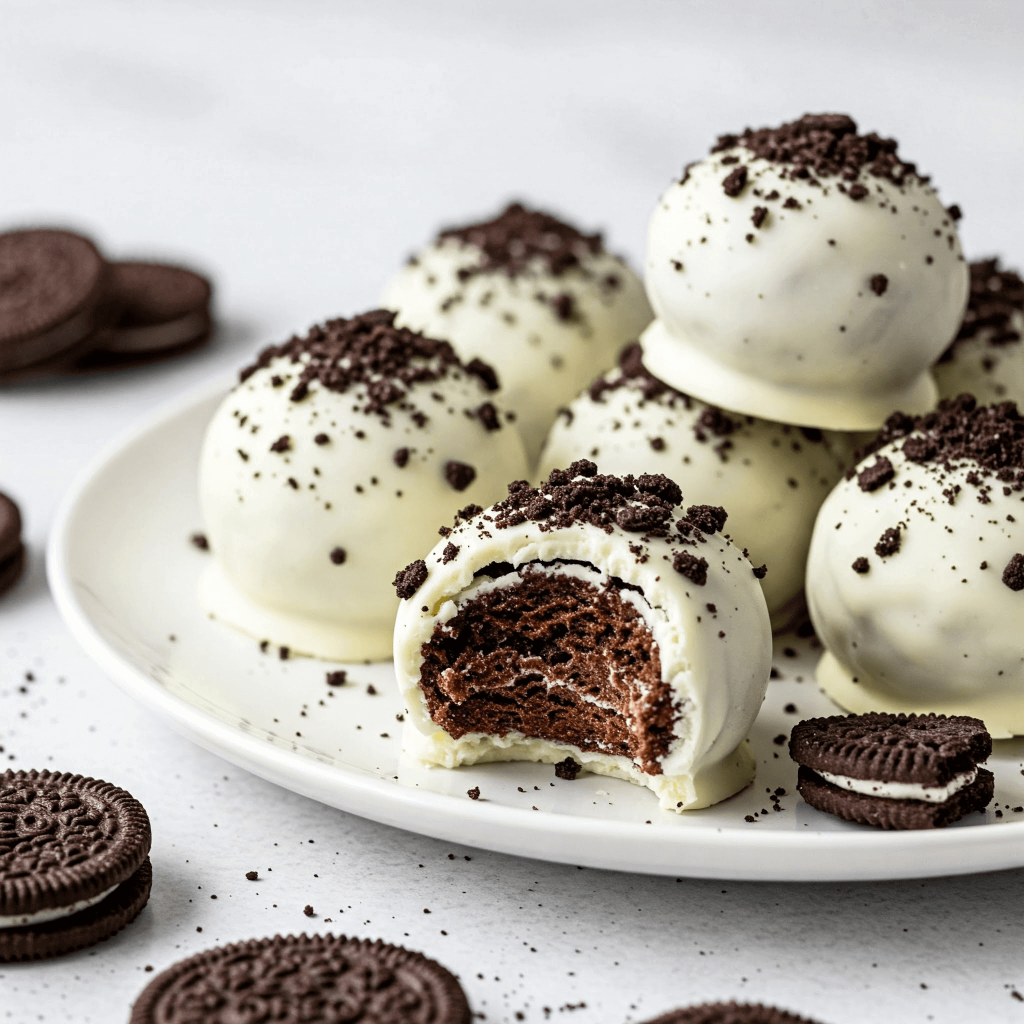
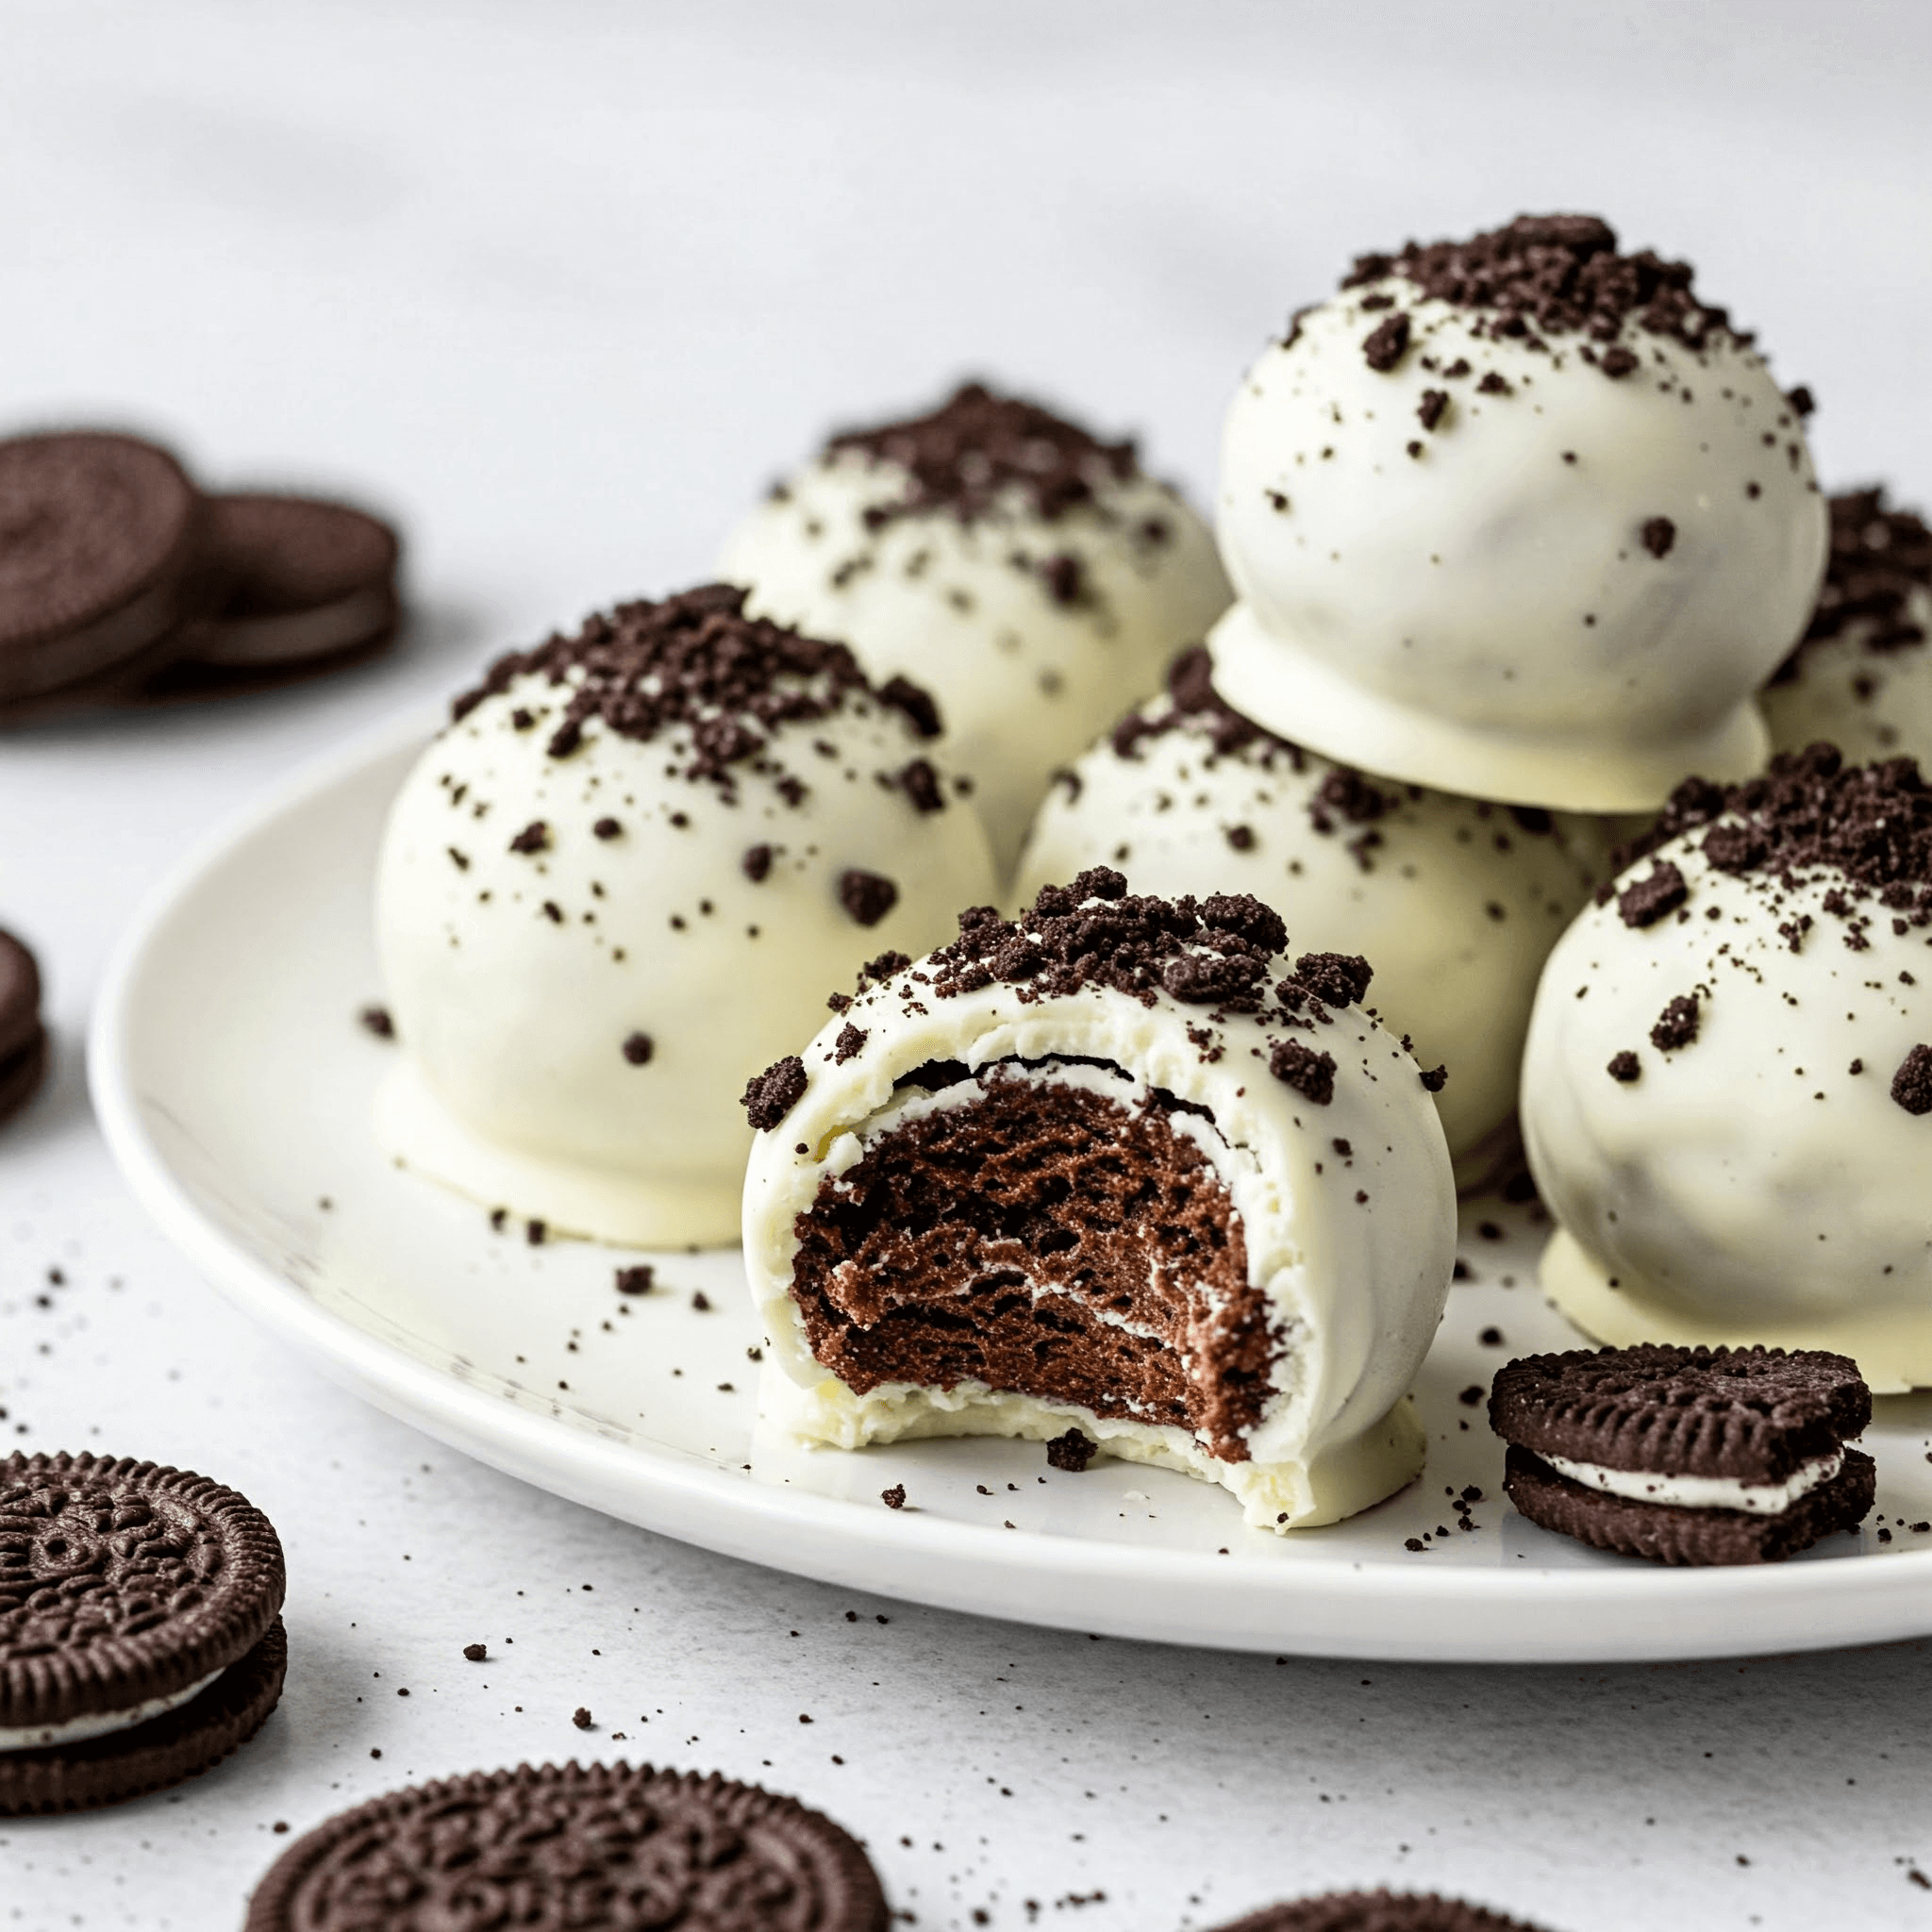
You know how sometimes you just want something sweet that’s really worth it?
Not something complicated, not something you’ll forget five minutes later—but that kind of bite that makes you go, “Yup, that’s it.” That’s exactly what these Oreo cake pops are.
I made them last weekend, and no joke, they vanished in like… 15 minutes. You’d think I had a crowd of 30 people in my kitchen.
It’s wild how a few simple ingredients—Oreos, cream cheese, and melted chocolate—can turn into something this addictive.
They’ve got that soft, brownie-like center and a creamy white chocolate shell that cracks just slightly when you bite in. It’s a texture thing. A flavor thing. A why-didn’t-I-make-more thing.
If you’ve never made cake pops before, don’t stress. These are basically foolproof. No baking. No mixers. No drama. Just smash, mix, roll, dip, done.
I’ll walk you through every step. No fancy jargon, no fuss. Just real talk and seriously good treats. Let’s make some magic.
Oreo Cake Pops Recipe
Ingredients (Yields ~15 cake pops):
For the Oreo Cake Base:
- 28 Oreo cookies (standard size, cream-filled)
- 120 g (4.2 oz) cream cheese, softened (full-fat, brick style)
For the Coating and Decoration:
- 300 g (10.5 oz) white chocolate or white chocolate chips (use high-quality melting chocolate)
- 3 Oreo cookies (extra, for topping)
- 1 tsp vegetable oil (optional, helps chocolate melt smoothly)
Instructions
- Place the 28 Oreo cookies into a food processor. Blend until they turn into fine, uniform crumbs.
- Add the softened cream cheese to the crushed cookies. Blend again until the mixture becomes thick and smooth, almost like a sticky dough.
- Scrape down the sides as needed to make sure everything is well incorporated. The consistency should allow you to scoop and roll it easily.
- Line a tray with parchment paper.
- Use a small cookie scoop or a tablespoon to scoop out portions of the dough. Roll each portion into a smooth ball between your palms. You should get about 15 balls.
- Place the tray into the freezer for 25–30 minutes. This step is crucial so the balls firm up and don’t fall apart during dipping.
- While waiting, finely crush the 3 extra Oreo cookies (without separating the cream). Use a food processor or place them in a sealed bag and crush them with a rolling pin.
- Set aside in a small bowl for topping.
- In a heatproof bowl, melt the white chocolate (and optional vegetable oil) using a double boiler or microwave. If using the microwave, heat in 20-second intervals, stirring well between each round to avoid burning.
- Stir until silky and completely smooth.
- Remove the Oreo balls from the freezer.
- Using a fork or dipping tool, dip one ball at a time into the melted white chocolate. Coat completely, then gently lift and tap the fork on the side of the bowl to remove excess chocolate.
- Carefully slide the coated ball back onto the parchment paper using a toothpick or another fork.
- Immediately sprinkle some of the reserved crushed Oreos on top of each freshly coated cake pop while the chocolate is still wet.
- Repeat the dipping and topping process with all remaining cake pops.
- Allow the cake pops to sit at room temperature until the white chocolate coating is fully set, about 30–40 minutes. You can speed this up by placing the tray in the fridge for 10–15 minutes.
- Once set, transfer the cake pops to a clean serving plate. Store leftovers in an airtight container in the fridge for up to 5 days.

How Do You Decorate Oreo Cake Pops?
Decorating Oreo cake pops is the fun part and makes them look even more tempting. Here are easy tips anyone can follow:
- Add sprinkles while coating is wet: This helps them stick properly and adds color and crunch.
- Use chocolate drizzle for extra flair: Melt some milk or dark chocolate and drizzle it on top after the white chocolate sets.
- Crushed Oreos for topping: Sprinkle a bit of crushed Oreo over the top before the coating dries for a double Oreo effect.
- Colorful chocolate melts: Use colored chocolate melts to match a theme—just melt, dip, and decorate.
- Edible glitter or gold dust: Add a light touch of shimmer for party or festive vibes.
- Use small piping bags: For neat chocolate lines or names, small piping bags give you more control.
How Do You Make Oreo Cake Pops Without Baking?
Making Oreo cake pops without turning on the oven is super simple. Here’s how to do it right:
- Crush the cookies well: Use a food processor or rolling pin to make fine crumbs.
- Add a creamy binder: Mix in softened cream cheese until it forms a smooth dough.
- Roll into firm balls: Make equal-sized balls and place them on parchment paper.
- Chill before dipping: Freeze or refrigerate the balls for at least 30 minutes so they don’t fall apart.
- Use melted chocolate for coating: Dip the cold balls in melted white chocolate to finish.
Can I Make Oreo Cake Pops Without Cream Cheese?
Yes, you can still make them delicious without cream cheese. Try these simple substitutes:
- Sweetened condensed milk: Adds creaminess and helps the mixture stick together.
- Buttercream frosting: A great option that keeps the texture rich and smooth.
- Peanut butter or almond butter: Works well and gives a nutty twist.
- Chocolate spread: Something like a smooth cocoa spread also binds everything perfectly.
Do Oreo Cake Pops Need To Be Refrigerated?
Yes, they do — especially if cream cheese or other perishable binders are used. Keep them fresh by following these:
- Refrigerate in a sealed container: Keeps moisture in and odors out.
- Lasts for up to 5 days: Still soft and tasty when stored properly.
- Let them rest before serving: Take them out 10–15 minutes early for best texture.
How Do I Melt White Chocolate For Dipping?
White chocolate melts a little differently than dark, so be careful with heat. Here’s how to melt it the easy way:
- Microwave method: Use 15–20 second bursts on medium power, stirring every time.
- Double boiler method: Place chocolate in a heatproof bowl over simmering water and stir until smooth.
- Add a little oil if needed: A small drop of neutral oil helps make it smoother for dipping.
Why Are My Oreo Cake Pops Cracking?
If your cake pops are cracking, it usually comes down to temperature issues. These tips will help:
- Too cold inside + hot coating = cracks: Let chilled balls sit at room temperature before dipping.
- Don’t overchill: 20–30 minutes in the fridge is enough. Avoid freezing too long.
- Avoid thick coating: Dip quickly and gently shake off extra chocolate.
- Let chocolate cool slightly before dipping: If it’s too hot, it can shock the cold cake pop.

How Do You Keep Cake Pops From Falling Apart?
A few simple tweaks can stop your cake pops from breaking or sliding off the stick:
- Use the right texture: The dough should feel soft but hold its shape easily.
- Stick support matters: Dip the stick into melted chocolate before inserting—it helps it “glue” in.
- Chill before dipping: Cold balls are less likely to crumble or fall off.
- Hold gently when dipping: No twisting or heavy shaking. Dip straight in and out.
Can I Use Store-Brand Cookies Instead Of Oreos?
Absolutely, and they work just fine if you follow these tips:
- Look for similar flavor and cream content: Cookies with a good chocolate taste and cream filling work best.
- Adjust binder slightly: Some off-brand cookies are drier, so you might need a little more cream cheese or alternative binder.
- Check texture: Make sure the crushed cookies still blend into a dough that rolls easily.
What’s The Best Way To Crush Oreos For Cake Pops?
Crushing Oreos the right way helps get that smooth, even texture for your cake pop mixture:
- Use a food processor: This is the quickest way to get fine, even crumbs with no big chunks.
- No processor? Use a zip-lock bag and rolling pin: Add cookies to the bag, seal it tight, and roll until fully crushed.
- Don’t remove the cream: It helps the crumbs stick to the cream cheese and gives that fudgy texture.
Can I Use Chocolate Coating Instead Of White Chocolate?
Absolutely. You can switch up the chocolate coating to suit your taste or event theme:
- Milk chocolate: Great for a smooth, classic finish and works well with the Oreo center.
- Dark chocolate: Adds a slight bitterness that balances the sweetness.
- Colored chocolate melts: These are fun for birthdays, holidays, or gender reveal parties.
- Add a little oil if needed: If your chocolate is too thick, mix in a small amount of vegetable oil to thin it out for dipping.
Do I Need To Use Sticks For Oreo Cake Pops?
Not at all! You can make them with or without sticks, depending on how you want to serve them:
- With sticks: Easier for parties, clean to eat, and great for display.
- Without sticks (cake truffles): Serve them like truffles in mini paper cups or boxes.
- Use toothpicks or small skewers: If you’re short on cake pop sticks, these work just fine too.
- Dip the stick in chocolate before inserting: This helps the ball stay on securely and not fall off while dipping.
Can I Freeze Oreo Cake Pops?
Yes, you can freeze Oreo cake pops. But you need to do it the right way to keep their texture and taste fresh:
- Freeze after coating: Make sure the chocolate shell is fully set before freezing.
- Wrap individually: Use plastic wrap or small airtight bags to stop freezer burn.
- Use a freezer-safe container: Put the wrapped pops in a sealed box to keep them safe from moisture and odor.
- Thaw gently in the fridge: Move them to the fridge for a few hours before serving so they don’t sweat or crack.

