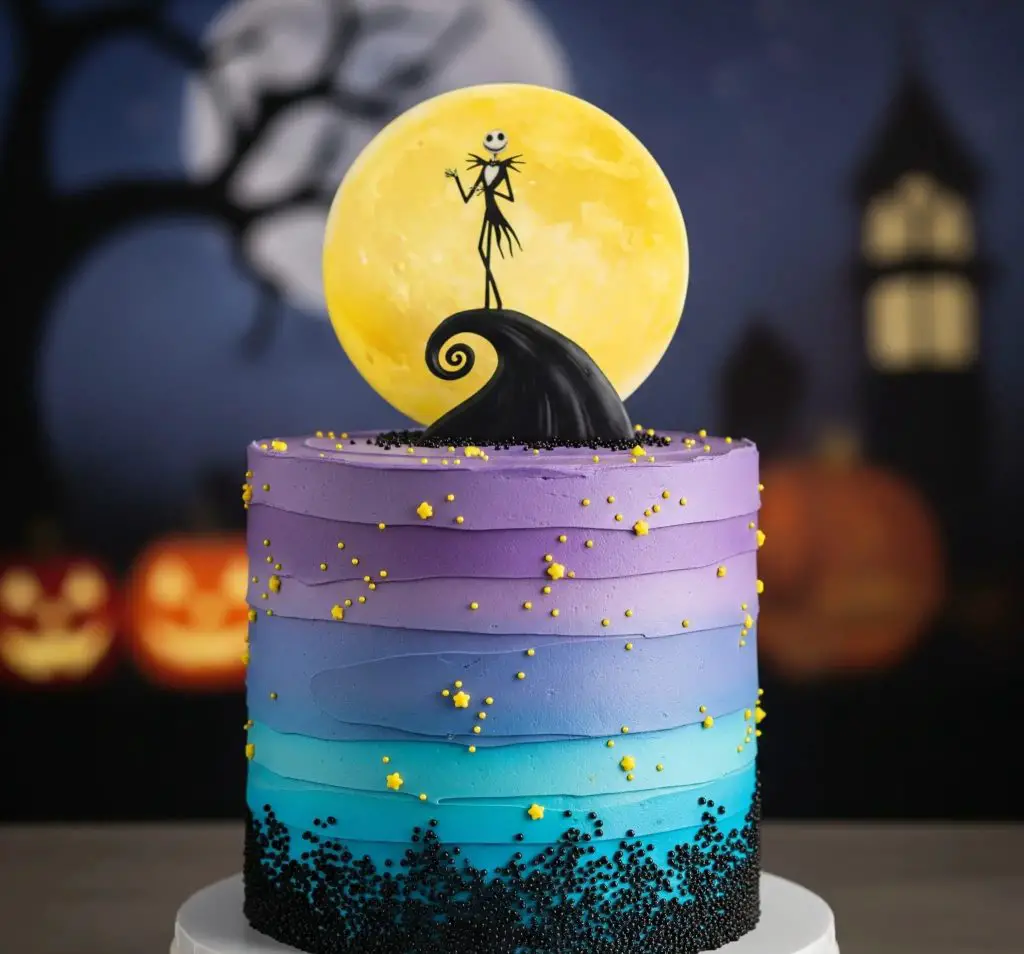
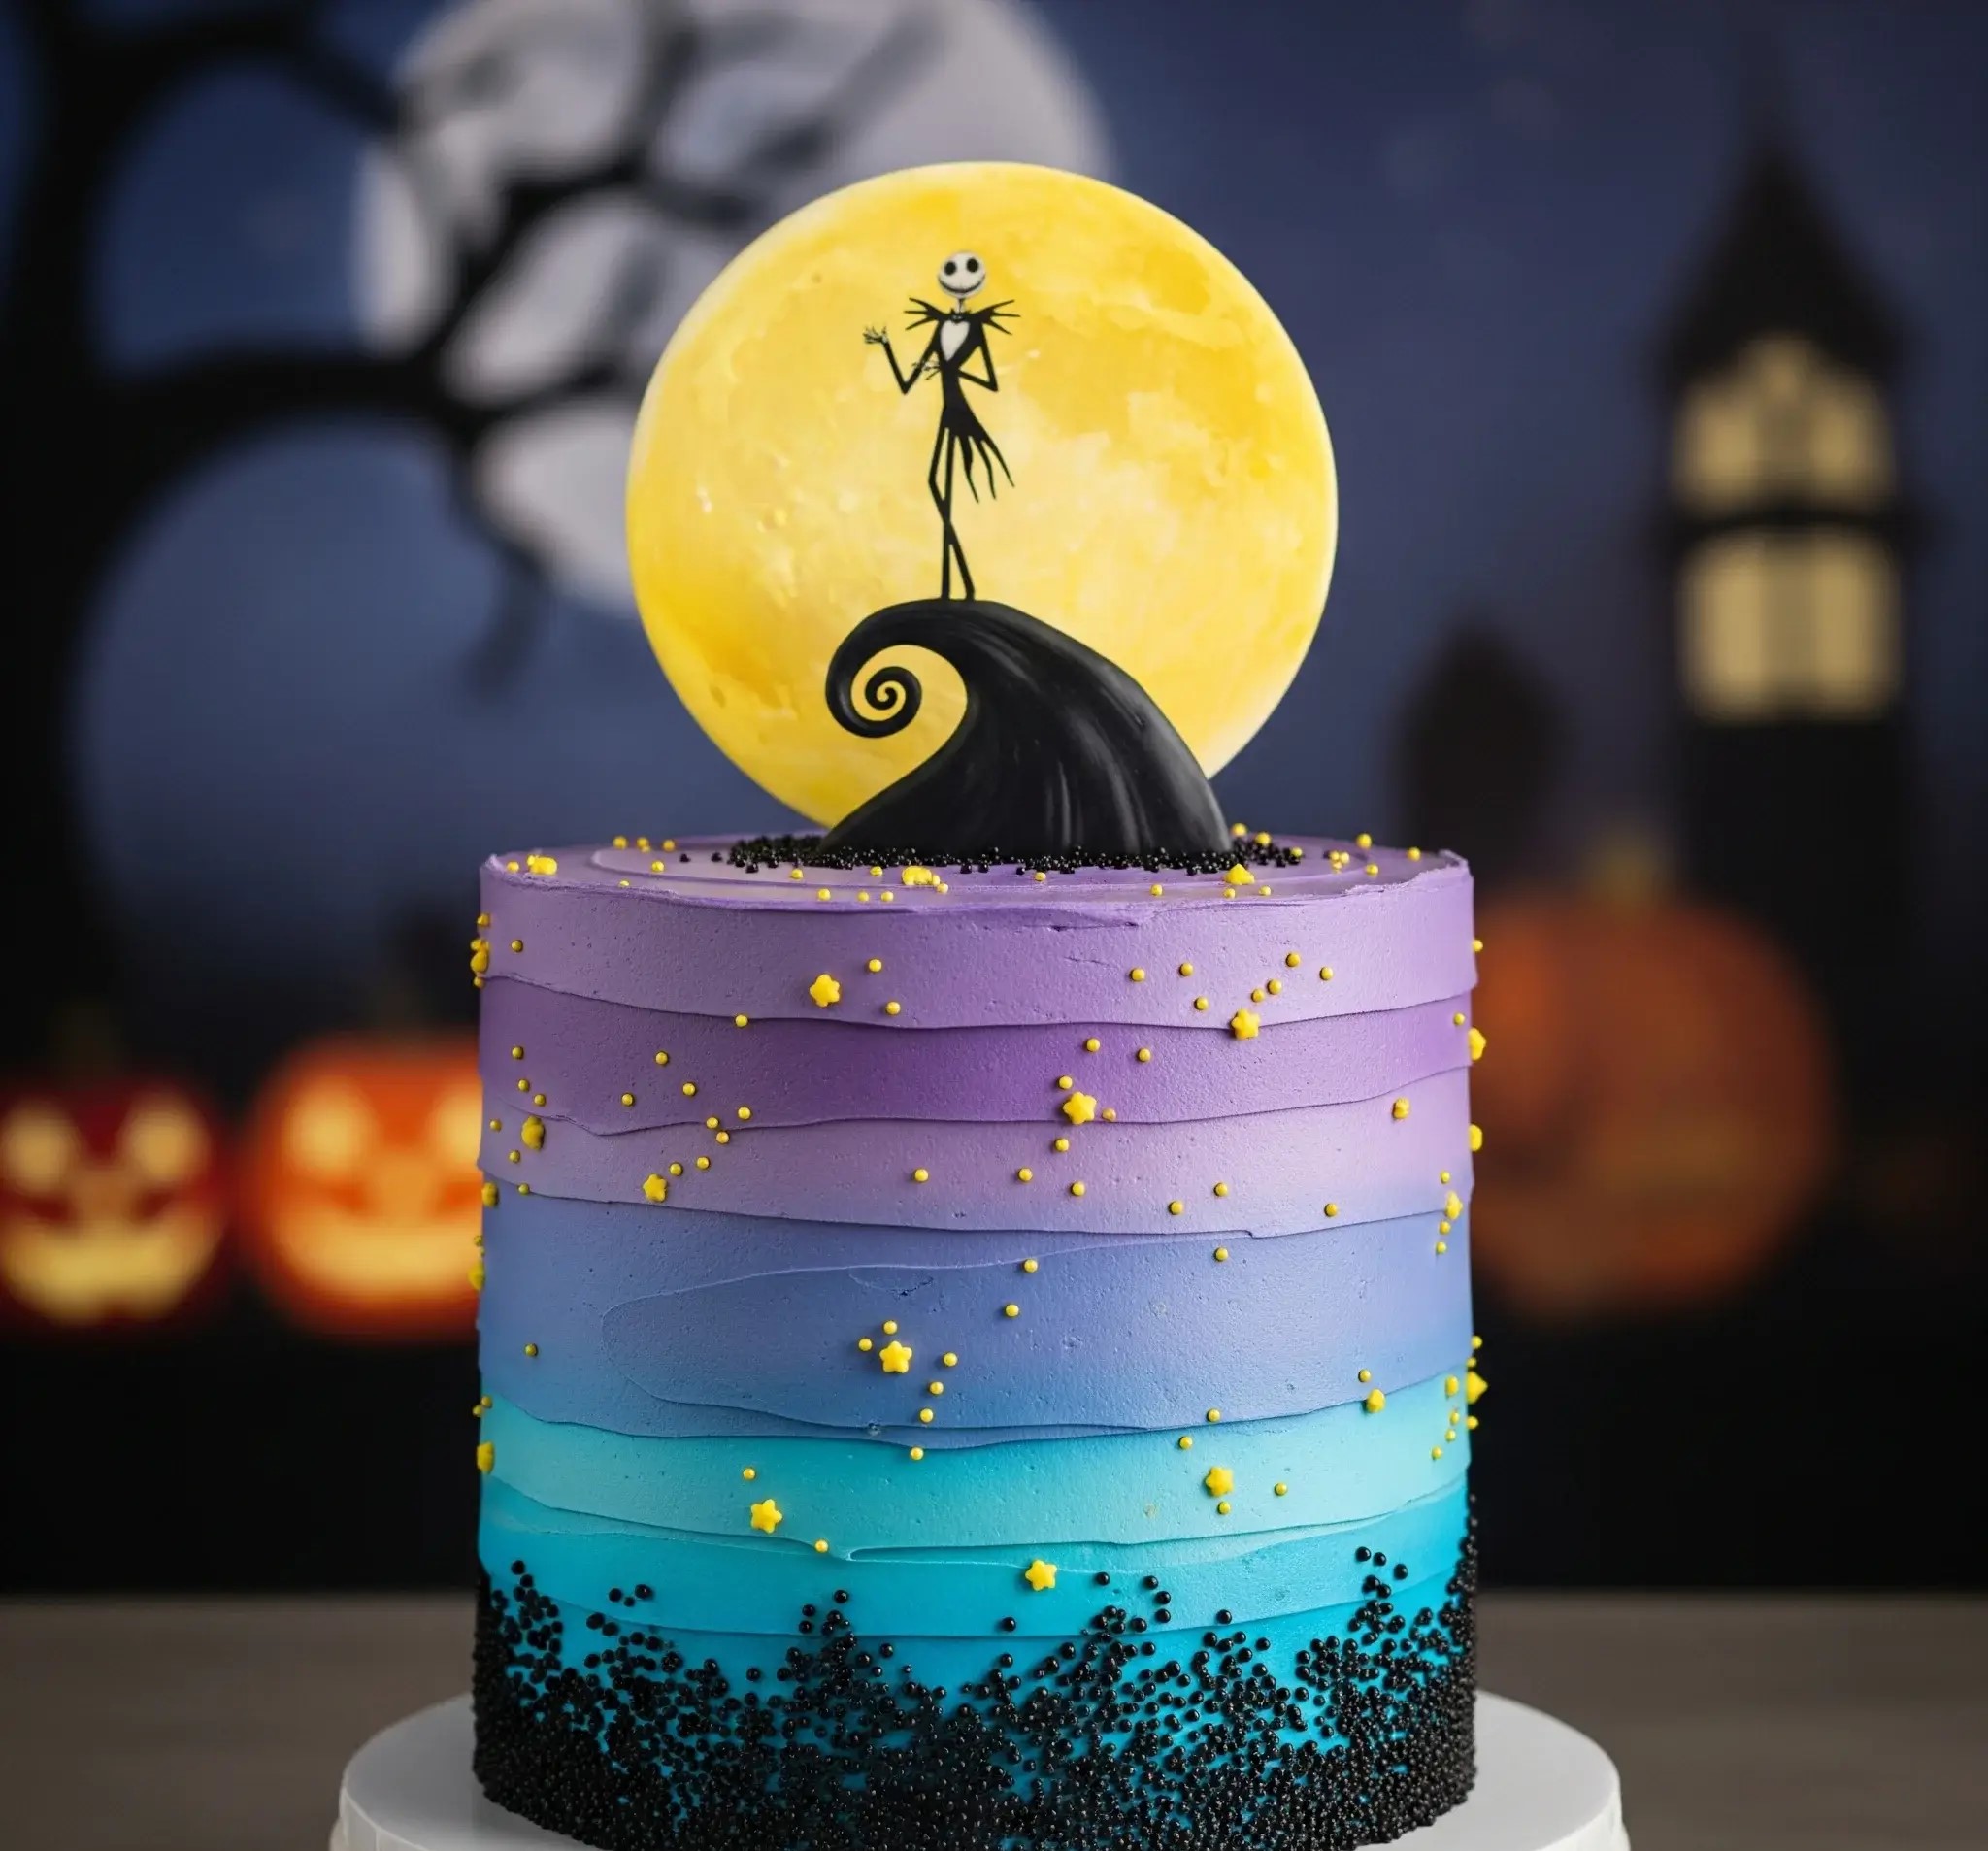
The first time I made this Nightmare Before Christmas cake, I didn’t just bake it — I felt like I was building a little scene straight out of the movie.
That glowing yellow moon, Jack’s skinny silhouette on the curling hill, the starry sky fading from blue to purple… it honestly made me smile before I even cut the first slice.
I know how intimidating a cake like this can look at first. I thought the same thing when I saw it. But here’s the truth: it’s much simpler than it seems, and it’s actually a lot of fun.
You don’t need fancy skills or special tools — just a little patience and some color. Every swirl of frosting and sprinkle of stars feels rewarding, like you’re creating your own edible version of Halloween Town.
I’m going to walk you through exactly how I did it — every color, every sprinkle, every little trick that makes it come out just right.
No guessing, no fluff, no skipping steps. By the end, you’ll have a cake that not only looks magical but also tastes incredible.
And honestly? Watching everyone’s face when you bring it to the table is the best part of all.
Nightmare Before Christmas Cake Recipe
Ingredients
For the Cake:
- 2 ½ cups (300 g) all-purpose flour
- 2 ½ tsp baking powder
- ½ tsp baking soda
- ½ tsp fine salt
- 1 cup (230 g) unsalted butter, softened
- 2 cups (400 g) granulated sugar
- 4 large eggs
- 1 tbsp pure vanilla extract
- 1 cup (240 ml) whole milk
- ½ cup (120 ml) sour cream
For the Buttercream Frosting:
- 2 ½ cups (570 g) unsalted butter, softened
- 10 cups (1.2 kg) powdered sugar, sifted
- 6–8 tbsp whole milk or water
- 2 tbsp pure vanilla extract
- Gel food coloring: black, purple, blue, yellow
For Decoration:
- Black nonpareil sprinkles
- Small yellow star-shaped sprinkles
- Edible Jack Skellington and moon topper (or make your own — see below)
Instructions
Baking the Cake:
- Preheat the oven to 350°F (175°C). Grease and line three 6-inch round cake pans with parchment paper.
- In a medium bowl, whisk together the flour, baking powder, baking soda, and salt.
- In a large bowl, beat the butter and sugar until light and fluffy, about 3–4 minutes.
- Beat in the eggs one at a time, mixing well after each. Add vanilla.
- On low speed, add the dry ingredients in three additions, alternating with milk and sour cream, beginning and ending with dry ingredients.
- Divide the batter evenly between the prepared pans. Smooth the tops and bake for 30–35 minutes, or until a toothpick comes out clean.
- Cool the cakes in the pans for 10 minutes, then remove to a wire rack to cool completely.
Preparing the Buttercream:
- Beat the softened butter for about 5 minutes until very creamy.
- Gradually add sifted powdered sugar, beating on low at first, then increasing speed.
- Add milk and vanilla extract, continuing to beat for another 3–4 minutes until fluffy.
- Divide the frosting into separate bowls for the ombré effect: leave one portion plain (for crumb coat), color one light blue, one deeper blue, one lavender, and one purple.
Assembling & Decorating:
- Level the cooled cake layers with a serrated knife.
- Place the first layer on a cake board or stand, and spread a thin layer of buttercream on top. Repeat with all layers.
- Apply a thin crumb coat all over the cake, then chill for 30 minutes.
Creating the Ombré Effect:
- Starting from the bottom, apply black nonpareils around the base, pressing gently into the frosting.
- Above the black sprinkles, apply the dark blue buttercream around the bottom third.
- Blend the dark blue into the lighter blue above it, smoothing with a bench scraper.
- Continue upward with the lavender buttercream, then finish the top third with purple.
- Smooth the sides and blend the colors together with a bench scraper, rotating the cake for evenness.
- Decorate with small yellow star sprinkles scattered randomly around the cake.
Making the Topper (if homemade):
- Roll out black fondant and cut into the iconic hill shape.
- Cut a circle from yellow fondant or modeling chocolate for the moon and paint with edible gold/yellow luster dust for depth.
- Use black edible marker or paint to draw Jack Skellington’s silhouette on the moon.
- Attach Jack and the hill to a skewer or cake-safe pick, and insert it into the cake.
Final Assembly:
- Place the topper on the center of the cake.
- Chill the cake slightly to set the frosting before serving.
Notes:
- Use gel colors rather than liquid for vibrant hues without thinning the frosting.
- Chill between steps if the buttercream gets too soft.
- A turntable makes smoothing and blending much easier.

How Do You Create The Ombré Frosting Effect On a Cake?
To get that dreamy fading effect from dark to light on your cake, keep these tips in mind:
- Choose at least 3 shades: Start with the darkest at the bottom and go lighter toward the top.
- Use gel colors: They create bright colors without making the frosting runny.
- Work on a cold cake: A chilled cake makes it easier to apply and smooth the frosting.
- Apply frosting in bands: Spread each color in horizontal sections before blending.
- Use a bench scraper: Press gently against the cake and spin the turntable to blend the edges where colors meet.
- Don’t over-mix: Stop smoothing once the shades blend nicely so they don’t turn muddy.
How Do You Get Black Sprinkles To Stick To The Bottom Of a Cake?
Adding black sprinkles to the base looks neat if you do it while the frosting is still soft. Here’s how:
- Press gently by hand: After frosting, hold the cake over a tray and press sprinkles along the bottom.
- Use a spoon: Scoop sprinkles and press them gently against the frosting.
- Work fast: Do this right after frosting so the sprinkles stick before it crusts.
- Clean up with a brush: Brush away stray sprinkles from other parts of the cake.
Can You Use Fondant Or Buttercream For The Moon And Hill Topper?
Both fondant and buttercream can work for making the moon and hill. Here’s what to know:
- Fondant: Best for clean edges and sharp details like Jack’s silhouette and the curled hill.
- Buttercream: Works well if you want a softer, painted look directly on the cake.
- Combination: Many people use fondant for the moon and hill, then paint or draw the details with edible color or buttercream.
How Do You Keep Buttercream Colors From Bleeding Into Each Other?
To keep your neat lines and bright colors, here are some easy tips:
- Use gel coloring: Stronger color with less liquid helps prevent bleeding.
- Chill between layers: Place the cake in the fridge for 10–15 minutes between applying each color.
- Avoid too much smoothing: Overworking the colors can cause them to blend in unwanted ways.
- Work in a cool, dry room: Heat and humidity can cause colors to run.

What Type Of Food Coloring Works Best For Vibrant Colors?
If you want those deep blues, purples, and black to pop, choose your coloring carefully:
- Gel colors: Bright and concentrated without thinning your frosting.
- Paste colors: Even stronger than gel, great for black and very dark shades.
- Powder colors: Useful for dry dusting or small areas but not ideal for large sections of frosting.
Is It Hard To Make The Silhouette Of Jack Skellington?
It’s easier than it looks if you go step by step. Here are some helpful tips:
- Use a paper template: Print Jack’s shape, cut it out, and trace it onto fondant or chocolate.
- Work with chilled material: Cold fondant or chocolate is less likely to tear.
- Use a small sharp knife: A clean cut makes details stand out.
- Edible pens or paint: Use them for the finer details like facial lines.
How To Transport a Tall Decorated Cake Safely?
Moving your cake safely is important to keep all your hard work intact. These tips help:
- Use a thick cake board: A sturdy base prevents the cake from bending or cracking.
- Chill before moving: A cold cake is firmer and less likely to slide.
- Box it up: Use a tall cake box and secure it with tape at the bottom.
- Flat surface in the car: Place the cake on the floor of the car, not on a seat.
- Drive slowly and avoid sudden stops: Be gentle on turns and brakes.
- Bring a small repair kit: Keep some extra frosting, a spatula, and napkins just in case.
You May Also Like To Check Out These Recipes:
- Brownie Mug Cake
- Coffee Cake Muffins
- Caramel Cake
- Virgo Birthday Cake
- Cookies And Cream Cake
- Mom Birthday Cake
- Cat Birthday Cake
- Minnie Mouse Cake
- Purple Birthday Cake
- Cake Mix Cobbler
- Horse Cake
- Christmas Cake
- 25th Birthday Cake
- 23rd Birthday Cake
- Leo Birthday Cake
- Cinnamon Crumb Breakfast Cake
- Strawberry Lemonade Cake
- Sourdough Chocolate Cake

