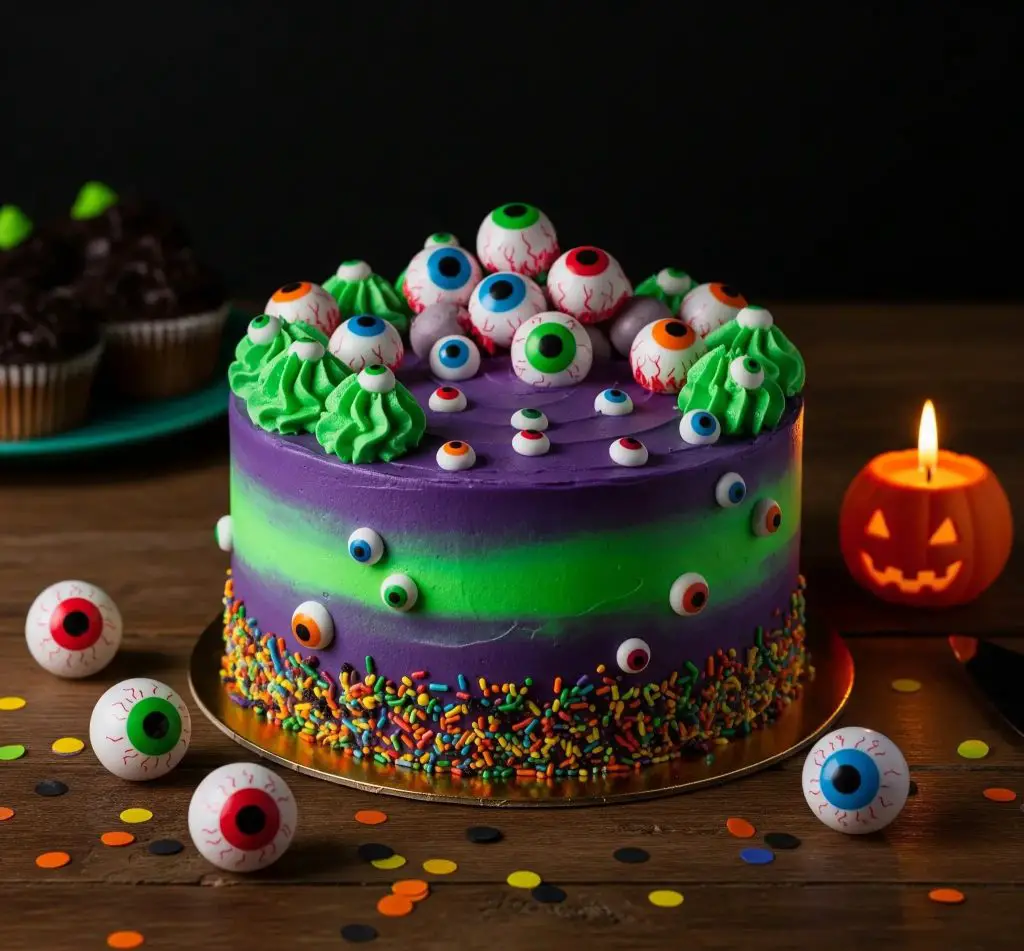
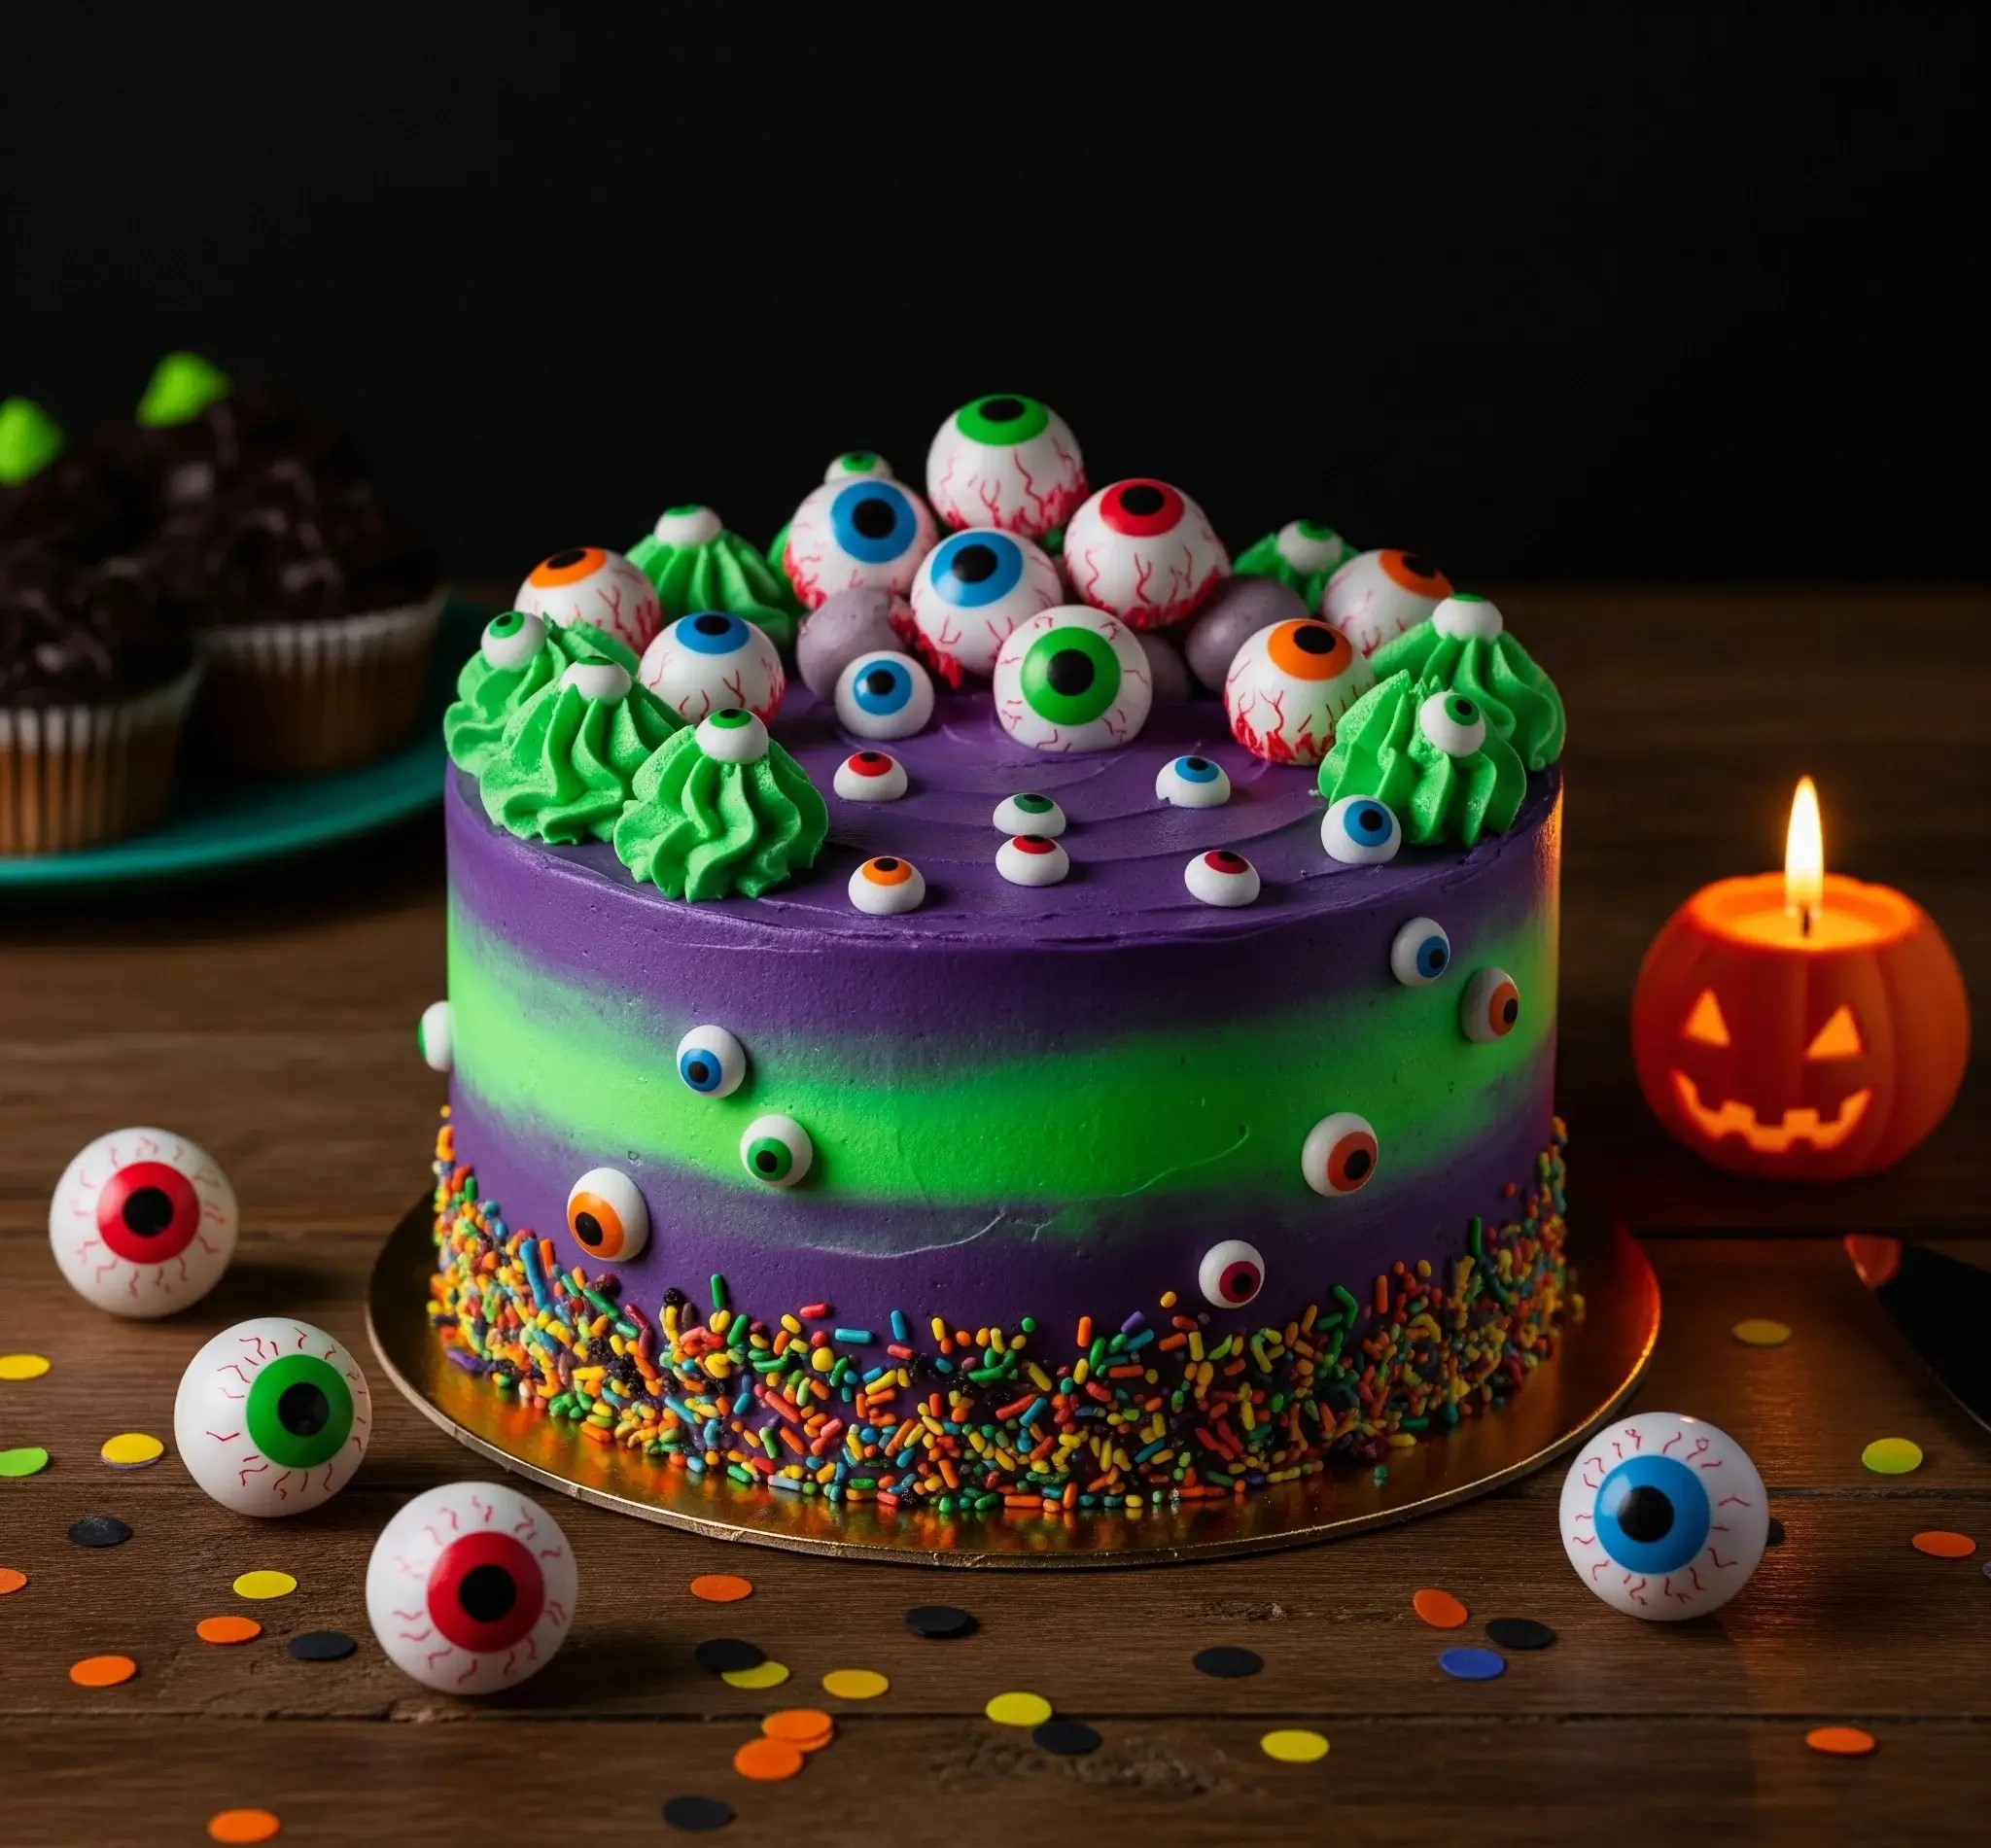
I have to admit, this cake makes me smile before I even take the first bite. It’s colorful, a little creepy, and a whole lot of fun to put together.
The first time I made it, I knew it would be a hit at any Halloween party because it’s the kind of dessert that makes people stop and say, “Wait… are those eyeballs?” And yes—they are. Sweet, silly, candy eyeballs that make this cake look like it’s staring right back at you.
What I love most about this cake is how easy it is to customize. You don’t need to be a professional cake decorator to pull it off.
The design is playful, not perfect, which means the more mismatched the eyeballs are, the better it looks. Kids love helping stick the eyes on, and honestly, that’s the part that brings this cake to life.
The bright purple frosting, neon green stripe, and rainbow sprinkles give it just the right balance of creepy and cheerful.
Now, let me walk you through exactly how I make it at home so you can bake your own Monster Eye Cake that looks just like the one in the photo.
Monster Eye Cake Recipe
Ingredients
For the Cake Layers:
- 2 ½ cups all-purpose flour
- 2 ½ tsp baking powder
- ½ tsp baking soda
- ½ tsp salt
- 1 cup unsalted butter, softened
- 2 cups granulated sugar
- 4 large eggs, room temperature
- 1 tbsp vanilla extract
- 1 ¼ cups whole milk, room temperature
For the Frosting:
- 1 ½ cups unsalted butter, softened
- 5 cups powdered sugar, sifted
- 3 tbsp heavy cream (add more if needed for consistency)
- 2 tsp vanilla extract
- Gel food colors: purple, neon green
For Decoration:
- Candy eyeballs in assorted sizes (small, medium, large)
- Fondant eyeballs (optional for bigger sizes – white fondant + edible paint/gel colors)
- Green buttercream swirls (piped with star tip)
- Rainbow sprinkles
Instructions
Bake the Cake Layers:
- Preheat oven to 350°F (175°C). Grease and line three 8-inch round cake pans with parchment paper.
- In a bowl, whisk together flour, baking powder, baking soda, and salt.
- In another large mixing bowl, beat butter and sugar until light and fluffy (about 3–4 minutes).
- Add eggs one at a time, mixing well after each addition. Stir in vanilla.
- Alternate adding the dry ingredients with milk, starting and ending with dry mix. Mix until just combined.
- Divide batter evenly among the pans and smooth the tops.
- Bake for 25–30 minutes, or until a toothpick inserted in the center comes out clean.
- Cool in pans for 10 minutes, then transfer to a wire rack to cool completely.
Prepare the Frosting:
- Beat butter until creamy and pale.
- Gradually add sifted powdered sugar, mixing on low until combined.
- Add vanilla and cream, then whip on high speed for 2–3 minutes until fluffy.
- Divide frosting into two bowls: one portion tinted neon green, the other purple.
Assemble the Cake:
- Level cooled cake layers with a serrated knife.
- Place the first cake layer on a board and spread an even layer of purple frosting. Repeat with the next two layers.
- Crumb coat the entire cake with a thin layer of purple frosting. Chill for 20 minutes.
Create the Monster Design:
- Once chilled, apply a smooth final coat of frosting. Use mostly purple frosting but blend in a wide stripe of neon green frosting around the middle of the cake. A cake scraper helps achieve the two-tone effect.
- Press rainbow sprinkles around the bottom edge of the cake for a festive border.
Add the Monster Eyes:
- Stick candy eyeballs of different sizes randomly onto the sides of the cake.
- On top, pipe green buttercream swirls with a star tip and place large fondant or candy eyeballs on them.
- Scatter smaller eyeballs between the swirls to create a spooky, monster-like appearance.
Finishing Touches:
- Arrange a few extra candy eyeballs around the cake board.
- Serve with cupcakes or other Halloween treats if desired.

Can I Make Monster Eye Cake Ahead Of Time?
Yes, you can prepare it ahead, but timing is important so the cake stays fresh and the decorations don’t lose their shape.
- Bake cake layers ahead: Bake and cool the layers a day before, then wrap in plastic wrap and store at room temperature.
- Frosting: Make the frosting the same day or one day before, keeping it in an airtight container in the fridge.
- Decorating: Add candy eyeballs and sprinkles only a few hours before serving so they stay in place and look fresh.
How Do I Keep The Candy Eyeballs From Sliding Off The Cake?
Eyeballs sometimes slip because of soft frosting, but you can stop this with a few tricks.
- Chill cake first: Refrigerate the frosted cake for 15 minutes before adding eyes so the surface is firm.
- Use a small frosting dot: Add a tiny spot of frosting behind each candy eye to act like glue.
- Bigger eyes: For larger candy or fondant eyes, gently press them in so they sink slightly into the frosting.
What Size Cake Pans Should I Use For Monster Eye Cake?
The cake works best when it’s tall enough to show off the layers but still easy to handle.
- Standard size: Three 8-inch round pans are ideal for neat, stackable layers.
- Taller option: You can also use two 9-inch pans for slightly wider, flatter layers.
- Even baking: Make sure all pans are the same size so the cake stacks evenly.
Can I Use a Box Cake Mix Instead Of Making It From Scratch?
Yes, you can use a box cake mix and it will still look and taste great.
- Choose moist mixes: Vanilla, chocolate, or funfetti mixes work well for this design.
- Add richness: Replace water with milk for better flavor.
- Even texture: Make sure the layers are fully cooled before frosting so they don’t crumble.

Can I Decorate Monster Eye Cake With Homemade Fondant Eyes?
Homemade fondant eyes look fun and give you more control over size and design.
- Fondant base: Roll small balls of white fondant for the eye whites.
- Pupils: Use edible gel colors, melted chocolate, or black fondant for the pupils.
- Drying: Let the eyes dry for 1–2 hours before placing them on the cake so they hold their shape.
Can Monster Eye Cake Be Frozen Without Ruining The Decorations?
You can freeze the cake, but decorations should be added later.
- Freeze plain cake: Wrap cooled layers in plastic and freeze for up to 2 months.
- Add frosting later: Decorate after thawing so colors and textures stay fresh.
- Candy eyes: Always add after freezing because they don’t handle moisture well.
How Do I Stop The Frosting From Melting When Serving Monster Eye Cake At a Party?
Warm weather or hot rooms can make frosting soft, but a few steps will keep it firm.
- Keep it cool: Store cake in the fridge until about 30 minutes before serving.
- Avoid direct heat: Don’t place near heaters, windows, or under strong lights.
- Buttercream tip: Use a butter-based frosting instead of whipped cream for more stability.
Can Kids Help Decorate Monster Eye Cake?
Yes, this is one of the most fun cakes for kids to join in on.
- Safe tasks: Let them place candy eyeballs or add sprinkles.
- Piping help: Kids can use pre-filled piping bags with star tips for fun swirls.
- Creativity: Don’t worry about perfection—messy decorations make it more playful.
How Do I Store Monster Eye Cake After Decorating?
Proper storage keeps the cake fresh and decorations intact.
- Room temperature: Store in a cool room for up to 6 hours if serving the same day.
- Refrigerator: If keeping overnight, cover loosely with plastic wrap or a cake dome and refrigerate.
- Leftovers: Store slices in airtight containers in the fridge for up to 3 days.
You May Also Like To Check Out These Recipes:
- Marshmallow Spiderweb Cake
- Devil’s Food Cake
- Fall Cake
- Punch Bowl Cake
- Apple Pumpkin Cake
- Pumpkin Spice Latte Cake
- Spiderweb Cake
- Black Cat Cake
- Poison Apple Cake
- Eclair Cake
- Crockpot Lava Cake
- Sagittarius Birthday Cake
- Italian Love Cake
- Halloween Crunch Cake
- Halloween Poke Cake
- Turkey Cake
- 7Up Pound Cake
- Halloween Dirt Cake
- Maple Streusel Pumpkin Cake
- Pumpkin Cake With Candied Pecans

