I’ll be honest with you — the first time I made a molten lava cake at home, I thought it would be this complicated, stressful thing.
I pictured a million steps, fancy equipment, and me somehow ending up with a sad, overbaked lump instead of that magical gooey center everyone talks about.
But you know what? It’s actually so easy. And once you get it right, you’ll wonder why you ever waited so long to try.
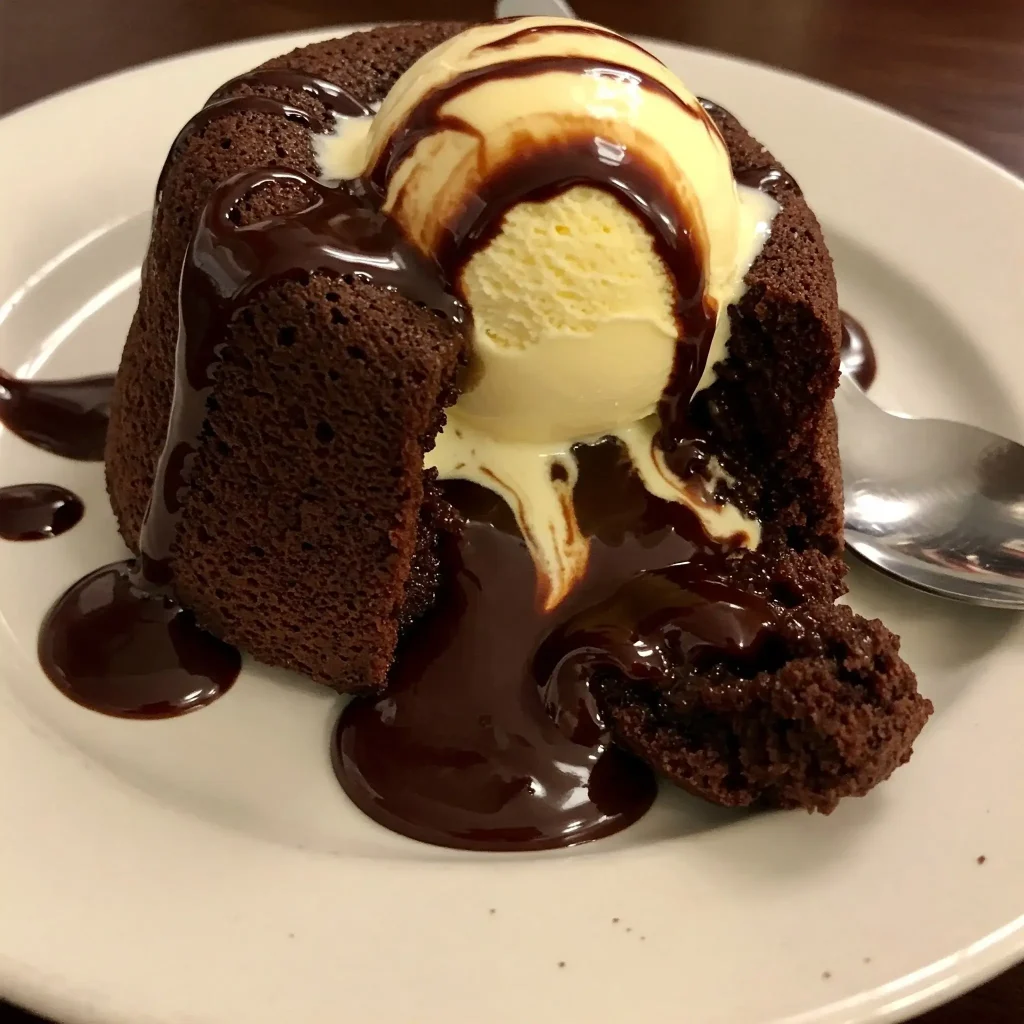
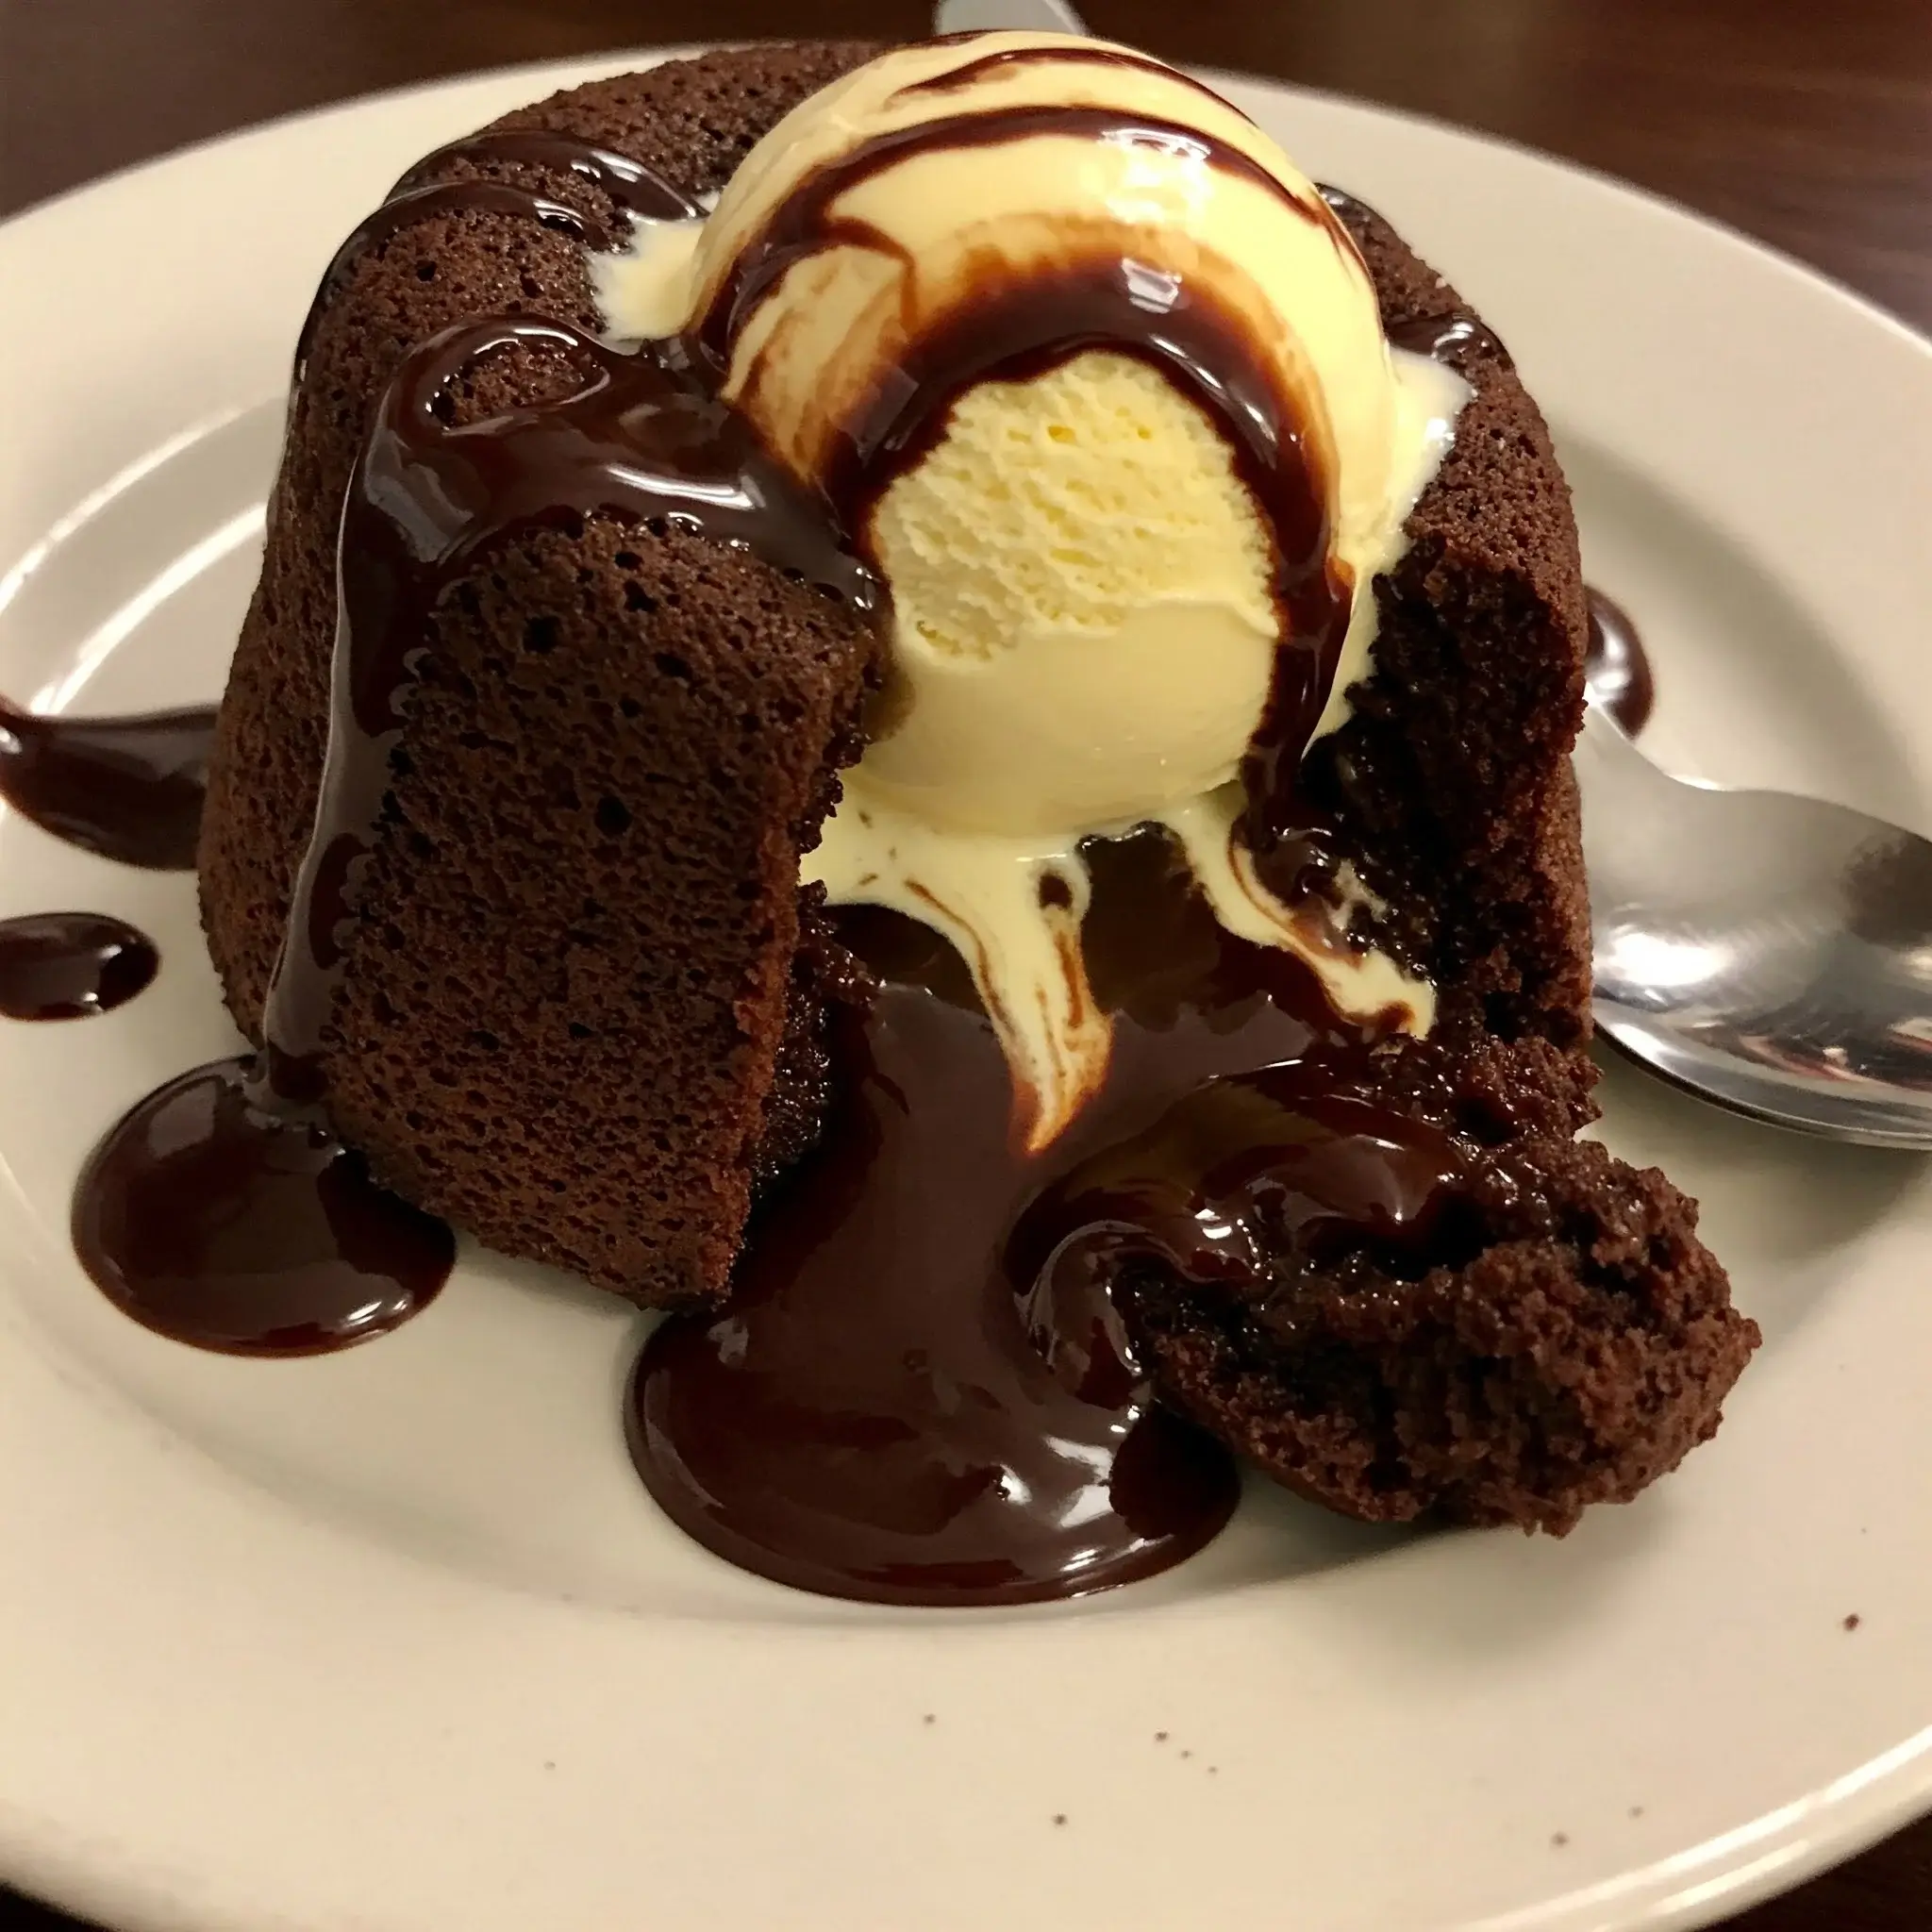
Molten lava cake is pure happiness. Warm, soft chocolate on the outside, and the second your spoon cuts in, that hot, melty chocolate comes pouring out like it’s been waiting for you.
Then you add a cold scoop of vanilla ice cream on top, let it melt just a little, and if you’re anything like me, you’ll sit there grinning between every bite.
You don’t need anything fancy to make it. You don’t even need to call yourself a baker. If you can stir, you can pull this off. Seriously.
This is the kind of dessert that makes you feel like a total genius in the kitchen, even if you’ve had a long, messy day.
If you’re ready to treat yourself (and maybe a few lucky people around you), keep reading.
I’ll show you exactly how to make the softest, richest molten lava cakes at home — no stress, no drama, just pure chocolate love.
Molten Lava Cake Recipe
Ingredients (Serves 4 small cakes)
- 100g good-quality semi-sweet chocolate (at least 55% cocoa)
- 90g unsalted butter (plus extra for greasing)
- 2 large eggs (room temperature)
- 2 large egg yolks (room temperature)
- 75g powdered sugar (sifted)
- 30g all-purpose flour (sifted)
- 1 teaspoon pure vanilla extract
- 1 pinch fine salt
- 4 small scoops premium vanilla ice cream
- 3 tablespoons chocolate syrup (store-bought or homemade)
Equipment Needed:
- 4 ramekins (around 6 oz size each)
- Hand mixer or balloon whisk
- Double boiler (or a heatproof bowl over simmering water)
- Baking sheet
- Fine mesh sieve
- Soft pastry brush
- Parchment paper (optional for extra non-stick)
Instructions
- Generously grease the insides of the ramekins with softened butter using a pastry brush. Dust lightly with flour, tapping out any excess. This ensures the cakes release cleanly.
- In a double boiler (or a heatproof bowl set over a pot of gently simmering water), combine the chocolate and butter. Stir slowly until fully melted and glossy. Remove from heat immediately and let it cool slightly for 5 minutes.
- In a separate large bowl, use a hand mixer or whisk to beat the eggs, egg yolks, and powdered sugar together until thick, pale, and slightly frothy (around 2–3 minutes on medium-high speed). It should fall in thick ribbons from the whisk.
- Pour the slightly cooled melted chocolate into the egg-sugar mixture while gently whisking. Add the vanilla extract and salt. Fold carefully to maintain the airiness.
- Sift the flour directly over the batter. Use a spatula to fold it in gently, just until the flour disappears. Do not overmix.
- Evenly distribute the batter into the prepared ramekins, filling each about ¾ full.
- Place the filled ramekins in the fridge for about 15–20 minutes while preheating the oven. This helps achieve a more distinct molten center.
- Preheat your oven to 220°C (428°F) standard heat (no fan).
- Place ramekins on a baking sheet and bake in the preheated oven for exactly 9–11 minutes. Watch carefully. The sides should look set and firm, but the center should jiggle slightly when gently shaken. (In most ovens, 10 minutes is the sweet spot.)
- Remove from the oven and let the cakes sit for 1 minute only. Carefully run a knife around the edges of each cake. Invert each ramekin onto a serving plate and gently lift it off.
- Immediately place a scoop of vanilla ice cream on top of each warm cake. Drizzle generously with chocolate syrup, allowing it to cascade over the ice cream and molten center.
- These cakes are best enjoyed piping hot with the gooey chocolate core oozing out as you cut in.
- Use real chocolate, not chocolate chips, for best texture.
- Make sure your eggs are at room temperature for better emulsification.
- Slightly underbaking is better than overbaking to ensure the molten effect.
- Greasing and flouring the ramekins is essential for easy release.

Why Is My Lava Cake Not Gooey Inside?
If your lava cake isn’t gooey inside, a few things could be going wrong. Here’s what you should check:
- Overbaking: Baking too long cooks the center solid. Always bake just until the sides are set but the center is still soft.
- Oven temperature too high: If the oven runs hotter than the recipe says, the middle will set too quickly. Use an oven thermometer to check.
- Batter too light: Overmixing the batter can whip in too much air, drying out the cake.
- Small ramekins: If your ramekins are smaller, the cake bakes faster. Adjust the baking time.
- Resting too long: Waiting too much after baking continues cooking inside. Serve it within 1–2 minutes after removing from the oven.
What Chocolate Is Best For Molten Lava Cake?
Choosing the right chocolate makes a huge difference in flavor and texture. Here’s what to pick:
- Good-quality baking chocolate: It melts better and tastes richer than candy bars.
- Semi-sweet or dark chocolate (around 55% to 70% cocoa): Perfect balance of sweetness and deep chocolate flavor.
- Pure chocolate bars: Avoid chocolate chips because they have additives that stop smooth melting.
- No fillings or added flavors: Only plain chocolate gives a pure molten center.
Can I Make Molten Lava Cake Without Ramekins?
Yes, you can! If you don’t have ramekins, here are some simple options:
- Muffin pan: Use a standard-size muffin tray, greased and floured well.
- Small oven-safe cups: Ceramic coffee cups or small pyrex bowls work too.
- Foil cupcake molds: Great for easy removal and single servings.
Can Molten Lava Cake Be Made Ahead Of Time?
You can absolutely prepare lava cakes ahead if you follow the right steps:
- Make the batter: Prepare and pour into greased molds or ramekins.
- Cover tightly: Wrap each ramekin with plastic wrap.
- Refrigerate: Chill for up to 24 hours before baking.
- Add 1–2 extra minutes of baking: Cold batter needs a tiny bit more time in the oven.
How Do You Reheat Molten Lava Cake Without Overcooking It?
If your lava cake is already baked, you can still enjoy it warm without ruining the gooey center:
- Microwave method: Heat for 10–15 seconds only. Too long and the center will fully cook.
- Oven method: Preheat oven to 180°C, cover cake lightly with foil, warm for about 5–7 minutes.
- Keep a close eye: Reheating is super quick — never leave it unattended.
Why Did My Lava Cake Collapse After Baking?
If your lava cake collapses or sinks badly, here’s what might have happened:
- Underbaked: If the sides are too soft, the structure can’t hold.
- Batter too thin: Incorrect measurements, especially too little flour, can cause collapse.
- Rough handling: Shaking or moving the cake too much after baking weakens it.
- No resting time: Let the cake sit for about 1 minute before unmolding.

How Do You Make Molten Lava Cake Without Eggs?
If you can’t or don’t want to use eggs, you can still make delicious lava cakes:
- Use thick yogurt: About ¼ cup yogurt can replace 1 large egg.
- Use unsweetened applesauce: ¼ cup applesauce for each egg.
- Use mashed banana: ¼ cup mashed banana for a natural sweet twist.
Can I Use Milk Chocolate Instead Of Dark Chocolate For Lava Cake?
You can use milk chocolate, but keep this in mind:
- Milk chocolate melts softer: The center may be even gooier, but also sweeter.
- Reduce sugar slightly: Since milk chocolate is already very sweet.
- Watch baking time closely: Milk chocolate lava cakes bake faster because of higher milk content.
How Do You Keep Lava Cake From Sticking To The Ramekin?
Avoiding a sticky mess is easy with the right prep:
- Grease well: Brush the entire inside with soft butter, including the bottom and sides.
- Dust with flour or cocoa powder: Shake out extra so it doesn’t clump.
- Use nonstick ramekins: If possible, it makes unmolding easier.
Can I Bake Molten Lava Cake In A Muffin Pan?
Yes, and it works beautifully if done right:
- Grease and flour the muffin cups well: Use soft butter and dust with flour.
- Fill each cup about ¾ full: Leave some space to rise.
- Adjust baking time: Muffin pans bake a little quicker — start checking around 7–8 minutes.
Why Is My Molten Lava Cake Dry Instead Of Runny?
If your lava cake turned out dry, check for these common issues:
- Overbaked: Even 1 extra minute can dry the center.
- Wrong oven temperature: Baking at too low heat can overcook it slowly.
- Not enough chocolate: Using less chocolate or poor-quality chocolate affects moisture.
- Batter resting too long: If batter sits too long before baking, it can thicken too much.
Can You Freeze Molten Lava Cake Batter?
Yes, freezing the batter is a great trick for easy desserts later:
- Fill ramekins with batter: Leave a little space at the top.
- Wrap tightly: Cover with two layers of plastic wrap.
- Freeze up to 2 months: Label with date.
- Bake from frozen: Add 3–4 extra minutes to baking time without thawing.

