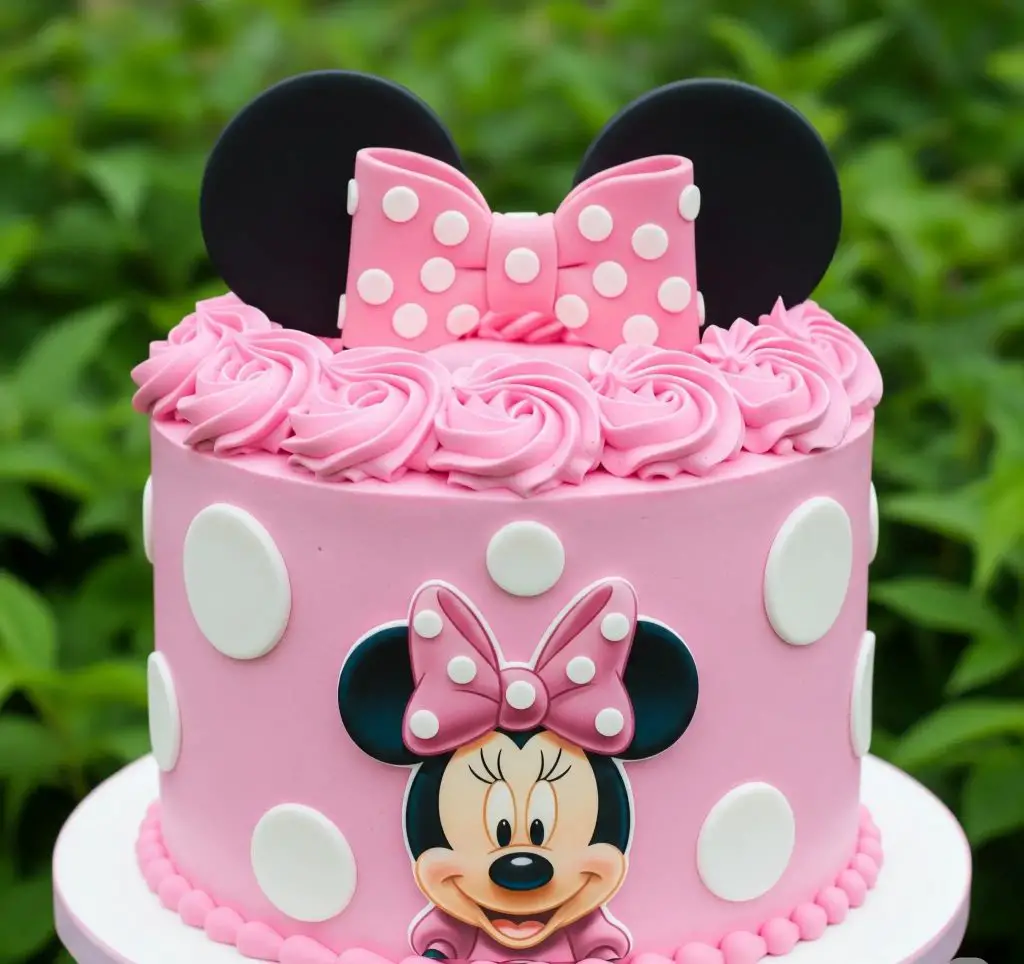
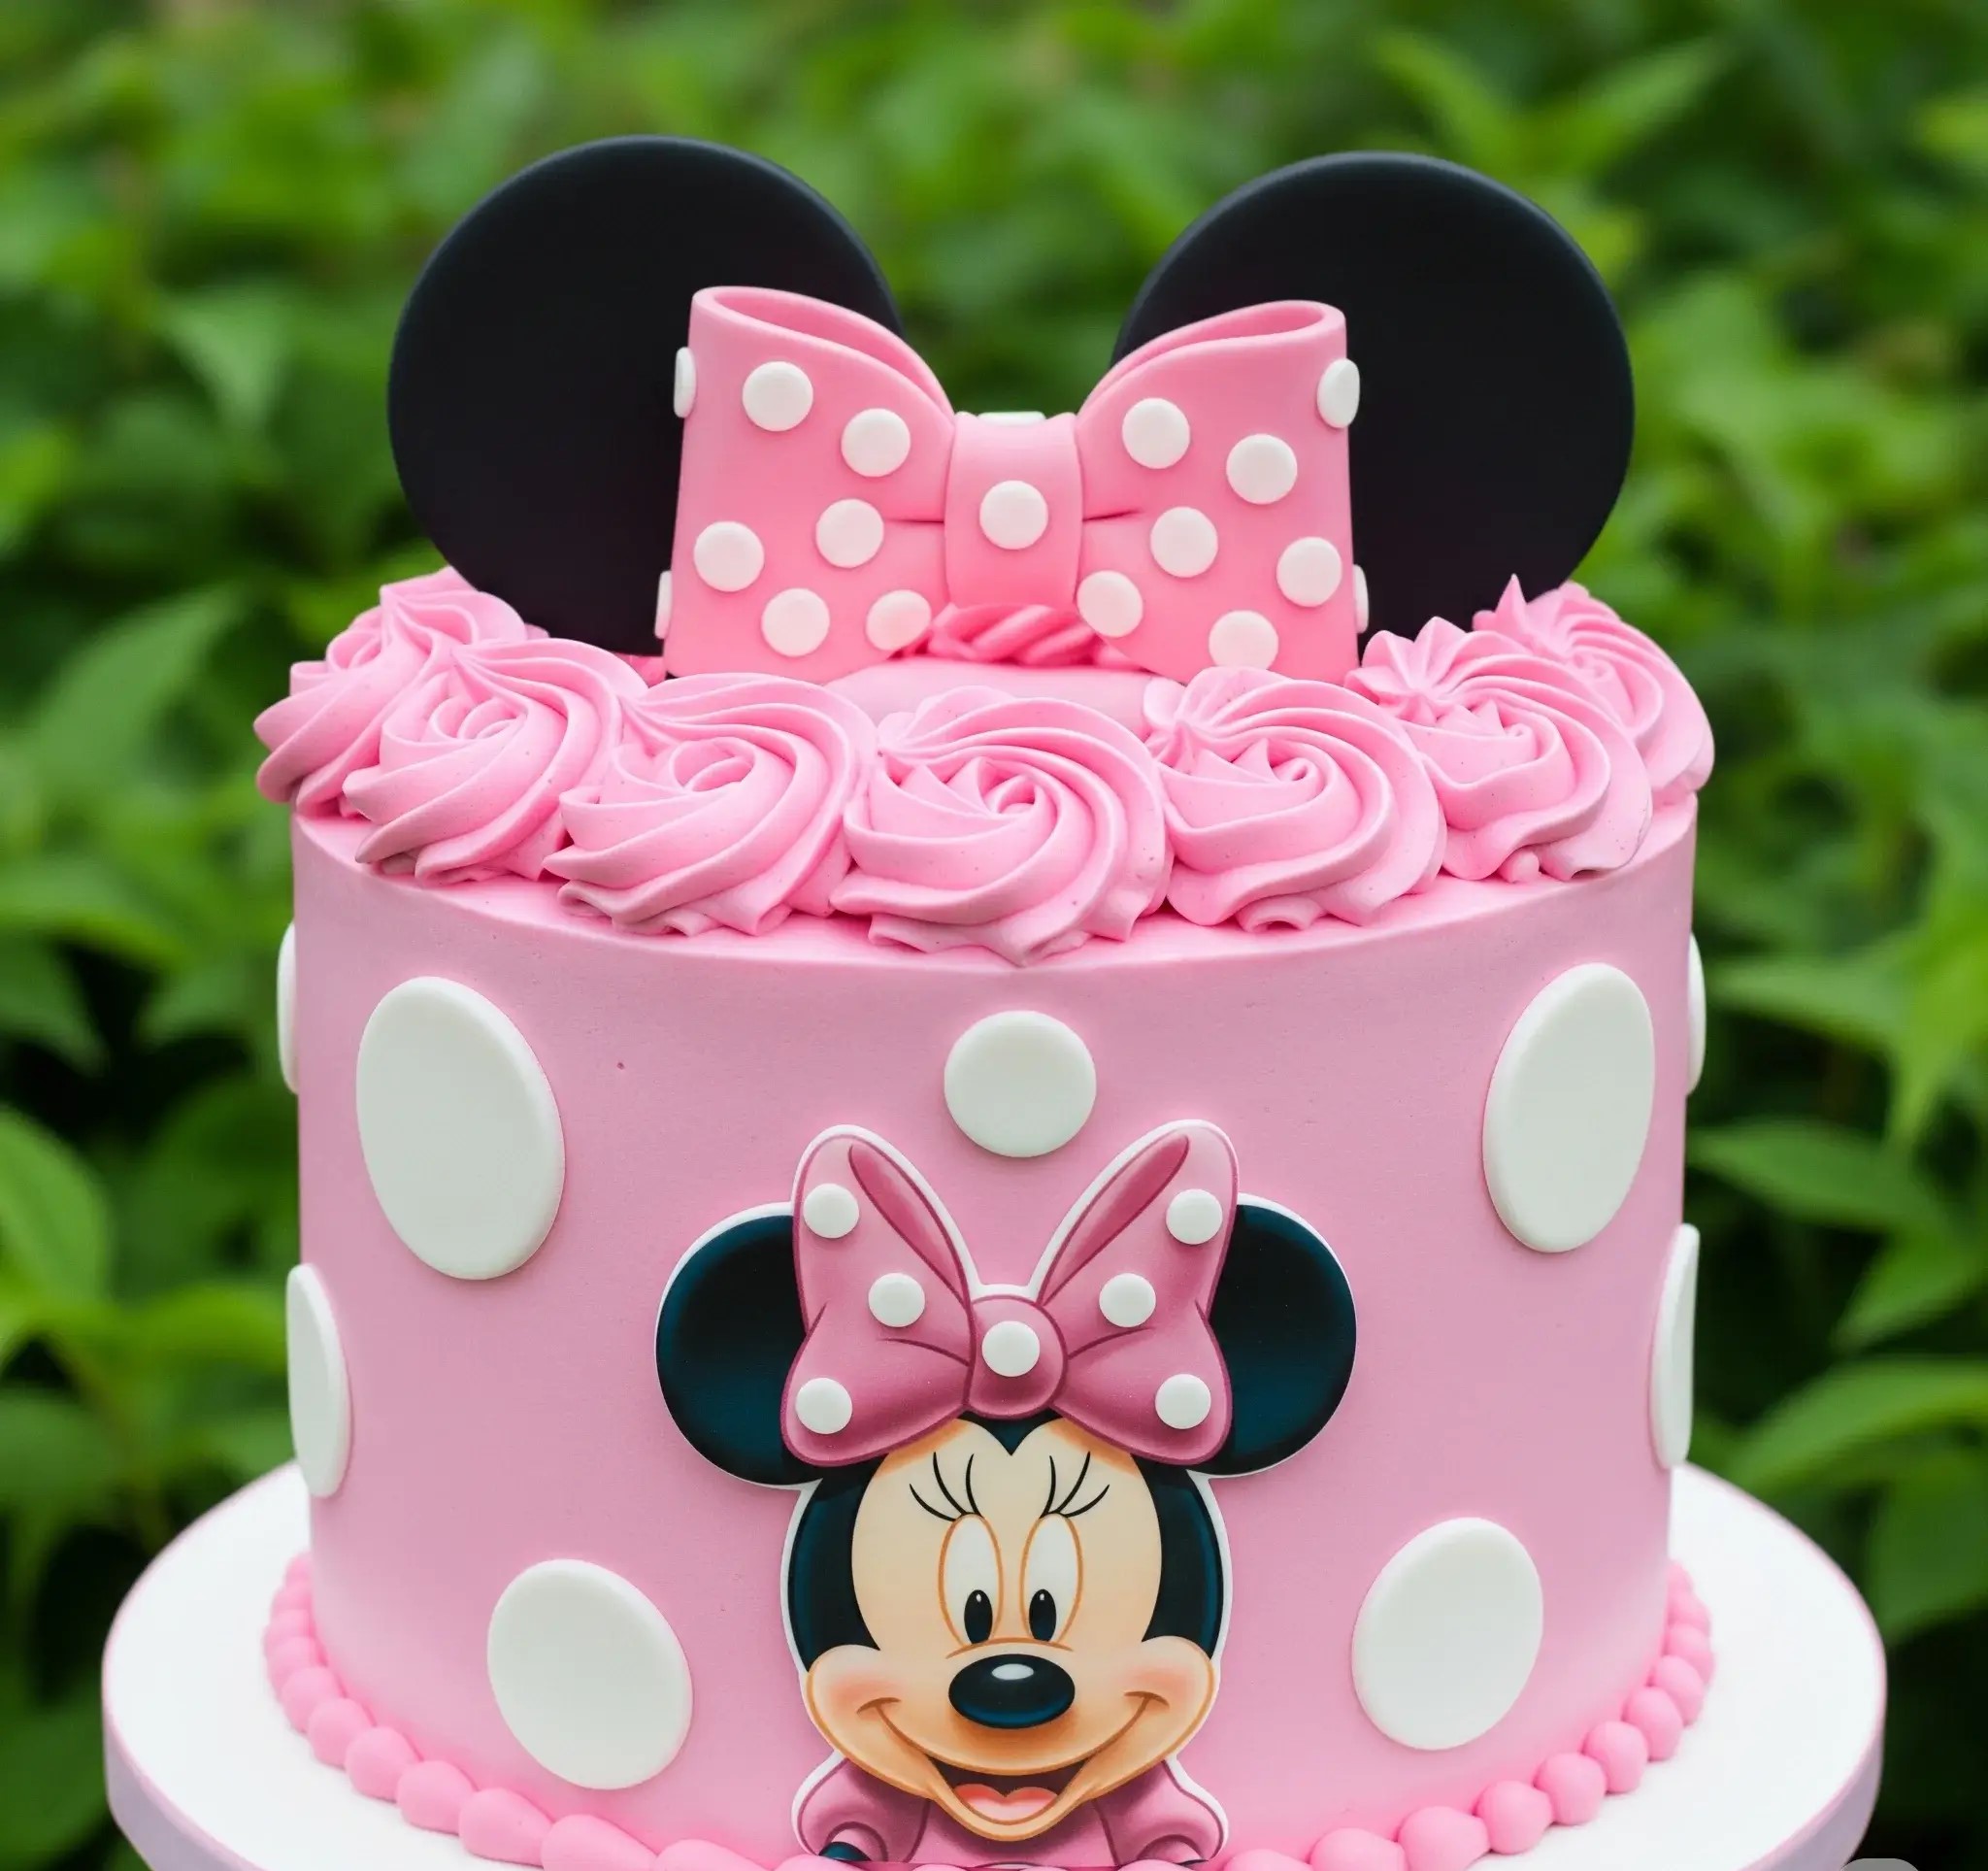
Every time my niece has a birthday coming up, she starts planning her cake before anything else — and for the last two years, it’s always been Minnie Mouse.
Pink, bows, polka dots… she’s obsessed. And honestly? I get it. Minnie is timeless, sweet, and full of charm, just like the little girls who love her.
So I started making this Minnie Mouse Cake myself — and it’s now the most requested cake in our family. It looks like something straight out of a bakery window, but I promise you, it’s not hard to make at all.
No fancy pans. No stressful decorating tools. Just basic ingredients and simple steps that anyone can follow.
What makes this cake so special is the reaction. Kids go wild when they see those giant black ears and that big pink bow.
Parents sneak extra slices when no one’s looking (yes, that’s a warning). And it’s not just about the look — the cake itself is soft, fluffy vanilla with smooth pink buttercream that melts in your mouth.
If you’re planning a Minnie-themed party — or just want to surprise a little Minnie fan — this cake is a guaranteed hit.
I’ll walk you through every step so you feel confident and relaxed while making it. Let’s make some birthday magic.
Minnie Mouse Cake Recipe
Serves: 12–14
Size: 6-inch round, 2-layer cake
Theme: Minnie Mouse – Pink, Polka Dot, Rosettes, Bow, Ears
Ingredients
For the Vanilla Cake (2 Layers):
- 2½ cups all-purpose flour (sifted)
- 2½ tsp baking powder
- ½ tsp salt
- 1 cup unsalted butter (room temperature)
- 1¾ cups white granulated sugar
- 4 large eggs (room temperature)
- 1 tbsp pure vanilla extract
- 1 cup whole milk (room temperature)
For the Buttercream Frosting:
- 1½ cups unsalted butter (room temperature)
- 5 cups powdered sugar (sifted)
- 2 tsp vanilla extract
- 4–6 tbsp milk or heavy cream (adjust to consistency)
- Gel food coloring – light pink
For Decorations:
- White fondant
- Black fondant
- Pink fondant
- White edible sugar pearls or round fondant dots
- Minnie Mouse edible image or fondant cutout (face only)
- Edible glue or water (for sticking fondant)
- Piping bag with closed star tip (for rosettes)
- Round fondant cutter or small cap for polka dots
- Lollipop sticks (for holding ears upright)
Step-by-Step Instructions
1. Bake the Cake Layers:
- Preheat oven to 350°F (175°C). Grease and line two 6-inch round cake pans with parchment.
- In a bowl, whisk flour, baking powder, and salt.
- In another large bowl, beat butter and sugar until light and fluffy (about 3–4 minutes).
- Add eggs one at a time, beating well after each. Mix in vanilla.
- Alternate adding the dry ingredients and milk, beginning and ending with the flour mixture. Do not overmix.
- Divide batter evenly between pans. Smooth the tops.
- Bake for 30–35 minutes or until a toothpick comes out clean.
- Cool in pans for 10 mins, then remove and cool completely on wire racks.
2. Make the Pink Buttercream Frosting:
- Beat butter until creamy (about 2 minutes).
- Add powdered sugar gradually. Mix on low at first, then medium-high until fluffy.
- Add vanilla and a few drops of pink gel color. Mix well.
- Add milk/cream 1 tbsp at a time until smooth and pipeable.
3. Assemble and Frost the Cake:
- Level each cake layer using a serrated knife.
- Place one layer on a cake board. Spread buttercream evenly on top.
- Place the second layer. Apply a crumb coat of pink buttercream and chill for 20 minutes.
- Frost the entire cake with a final smooth layer of pink buttercream.
4. Add Rosettes on Top:
- Fill a piping bag fitted with a closed star tip with pink buttercream.
- Pipe rosettes along the entire top edge of the cake. Start from the center of each swirl and circle outward.
5. Make Minnie Mouse Decorations:
Polka Dots:
- Roll out white fondant to ⅛-inch thick.
- Use a small round cutter to cut out dots.
- Stick evenly spaced dots all around the cake sides using edible glue or a light dab of water.
Ears:
- Roll out black fondant and cut out two 3.5-inch diameter circles.
- Insert a lollipop stick halfway into each ear and let them dry firm (3–4 hours minimum or overnight).
Bow:
- Roll pink fondant to about ⅛-inch thickness. Cut and form a large bow:
- 2 rectangles (each about 4” x 2”) folded inward to meet in the center.
- Add a small strip around the center to shape the bow.
- Add white fondant dots evenly spaced.
- Let the bow dry for 1–2 hours to hold shape.
Minnie Face:
- Use a printed edible image of Minnie’s face or craft a fondant cutout (face, bow, eyes, smile) using fondant and edible pens.
- Attach to the front center of the cake using a little buttercream.
6. Final Assembly:
- Once all fondant pieces are dry and set:
- Place the ears into the top of the cake behind the rosettes.
- Position the bow securely between the ears.
- Ensure the Minnie face is centered and aligned with the polka dots.
Presentation Tip:
- Place the cake on a simple white cake stand to highlight the bright colors. Add a green background or natural plants for that garden party vibe — just like in the image.

Can I Make a Minnie Mouse Cake Without Fondant?
Yes, you can absolutely make a Minnie Mouse cake without using fondant. Buttercream works beautifully and is easier to handle.
- Use colored buttercream: Tint pink and black buttercream for the main design parts.
- Pipe Minnie’s face: Use a printed stencil or image under parchment to trace the face using buttercream.
- Make ears from cookies or chocolate: Use large round chocolate cookies or pipe melted chocolate into circles and let them set.
- Create polka dots: Use mini marshmallows or white chocolate buttons instead of fondant dots.
- Shape a bow using buttercream: Pipe a simple bow using a round or star tip and layer it in the center.
How To Decorate a Pink Minnie Mouse Cake?
Decorating a pink Minnie cake is fun and doesn’t need to be complicated. Start with a smooth pink base, then build the design step by step.
- Smooth base coat: Cover your cake in light pink buttercream and smooth it with a spatula.
- Add white polka dots: Use white chocolate chips, mini marshmallows, or piped buttercream dots.
- Pipe rosettes on top: Use a star tip and pink frosting to make rosettes around the top edge.
- Add ears: Stick in two round chocolate disks, cookies, or fondant circles at the top.
- Place the bow: Put a fondant or buttercream bow between the ears.
- Face detail (optional): Use an edible image or simple black & pink shapes to form Minnie’s face.
How To Make a Minnie Mouse Bow Out Of Fondant?
Making a Minnie bow from fondant is very simple and adds that iconic Minnie style.
- Roll the fondant: Roll pink fondant about ⅛-inch thick on a dusted surface.
- Cut two rectangles: Each about 4 inches long and 2 inches wide.
- Fold the ends inward: Bring both short ends of each rectangle to the middle and pinch together.
- Add a center strip: Wrap a thin fondant strip around the middle to finish the bow shape.
- Add white dots: Press on small white fondant circles for the polka dot look.
- Let it dry: Leave at room temperature for 1–2 hours until firm before placing on the cake.
Can I Use Store-Bought Cake Mix For a Minnie Mouse Cake?
Yes, using a store-bought cake mix is totally fine and saves time. You can still decorate it beautifully just like a homemade cake.
- Use milk instead of water: This makes the cake richer.
- Add an extra egg: It helps with structure and softness.
- Replace oil with melted butter: It gives a homemade flavor.
- Add vanilla extract: A little bit goes a long way in improving the taste.

What Tools Do I Need To Decorate a Minnie Mouse Cake?
You don’t need professional equipment — just a few simple tools can help make your cake look amazing.
- Offset spatula: For smooth frosting.
- Piping bags and tips: Star tip for rosettes, round tip for dots.
- Cake turntable: Makes smoothing and decorating easier.
- Round cutters: To make Minnie ears or polka dots.
- Fondant roller: If you’re using fondant for bow or ears.
- Lollipop sticks or skewers: To hold ears upright.
- Edible glue or water brush: To stick fondant decorations.
Can I Make a Minnie Mouse Cake Without Special Pans?
Yes, you can use basic pans — no need to buy anything special.
- Use 6-inch or 8-inch round pans: These are perfect for a Minnie-themed cake.
- Trim to shape: If needed, use a knife to slightly round the edges or flatten the top.
- Cupcakes as ears: You can also bake two cupcakes and place them on top for ears.
- Stack for height: Use two cake layers for a taller, more elegant cake.
How To Transport a Minnie Mouse Cake Safely?
Transporting the cake without damage is very important, especially if you’ve worked hard on decorating.
- Use a sturdy cake board: It should be a little larger than your cake.
- Chill the cake: Refrigerate it for at least 1–2 hours before moving so the frosting sets.
- Place in a tall cake box: Make sure the ears and bow fit inside without touching the lid.
- Keep it level in the car: Place it on a flat surface like the floor, not the seat.
- Drive slowly on bumps and turns: Sudden jerks can shift or ruin the decoration.

