Ladybug Cake Recipe
Yields: 1 standard 9-inch round cake
Prep Time: 40 minutes
Bake Time: 30–35 minutes
Decorating Time: 1 hour
Total Time: Approx. 2 hours 15 minutes
Ingredients
For the Cake:
- 2 ½ cups all-purpose flour
- 2 ½ tsp baking powder
- ½ tsp salt
- 1 cup unsalted butter, room temperature
- 1 ¾ cups granulated sugar
- 4 large eggs, room temperature
- 1 tbsp vanilla extract
- 1 cup whole milk, room temperature
For the Buttercream Frosting:
- 1 ½ cups unsalted butter, softened
- 5 cups powdered sugar, sifted
- 2 tsp vanilla extract
- 4–6 tbsp milk (adjust for texture)
- Gel food coloring: bright red, black
For Decoration:
- Black licorice wheels (for spots)
- Black licorice strings or ropes (for dividing line)
- White candy melts or white chocolate discs (for eyes)
- Mini black candy pearls or black decorating gel (for eye centers)
Instructions
1. Prepare the Cake Base:
- Preheat your oven to 350°F (175°C).
- Grease and flour a 9-inch round cake pan. Line the bottom with parchment paper for smooth release.
- In a medium bowl, whisk together flour, baking powder, and salt.
- In a large mixing bowl, beat the butter and sugar together for 3–4 minutes until fluffy and pale.
- Add eggs one at a time, beating well after each addition. Stir in the vanilla extract.
- Add flour mixture in 3 parts, alternating with milk in 2 parts. Begin and end with dry ingredients. Mix until just combined.
- Pour batter into the prepared pan and smooth the top.
- Bake for 30–35 minutes, or until a toothpick inserted in the center comes out clean.
- Let the cake cool in the pan for 10 minutes, then turn it out onto a wire rack to cool completely.
2. Make the Buttercream Frosting:
- Beat the softened butter for 2–3 minutes until creamy.
- Gradually add powdered sugar, 1 cup at a time, beating well after each addition.
- Mix in vanilla and 4 tbsp milk. Add more milk if needed for a spreadable consistency.
- Scoop out about ¾ cup of frosting and tint it black using gel food coloring.
- Tint the remaining frosting bright red. Beat well to blend the color evenly.
3. Assemble and Decorate:
Frosting:
- Level the cooled cake if needed. Place it on a turntable or cake board.
- Apply a thin crumb coat with red frosting. Chill for 20 minutes.
- Apply a second, smooth coat of red frosting all over the cake’s top and sides.
Design the Ladybug Face and Details:
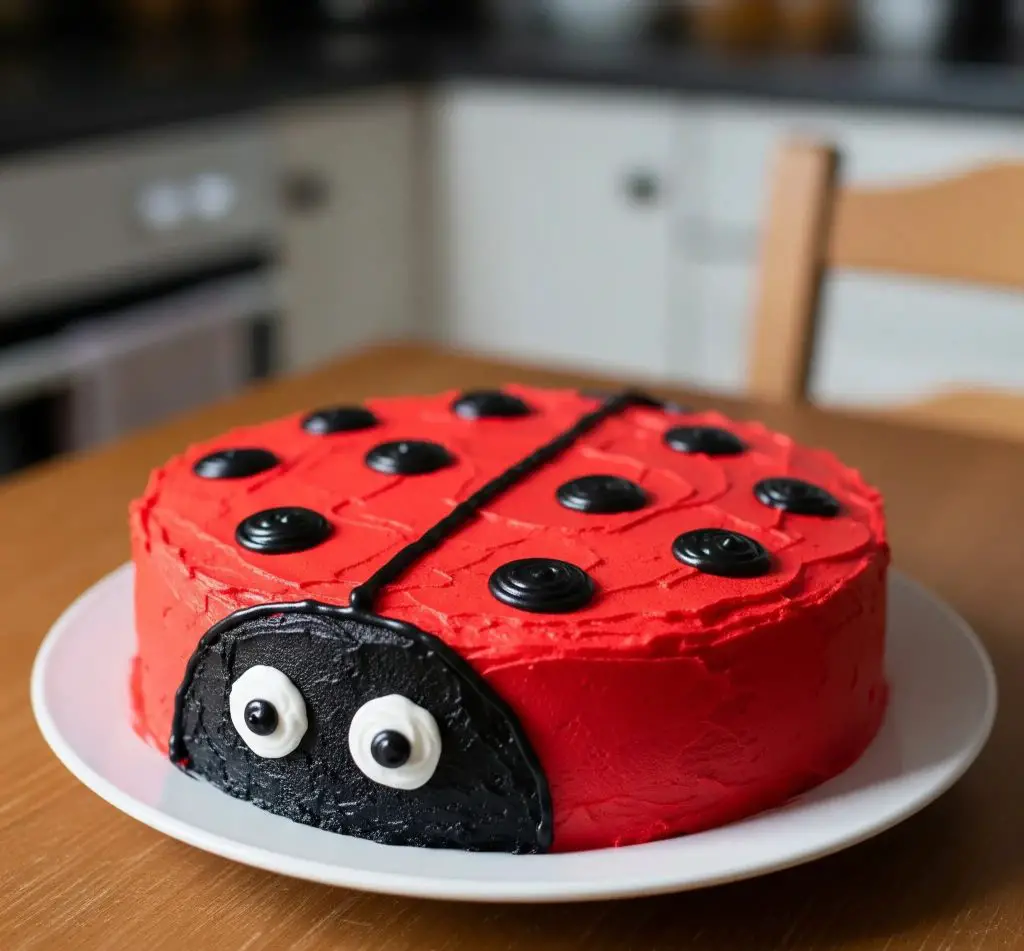
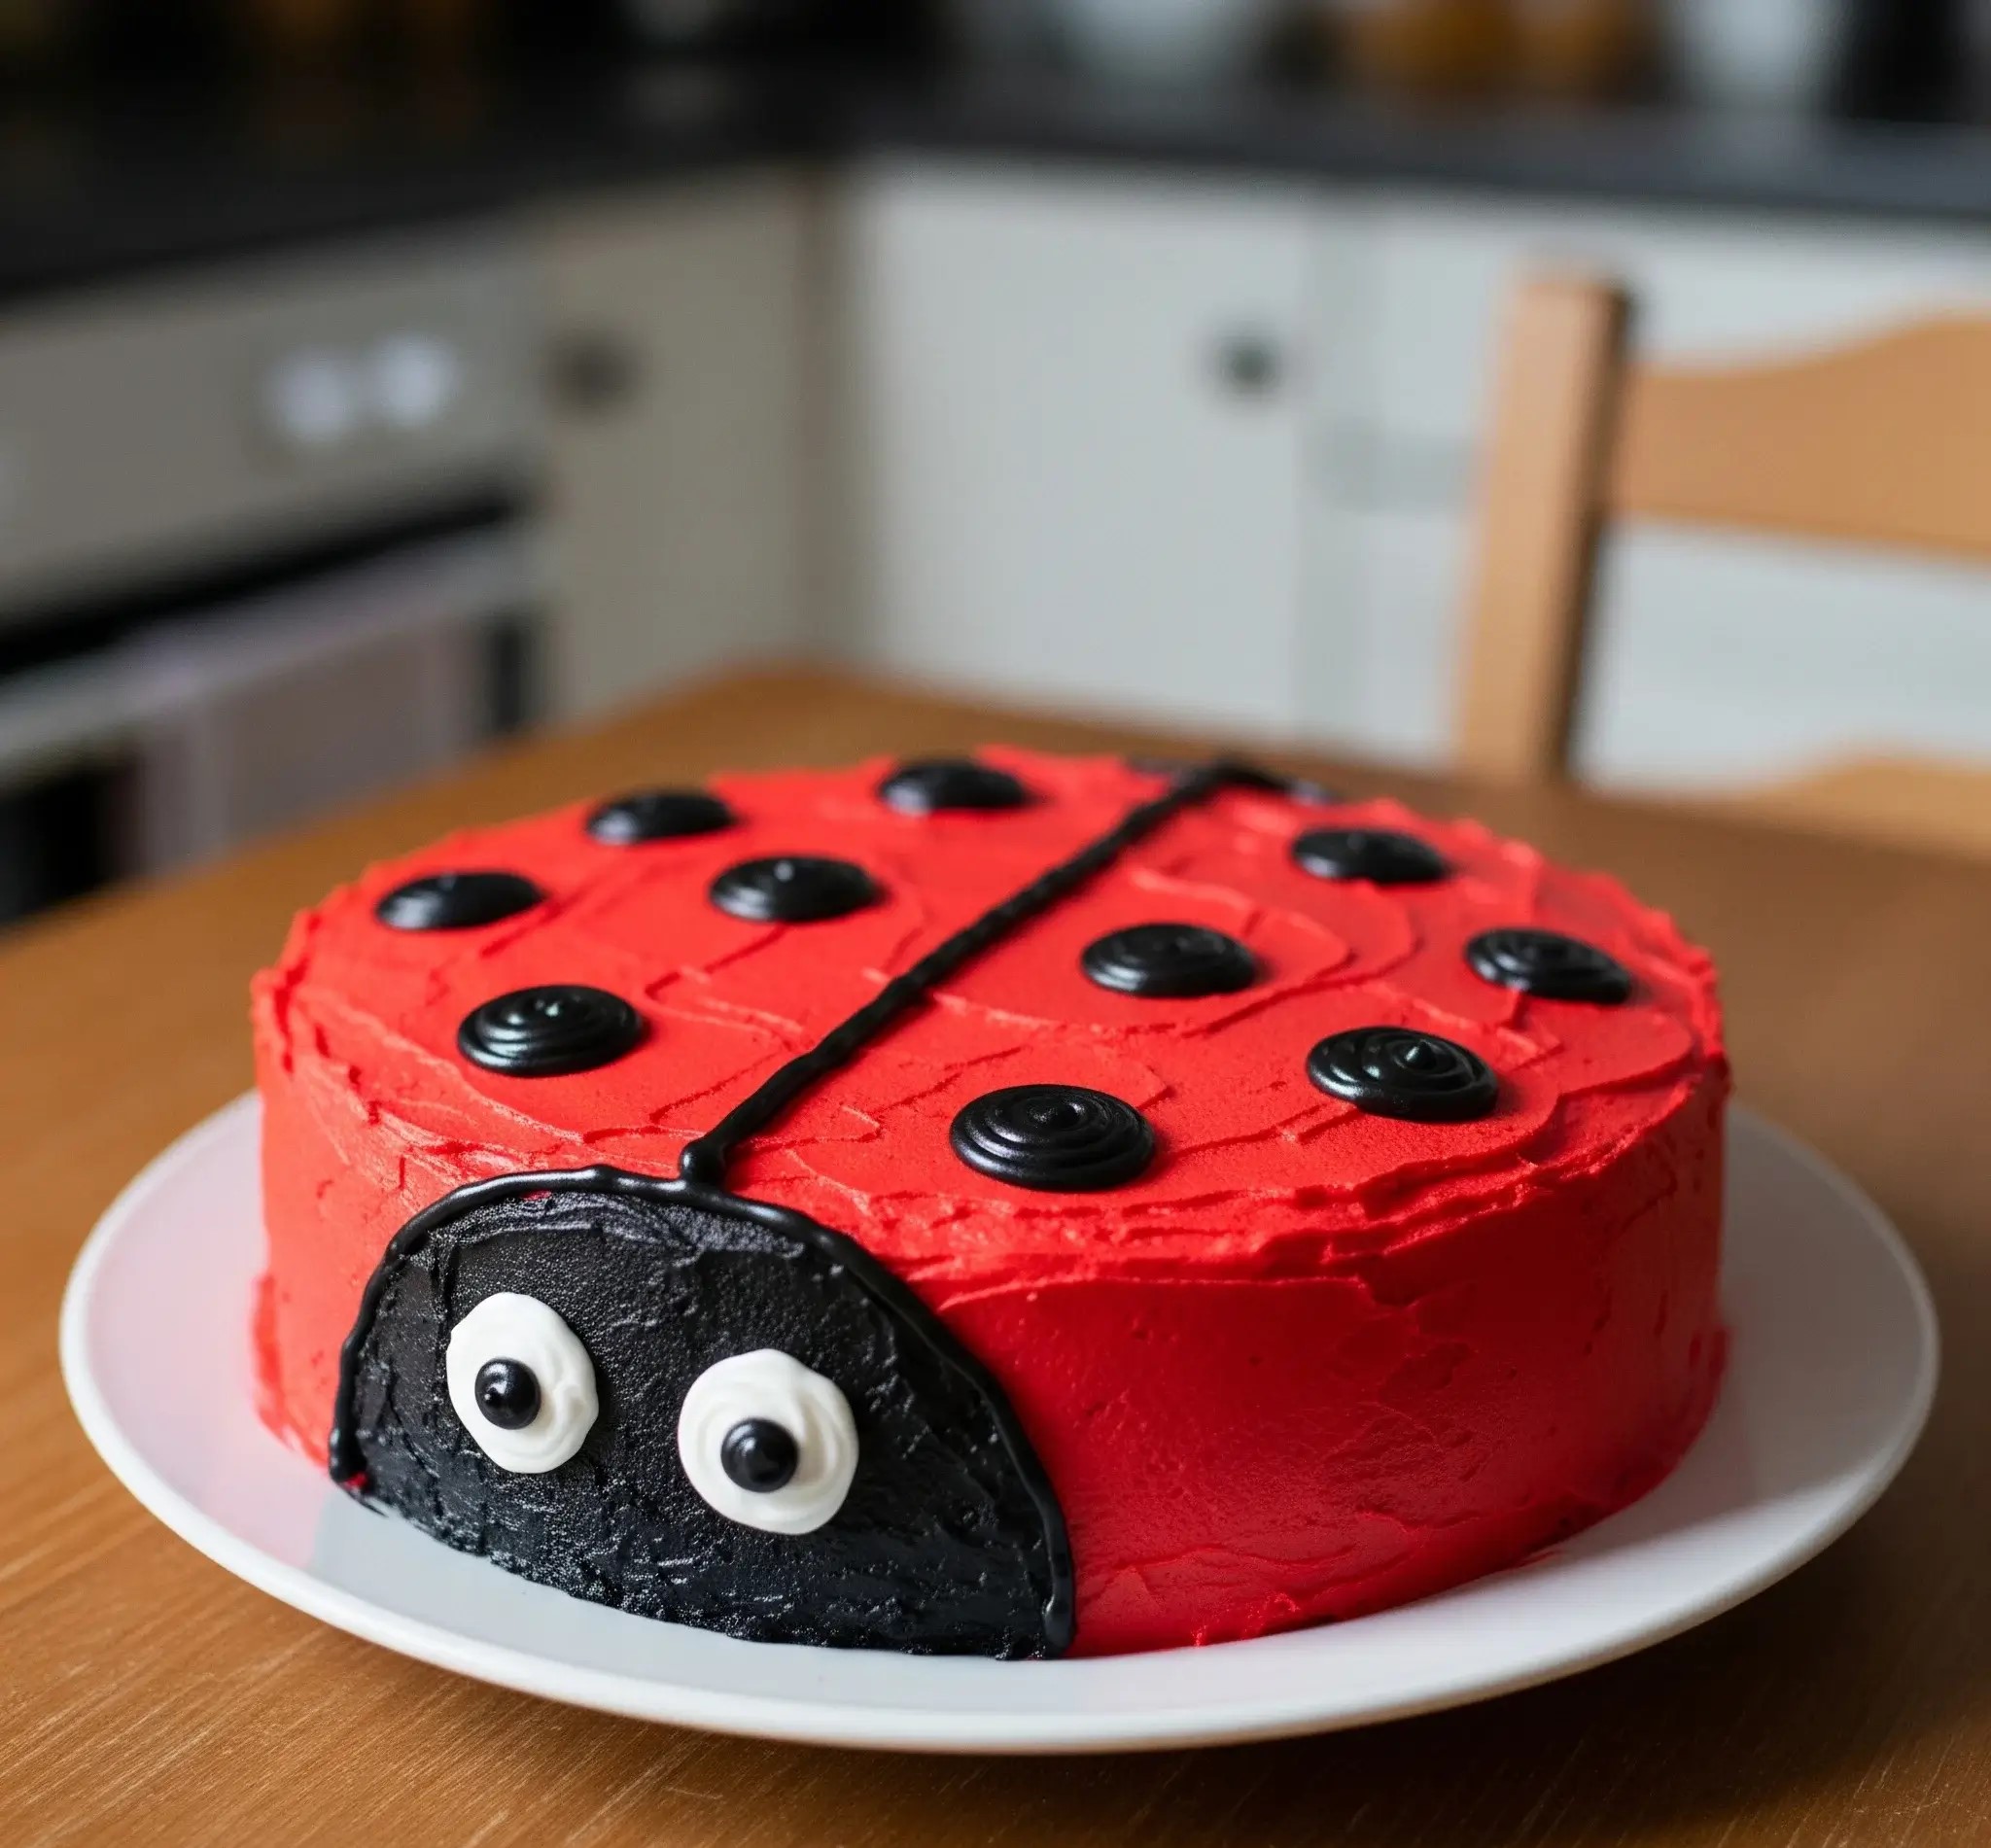
- Use the black frosting to pipe a semi-circle at the bottom edge of the cake (this is the ladybug’s head).
- Smooth the black frosting in the head area using an offset spatula.
- Pipe a neat black line from the center of the head to the top edge of the cake to create wing separation.
Add the Spots:
- Place 8–10 evenly spaced black licorice wheels on the red frosting to mimic ladybug spots. Gently press them into place.
Create the Eyes:
- Place two white candy melts side-by-side on the black head.
- Add black candy pearls or a dot of black decorating gel in the center of each for the pupils.
Final Touches:
- Use a clean knife to sharpen any frosting edges if needed.
- Chill the cake for at least 30 minutes before serving to set the decorations.

How Do I Decorate a Ladybug Cake Without Fondant?
You don’t need fondant to make a Ladybug Cake look amazing. Buttercream and a few candies can do the job beautifully.
- Use tinted buttercream for color: Red and black gel food coloring work best in buttercream and give strong color without a weird taste.
- Candy eyes: Use white chocolate discs or candy melts for eyes. Add black candy pearls or chocolate chips in the center.
- Black spots: Cut round pieces from black licorice or use dark chocolate coins as spots.
- Wing divider line: Draw a straight line using black buttercream, a black licorice rope, or melted chocolate.
- Face section: Frost the bottom portion of the cake with black buttercream to create the ladybug’s face.
Can I Make a Ladybug Cake Ahead Of Time?
Yes, you absolutely can! It’s a smart way to save time and reduce stress.
- Bake the cake 1–2 days early: Wrap the cooled cake layers tightly in plastic wrap and store them at room temperature.
- Prepare frosting in advance: Store in the fridge for up to 3 days. Let it sit at room temperature and re-whip before using.
- Decorate 1 day before serving: Finish frosting and decorating the cake, then keep it in the fridge in a cake box or covered container.
- Let it sit out before serving: Remove the cake from the fridge 1 hour before serving to soften the frosting.
How Do You Make Red Frosting That Actually Looks Red?
Getting that deep, vibrant red color can be tricky—but not if you do it right.
- Start with pink or red-tinted buttercream: This gives you a head start before adding red coloring.
- Use gel food coloring, not liquid: Gel colors are more concentrated and don’t water down your frosting.
- Make the frosting ahead: Red gets darker as it sits. Mix it and leave it overnight for the best shade.
- Avoid overmixing: Once the color is in, mix gently to keep the frosting fluffy.
Is The Ladybug Cake Suitable For Kids’ Birthdays?
Definitely! This cake is a hit with kids because it’s fun, colorful, and full of personality.
- Visually exciting: The bright red color, big eyes, and playful design grab attention.
- Easy to slice and serve: One round cake serves a good number of kids.
- Simple decorations: No choking hazards if you use soft candies or buttercream for the design.
- Tastes great: The inside can be vanilla, chocolate, or strawberry—whatever the kids love most.

What Size Pan Should I Use For a Ladybug Cake?
For the classic round ladybug shape, use a 9-inch round cake pan.
- One layer works well: You’ll get the curved dome look without stacking.
- Optional dome shape: You can bake the batter in a heat-safe bowl for a more 3D look.
- Line with parchment: Helps remove the cake easily without breaking the shape.
Can I Use Store-Bought Cake Mix For a Ladybug Cake?
Yes, using cake mix is totally fine and still gives you a great result.
- Stick to simple flavors: Vanilla, chocolate, or strawberry work best with bright colors.
- Add extra egg or butter: This makes the texture richer and more homemade.
- Let it cool completely: Don’t rush frosting over a warm cake—it’ll melt the buttercream.
How Do I Keep Buttercream Smooth On The Cake?
A clean, smooth finish makes all the difference in a Ladybug Cake.
- Apply a crumb coat first: Thin layer of frosting seals in loose crumbs. Chill it for 15 minutes.
- Use a bench scraper or offset spatula: This helps smooth the outer layer of buttercream evenly.
- Dip tools in hot water: Wipe them dry, then gently glide across the frosting for a clean finish.
- Chill the cake before decorating: This firms up the frosting and makes final details easier to apply.
Can I Freeze a Ladybug Cake With Buttercream On It?
Yes, you can freeze a fully decorated Ladybug Cake if done properly.
- Chill the decorated cake first: Place it in the fridge uncovered for 1 hour to harden the frosting.
- Wrap in plastic and foil: Once firm, cover it in two layers to prevent freezer burn.
- Freeze flat and upright: Place it in a box or tray to protect the shape.
- Thaw slowly in the fridge: Leave it wrapped while thawing overnight in the refrigerator.
You May Also Like To Check Out These Recipes:
- Boston Cream Cake
- Halloween Cookie Cake
- Apple Cider Donut Cake
- Fig Cake
- Libra Birthday Cake
- Boho Cake
- Horror Cake
- Pumpkin Dump Cake
- Heath Bar Cake
- Applesauce Cake
- Apple Fritter Cake
- Angel Food Cake Trifle
- Chocolate Chip Mug Cake
- Death By Chocolate Cake
- Apple Cider Cake
- Fall Cake Pops
- Cinderella Cake

