Horse Cake Recipe
Ingredients
For the Chocolate Cake:
- 2 cups all-purpose flour
- 1¾ cups granulated sugar
- ¾ cup unsweetened cocoa powder
- 1½ teaspoons baking powder
- 1½ teaspoons baking soda
- 1 teaspoon salt
- 2 large eggs
- 1 cup whole milk
- ½ cup vegetable oil
- 2 teaspoons vanilla extract
- 1 cup hot water
For the Chocolate Buttercream Frosting:
- 1 cup unsalted butter, softened
- 3½ cups powdered sugar
- ½ cup unsweetened cocoa powder
- ¼ cup milk
- 2 teaspoons vanilla extract
For the Vanilla Buttercream (for the mane):
- ½ cup unsalted butter, softened
- 2½ cups powdered sugar
- 2 tablespoons milk
- 1 teaspoon vanilla extract
For the Decorations (Fondant Details):
- Brown fondant (for ears, eyes base, and nostrils)
- Beige fondant (for muzzle, ear details, and nostrils)
- White fondant (for eye highlights and face stripe)
- Black fondant (for pupils and eyelashes)
Instructions
- Preheat oven to 350°F (175°C).
- Grease and flour two 8-inch round cake pans.
- In a large mixing bowl, whisk together flour, sugar, cocoa powder, baking powder, baking soda, and salt.
- Add eggs, milk, oil, and vanilla. Beat on medium speed until smooth.
- Stir in hot water carefully until the batter is well-mixed (it will be thin).
- Pour evenly into the prepared pans.
- Bake for 30 to 35 minutes or until a toothpick comes out clean.
- Cool cakes in the pans for 10 minutes, then remove and let cool completely on wire racks.
- Beat the butter until creamy.
- Gradually add powdered sugar and cocoa powder.
- Pour in milk and vanilla; beat until fluffy and smooth.
- Beat butter until light and fluffy.
- Add powdered sugar gradually.
- Mix in milk and vanilla until smooth.
- Divide into two portions: leave one portion as it is and tint the other lightly with cocoa powder for a light brown color.
- Level the cooled cakes if needed.
- Spread a layer of chocolate buttercream between the two cake layers.
- Cover the entire cake smoothly with chocolate buttercream using an offset spatula.
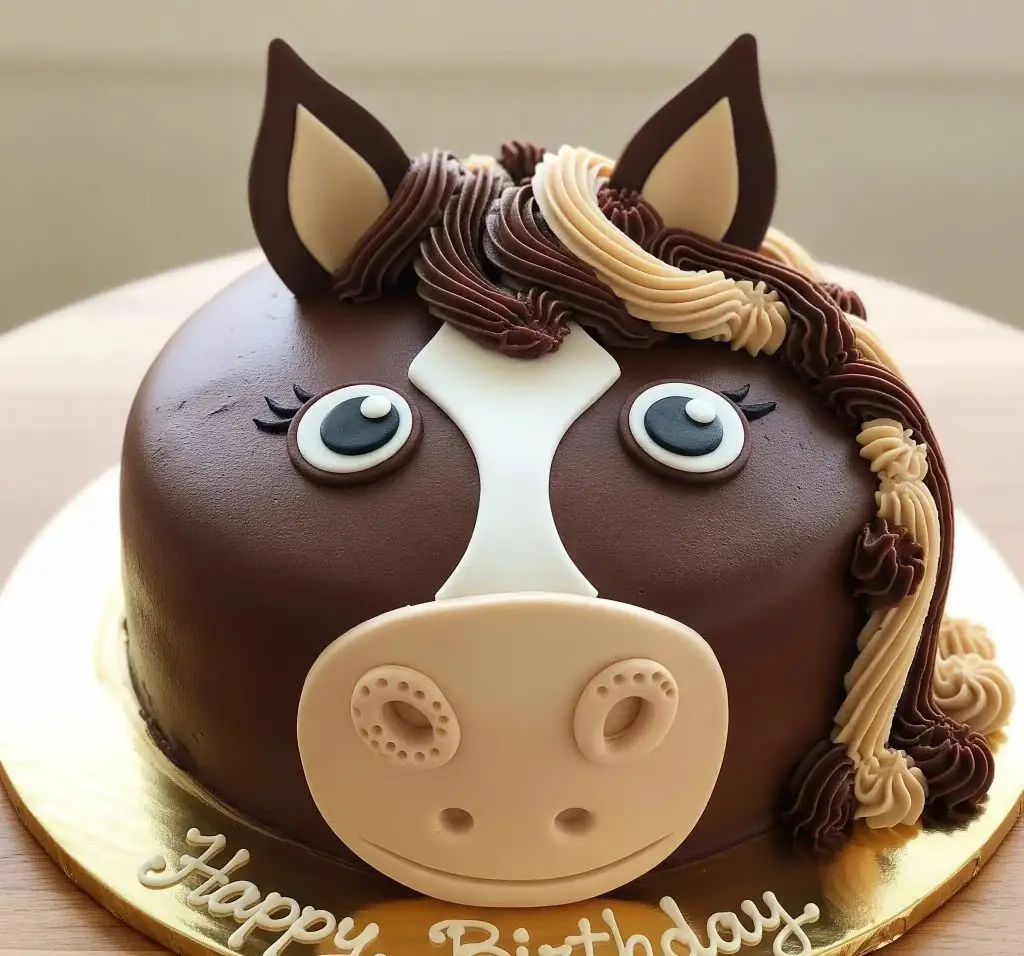
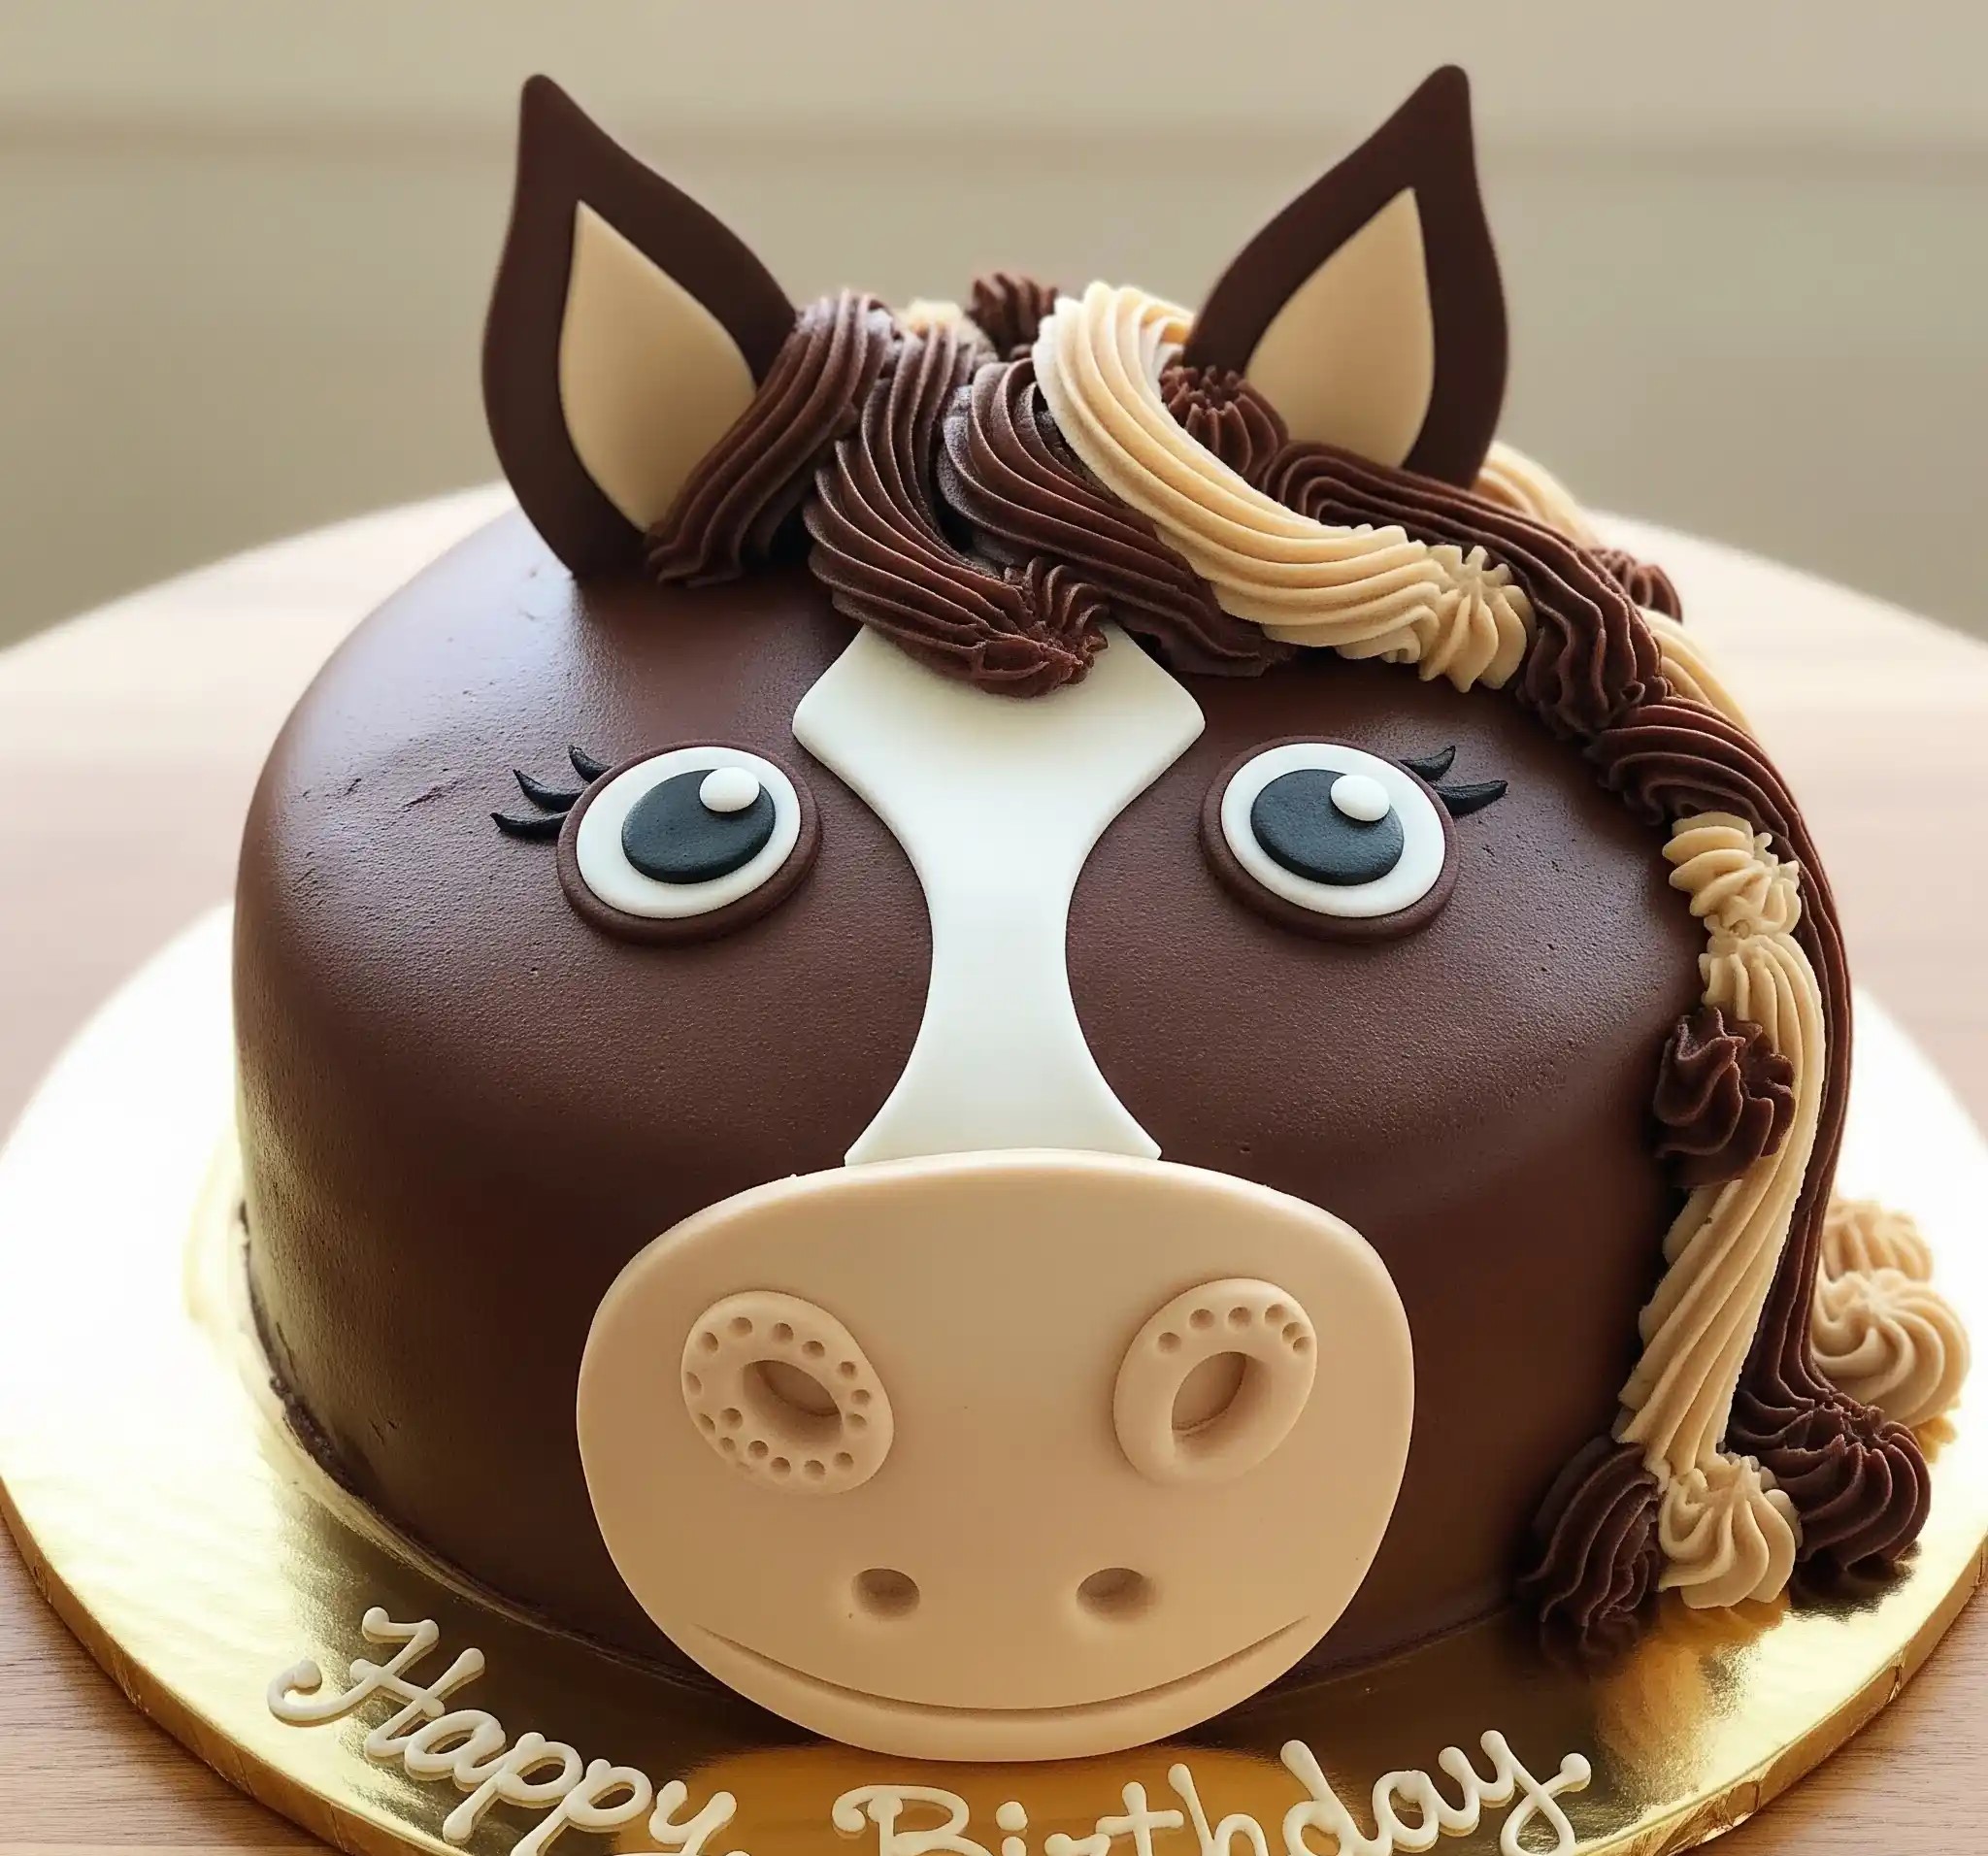
- Roll out white fondant and cut a wide stripe for the horse’s face marking.
- Roll out beige fondant to shape the muzzle; use small fondant tools or the back of a piping tip to create nostril and stitch details.
- Roll out brown fondant for ears and eye bases.
- Roll out beige fondant for ear inserts and nostrils, then attach them to the brown ear pieces and muzzle.
- Roll out white fondant for the whites of the eyes, and black fondant for pupils and tiny lashes. Assemble the eyes.
- Attach all fondant pieces to the cake carefully using a dab of buttercream or edible glue.
- Using a star tip, pipe swirls of dark and light vanilla buttercream on the top and sides of the cake to create a flowing mane effect.
- Place the fondant ears upright on top of the cake, securing them with toothpicks if necessary.
- Pipe a little extra buttercream around the ears for added support.
- Optionally, add a fondant plaque or piped message around the base of the cake.

How Do You Make Horse-Shaped Fondant Decorations?
Creating horse-shaped fondant decorations is fun and easier with these tips:
- Start with clean, dry hands: This helps avoid sticky fondant.
- Use horse-shaped cutters: These cutters save time and keep shapes neat.
- Roll fondant evenly: Keep it about ¼ inch thick for easy shaping.
- Use modeling tools: Tools help in shaping tiny details like eyes and nostrils.
- Let decorations dry fully: Dry them at room temperature for a few hours or overnight.
- Stick with edible glue or water: Use a little water or edible glue to attach decorations.
How Do I Make a Horse Cake Without Fondant?
If you don’t want to use fondant, here’s an easy way to decorate your horse cake:
- Use buttercream frosting: Pipe different colors for the horse’s face, mane, and ears.
- Chocolate for features: Melted chocolate can shape eyes, nostrils, and mouth.
- Cookie ears: Use cookies shaped like ears and frost them.
- Whipped cream details: Pipe whipped cream for a fluffy, soft mane look.
- Candy eyes: Use store-bought candy eyes for an easy touch.
What Tools Do I Need To Make a Horse Cake?
These tools will make decorating your horse cake simple and smooth:
- Cake pans: Round or oval pans work best for horse faces.
- Offset spatula: For spreading frosting neatly.
- Piping bags and tips: To create the horse’s mane and fine details.
- Fondant tools: If using fondant for eyes, ears, or nose.
- Sharp knife: For trimming cake edges and shaping.
- Edible glue or water brush: To stick fondant pieces together.
- Cake board: To hold and move your cake safely.
How Do I Make a 3D Horse Head Cake?
Making a 3D horse head cake looks tricky, but here’s an easy method:
- Bake sturdy cake layers: Use firm cakes like vanilla or chocolate pound cake.
- Cut and stack layers: Carve stacked layers into a horse head shape.
- Apply a crumb coat: Spread a thin frosting layer to trap crumbs.
- Add details with modeling chocolate: Shape the muzzle, ears, and eyes with it.
- Pipe the mane: Use a piping bag with a star tip to create a textured mane.
- Smooth frosting: Use a spatula to smooth out the horse’s face.

How Do I Color The Frosting For a Horse Cake?
Coloring frosting is simple, but it needs patience for the right shades:
- Use gel food coloring: It gives rich color without making frosting too runny.
- Mix slowly: Add a little color at a time and mix well.
- Create horse tones: Mix brown, black, or ivory shades for the horse’s body.
- Test on a spoon: Check color on a spoon to see how it looks outside the bowl.
- Let it sit: Colors get deeper after sitting for a few minutes.
What Kind Of Cake Pan Is Best For a Horse Cake?
The right pan helps make a perfect horse cake:
- Round cake pan: Best for simple horse face cakes.
- Oval pan: Great for longer horse head shapes.
- Square pan: Good for carving custom shapes from layers.
- 3D horse-shaped pan: If available, it makes shaping easier.
How Far In Advance Can I Make a Horse Cake?
Planning ahead saves stress, but timing matters:
- Bake cake layers: Up to 2 days ahead, wrapped and refrigerated.
- Prepare fondant decorations: 2 to 3 days early, kept in a cool, dry spot.
- Frosting the cake: 1 day before for best freshness.
- Fully decorated cake: Store in the fridge up to 2 days before serving.
How Do I Make a Horse Cake For a Birthday Party?
Making a birthday horse cake is easy with this simple plan:
- Choose a horse theme: Cartoon horse, realistic, or cute style.
- Pick cake flavor: Chocolate, vanilla, or strawberry are great picks.
- Bake and frost: Use your favorite recipe and smooth frosting over the cake.
- Add decorations: Use fondant, candies, or piped frosting for the horse’s face.
- Personalize it: Write the birthday name or age on the cake board.
Can I Freeze a Decorated Horse Cake?
Yes, you can freeze it, but follow these easy steps for the best results:
- Chill the cake first: Put the decorated cake in the fridge until frosting firms up.
- Wrap gently: Cover with plastic wrap, then foil to keep moisture out.
- Freeze carefully: Keep it flat in the freezer.
- Thaw slowly: Move the cake to the fridge overnight before serving.
- Avoid fondant freezing: Fondant decorations might sweat after thawing, so it’s best to add them fresh.
You May Also Like To Check Out These Recipes:
- Christmas Cake
- 25th Birthday Cake
- 23rd Birthday Cake
- Leo Birthday Cake
- Strawberry Lemonade Cake
- Sourdough Chocolate Cake
- Snickerdoodle Cake
- Pumpkin Cake
- Blueberry Pound Cake
- Cannoli Cake
- Blueberry Coffee Cake
- Keto Mug Cake
- Zucchini Cake
- Funfetti Cake From Scratch
- Chocolate Mini Cake
- Mint Chocolate Cake
- Pineapple Sunshine Cake

