I still remember the first time I made a Demon Slayer cake—everyone gathered around the table before I could even set it down properly.
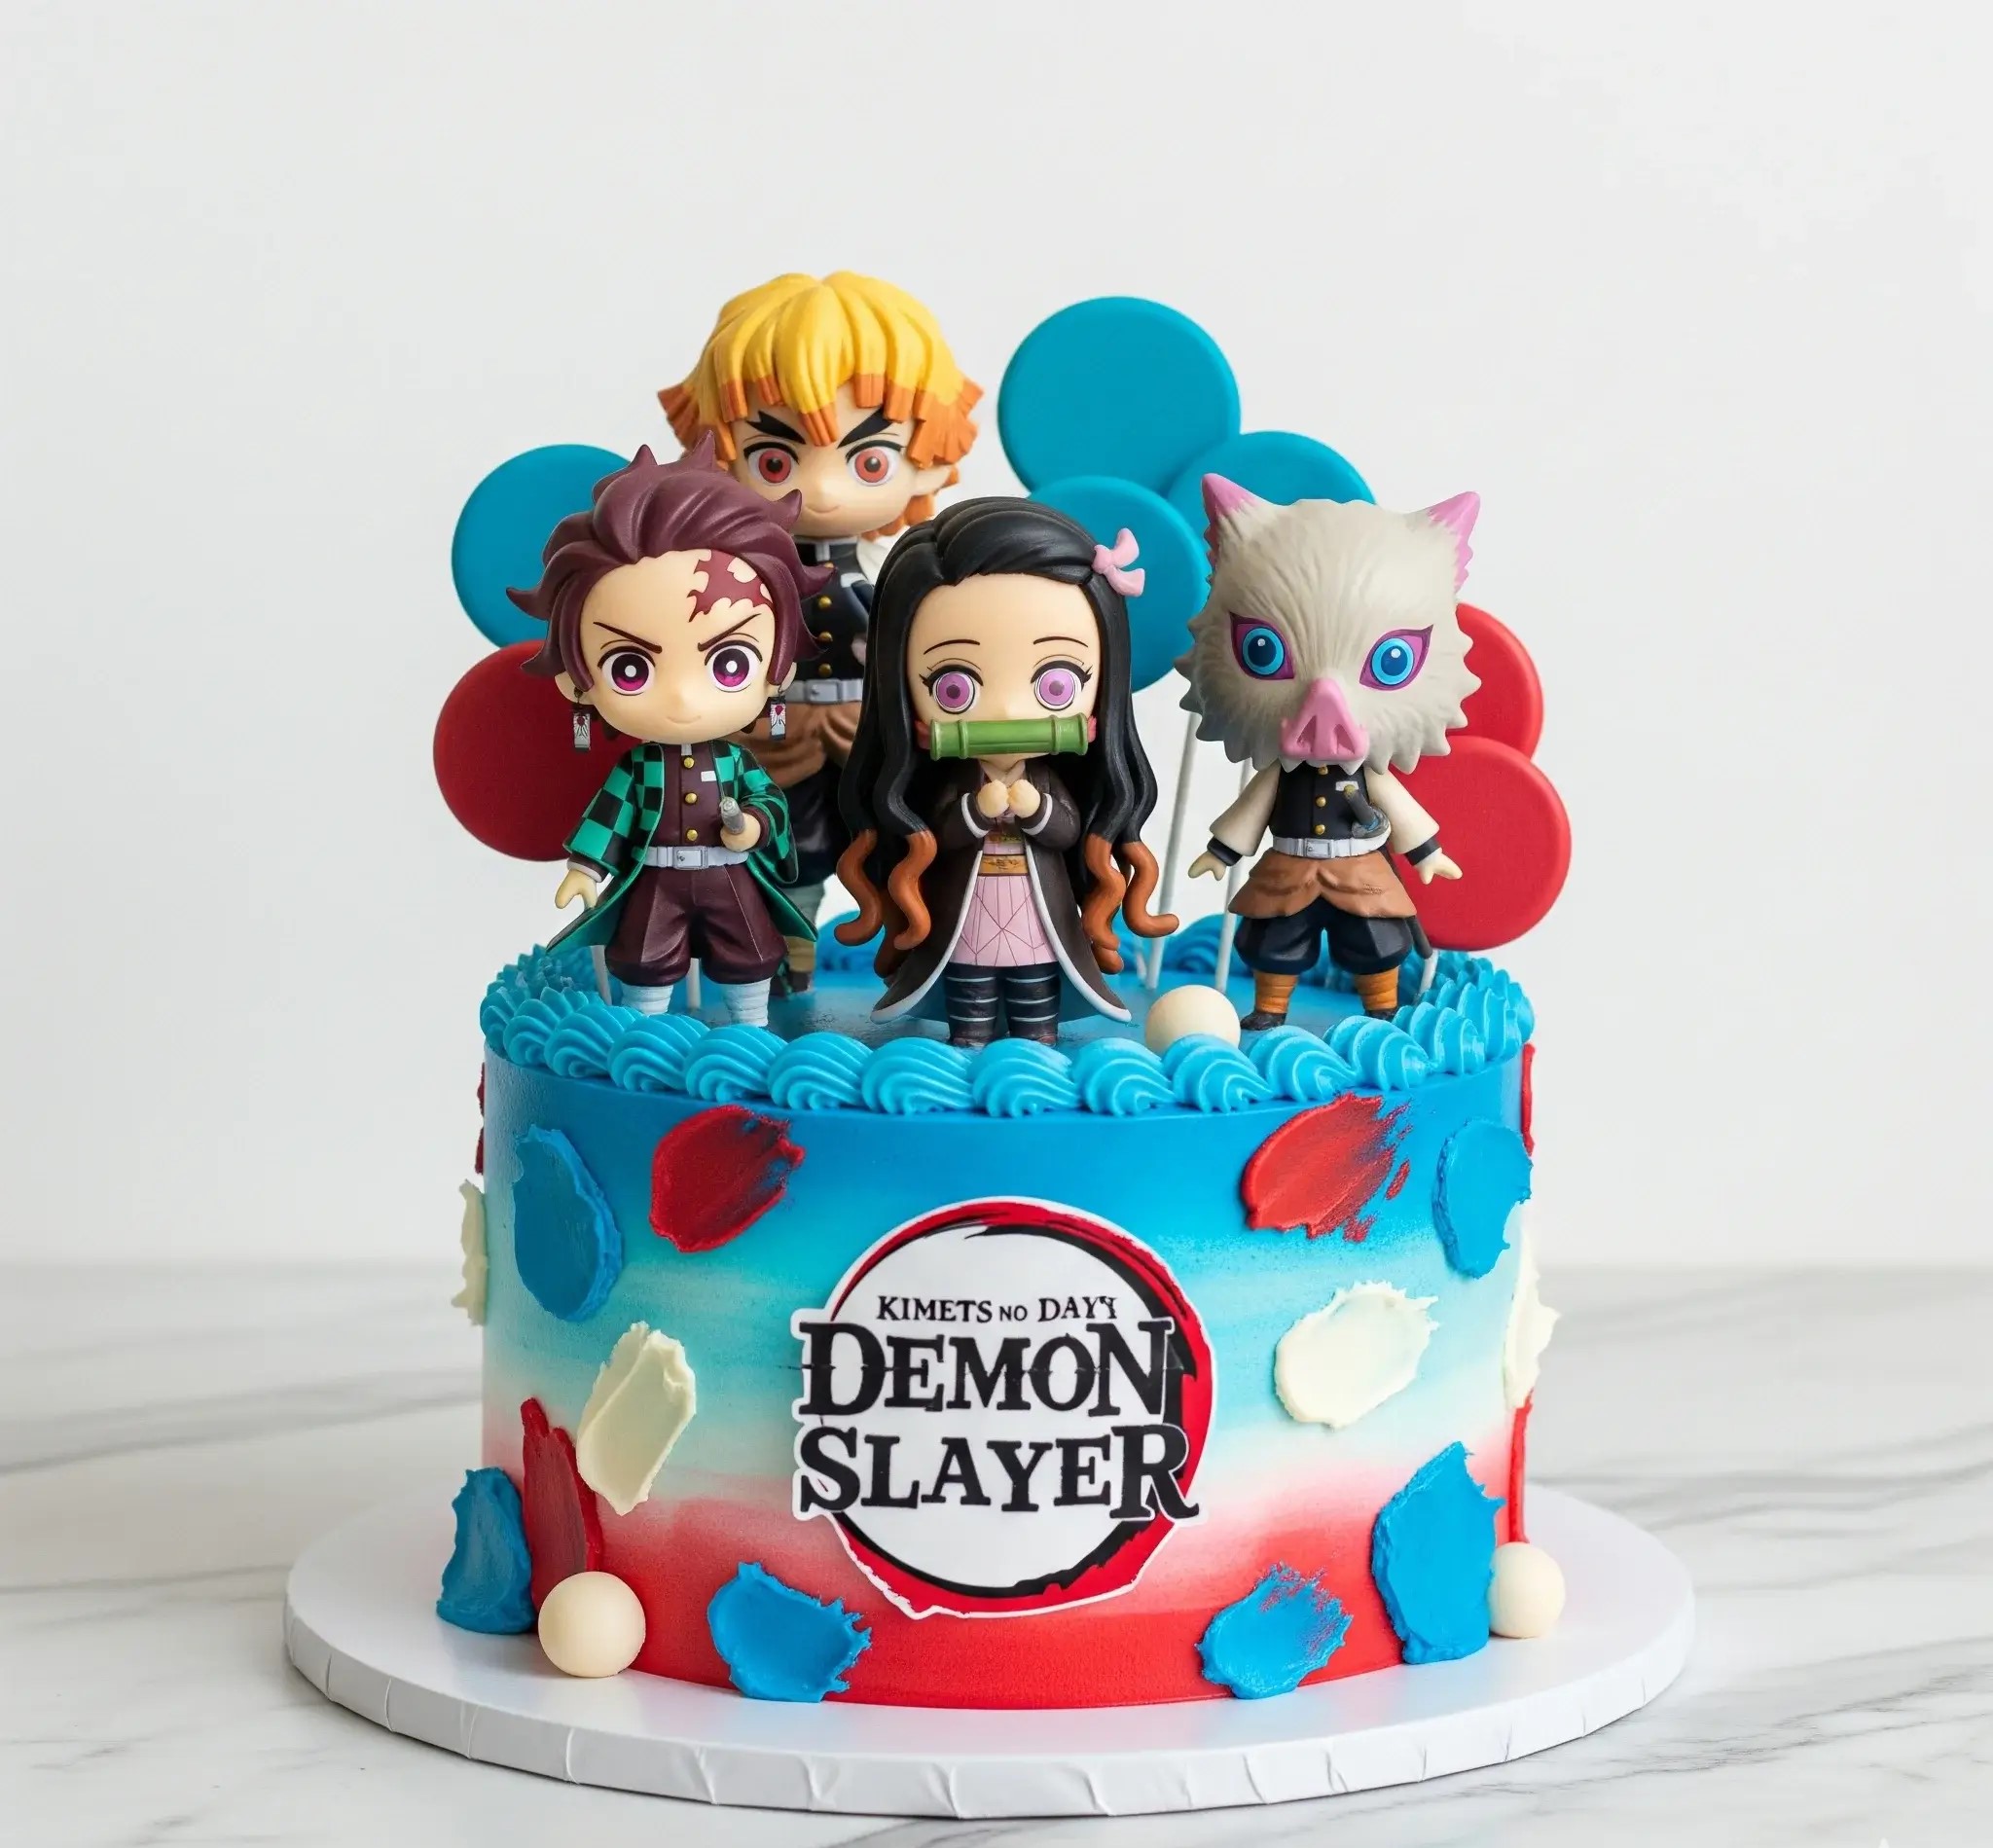
The kids gasped when they spotted Tanjiro and Nezuko on top, and even the grown-ups started pointing out their favorite characters.
For a moment, it didn’t feel like just a cake sitting there; it felt like I had brought the anime world to life in sugar and frosting.
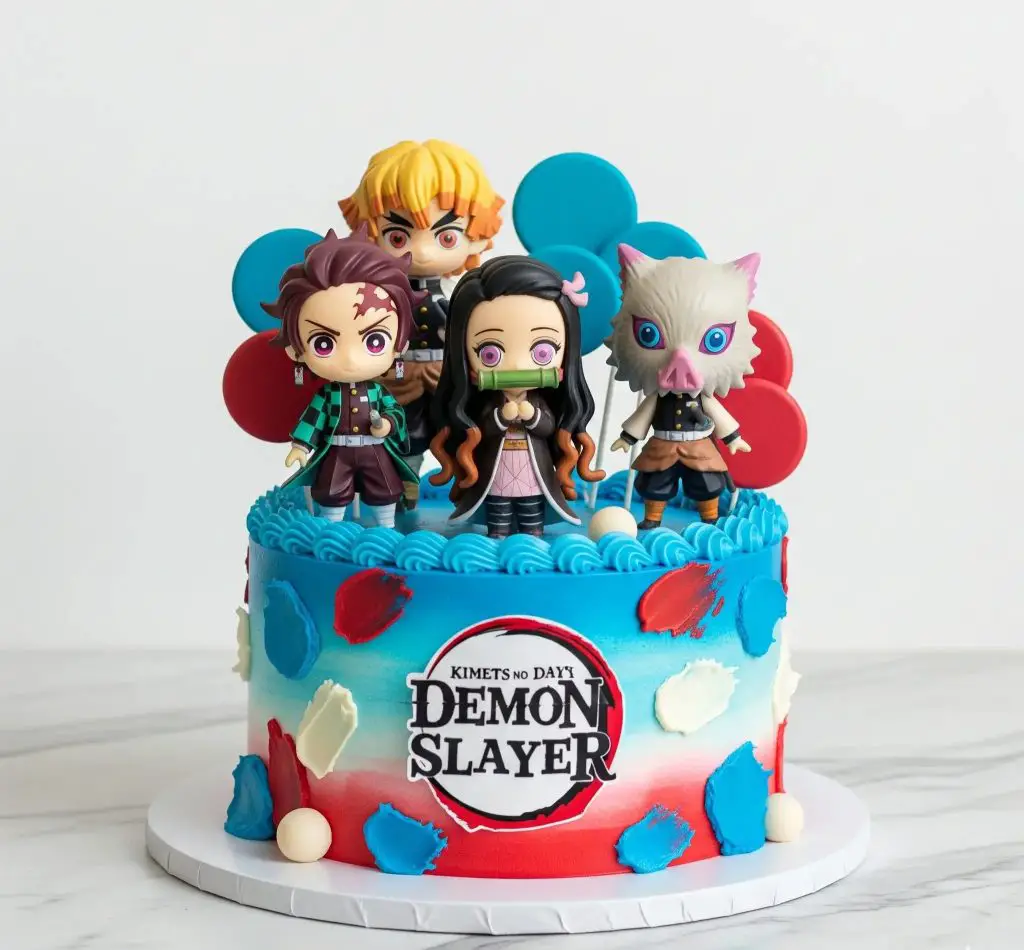
What I love most about this cake is how playful it feels. The bold swirls of blue and red, the striking logo, and the characters standing proudly on top make it look like something straight out of the series.
But beneath all that decoration, it’s still a soft, fluffy vanilla cake with creamy frosting that everyone actually wants to eat—not just admire.
For me, baking this cake is half excitement, half art project. I get to mix colors, smooth out frosting, and place each topper like I’m setting a scene.
By the time it’s done, it always feels too pretty to cut—but the first bite reminds me exactly why I baked it in the first place.
Demon Slayer Cake Recipe
Ingredients
For the Vanilla Cake (3 layers, 8-inch pans):
- 2 ½ cups (320 g) all-purpose flour
- 2 ½ tsp baking powder
- ½ tsp baking soda
- ½ tsp fine salt
- 1 cup (230 g) unsalted butter, softened
- 2 cups (400 g) granulated sugar
- 4 large eggs, room temperature
- 1 tbsp pure vanilla extract
- 1 cup (240 ml) whole milk, room temperature
- ½ cup (120 ml) sour cream, room temperature
For the Buttercream Frosting:
- 2 cups (460 g) unsalted butter, softened
- 7 cups (875 g) powdered sugar, sifted
- 6 tbsp heavy cream (adjust for texture)
- 2 tsp pure vanilla extract
- Gel food coloring: bright blue, red, and white
For Decoration:
- Demon Slayer edible cake topper (round logo, printed on sugar sheet)
- 4 Demon Slayer character toppers (mini figurines: Tanjiro, Nezuko, Zenitsu, Inosuke)
- Round fondant or chocolate balls (white) for accent
- Round cardstock balloons (red and blue) on sticks for background props
Instructions
Step 1: Bake the Cake Layers
- Preheat oven to 350°F (175°C). Grease and line three 8-inch round pans with parchment paper.
- In a medium bowl, whisk together flour, baking powder, baking soda, and salt.
- In a large mixing bowl, beat butter and sugar with an electric mixer until pale and fluffy (about 3 minutes).
- Add eggs one at a time, mixing well after each. Stir in vanilla extract.
- Mix in half the dry ingredients, then add milk and sour cream, followed by the remaining dry ingredients. Mix until just combined—do not overbeat.
- Divide batter evenly among the pans, smooth the tops, and bake for 25–30 minutes or until a toothpick inserted in the center comes out clean.
- Allow cakes to cool in pans for 10 minutes, then transfer to wire racks to cool completely.
Step 2: Prepare the Frosting
- In a large mixing bowl, beat butter until creamy (about 2 minutes).
- Gradually add powdered sugar, mixing on low to prevent a sugar cloud.
- Add vanilla extract and heavy cream, then whip on high until fluffy and smooth.
- Divide a portion of the frosting into three small bowls. Tint one bright blue, one red, and leave the last one white. Keep the rest plain (for base and piping).
Step 3: Assemble the Cake
- Place the first cake layer on a cake board. Spread an even layer of buttercream, then top with the second cake. Repeat with the third layer.
- Apply a thin crumb coat of frosting over the entire cake. Chill for 30 minutes to set.
- Frost the cake smoothly with a blend of light blue buttercream. Use a cake scraper for clean sides.
- With a small offset spatula, dab red, blue, and white patches of frosting around the cake sides, mimicking painted brush strokes.
Step 4: Top Border & Logo
- Fill a piping bag fitted with an open star tip (Wilton 1M or similar) with blue frosting. Pipe a neat swirl border around the top edge.
- Place the edible Demon Slayer logo in the center front of the cake. Gently press it flat against the buttercream.
Step 5: Final Decoration
- Arrange the 4 Demon Slayer character toppers standing on the cake’s surface. Place them slightly toward the back so the logo remains visible.
- Insert round cardstock balloon props (red and blue) behind the figures for height.
- Add white fondant or chocolate balls around the top border for accents.
Tips for Success
- Always chill your cake between crumb coating and final frosting for sharp, clean edges.
- Use gel colors for bright, vibrant shades that don’t affect frosting texture.
- Make sure figurines are food-safe or placed on small parchment/fondant discs before inserting them into the cake.
How Do You Get The Red And Blue Frosting Effect On a Demon Slayer Cake?
The bright red and blue strokes are what give the cake its anime look. To get it right:
- Use gel food colors: Gel colors are more vibrant and don’t water down your frosting.
- Work in small bowls: Tint small amounts of frosting separately in red and blue.
- Apply in patches: Spread small sections of red and blue randomly over the base frosting.
- Blend with a spatula: Gently smooth the patches so they look like brush strokes, not solid blocks.
- Chill the cake: Refrigerate for 15 minutes before adding toppers so the colors set firmly.
Can I Use a Store-Bought Cake Mix For a Demon Slayer Cake?
Yes, you can save time with a mix and still make it special.
- Choose vanilla or chocolate mix: Both taste good and hold decorations well.
- Follow box directions: Bake as written, then cool completely before frosting.
- Add extras if you like: Sour cream, vanilla extract, or extra eggs make the cake richer.
- Decorate carefully: The design is what turns a simple mix into a Demon Slayer cake.
What Tools Do I Need To Decorate a Demon Slayer Cake?
Having the right tools makes decorating much easier.
- Piping bags and tips: For borders, swirls, and neat frosting designs.
- Offset spatula: Helps spread frosting smoothly on sides and top.
- Cake scraper: Keeps edges clean and sharp.
- Edible logo topper: The Demon Slayer symbol for the front.
- Character toppers or figurines: To place on top of the cake.
- Food-safe sticks or props: For balloons or background accents.
Can I Make a Demon Slayer Cake Without Fondant?
Yes, you don’t need fondant to achieve the look.
- Buttercream base: Use smooth buttercream for frosting and colors.
- Edible image sheet: Add the logo without fondant.
- Plastic or sugar toppers: Place figures and accents directly on the cake.
- Chocolate decorations: Melted chocolate shapes can replace fondant details.
What Size Cake Is Best For a Demon Slayer Birthday Party?
The size depends on how many guests you need to serve.
- 8-inch cake: Good for a small family gathering (10–12 servings).
- 9 or 10-inch cake: Works well for a medium party (15–20 servings).
- Two-tier cake: Best for large parties with 25 or more guests.
Can I Make a Demon Slayer Cake a Day Before The Party?
Yes, it actually makes decorating easier.
- Bake the day before: Cool completely and wrap layers in plastic.
- Frosting stays fine: Keep the frosted cake in the fridge overnight.
- Add toppers later: Place characters and props on the cake right before the party so they look fresh.
- Cover well: Use a cake box or dome to keep it from drying out.
How Do You Keep Bright Colors (Red And Blue) From Staining The Frosting?
It’s possible to use strong colors without messy staining.
- Choose gel food colors: They give bright shades with less product.
- Start light, build slowly: Add small amounts of color until you reach the shade you want.
- Use white base frosting: Bright colors show better on a clean white base.
- Chill before serving: Cold frosting sets colors better and reduces smudging.
What’s The Easiest Way To Create Anime Character Designs On Cakes?
You don’t need to be an artist—these methods work best:
- Edible image toppers: Print the characters on sugar sheets and place on the cake.
- Figurine toppers: Buy small anime figures and stand them on top.
- Chocolate transfers: Trace designs with melted chocolate and place them once set.
- Stencils with food spray: Use ready stencils to add quick anime outlines.
You May Also Like To Check Out These Recipes:
- Grinch Cake
- Grinch Cake Pops
- Little Debbie Christmas Tree Cakes
- Red Velvet Poke Cake
- Cheetah Print Cake
- Red Velvet Cheesecake Cake
- Pumpkin Cheesecake
- Pumpkin Poke Cake
- Russian Tea Cakes
- Valentine’s Cake
- Cranberry Orange Cake
- New Year’s Cake
- Winter Cake
- Christmas Cake Pops
- Cranberry Christmas Cake
- Christmas Poke Cake
- Holiday Cake
- Christmas Tree Cake
- Scorpio Birthday Cake
- Butter Pecan Praline Poke Cake
- Pumpkin Cake Roll With Cream Cheese Filling