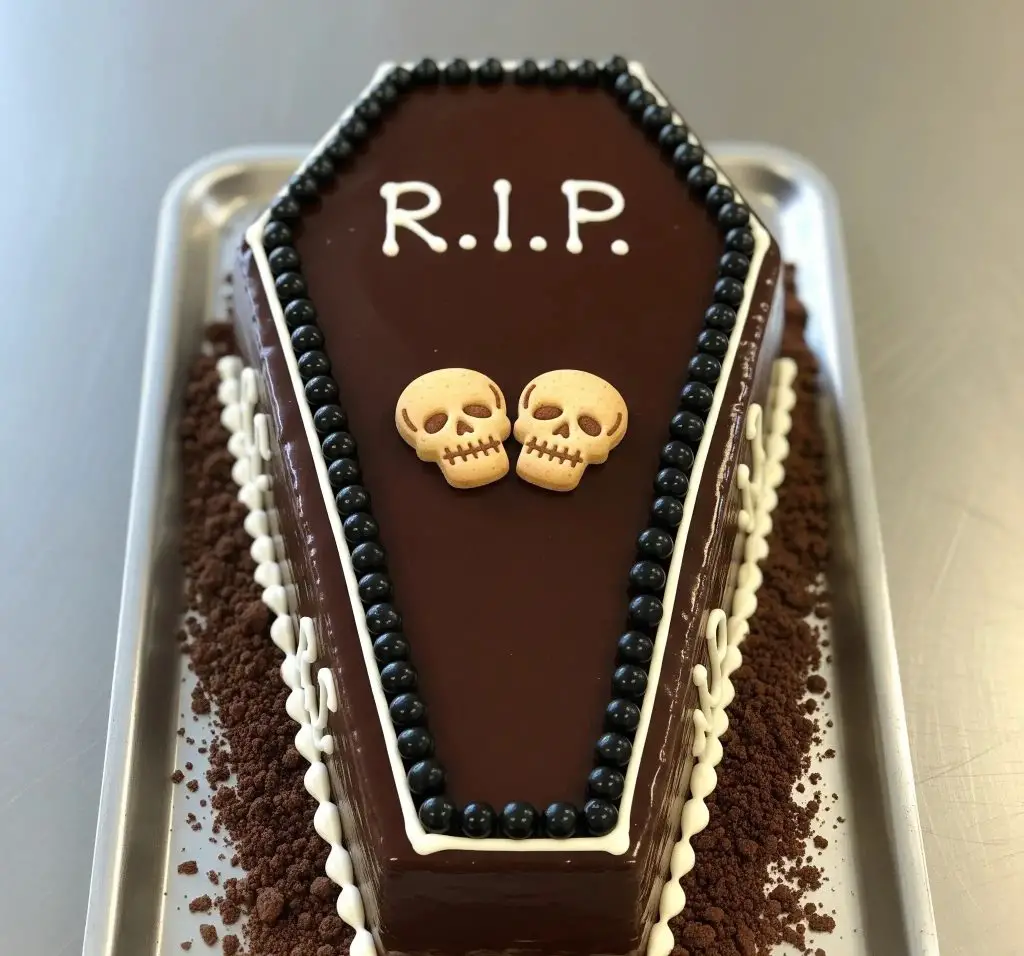
Some cakes are cute. This one? It looks like it came straight out of a graveyard—and I absolutely love it.
The first time I made a coffin cake, I wasn’t sure if people would find it fun or just plain creepy. But the moment I brought it out, everyone’s face lit up.
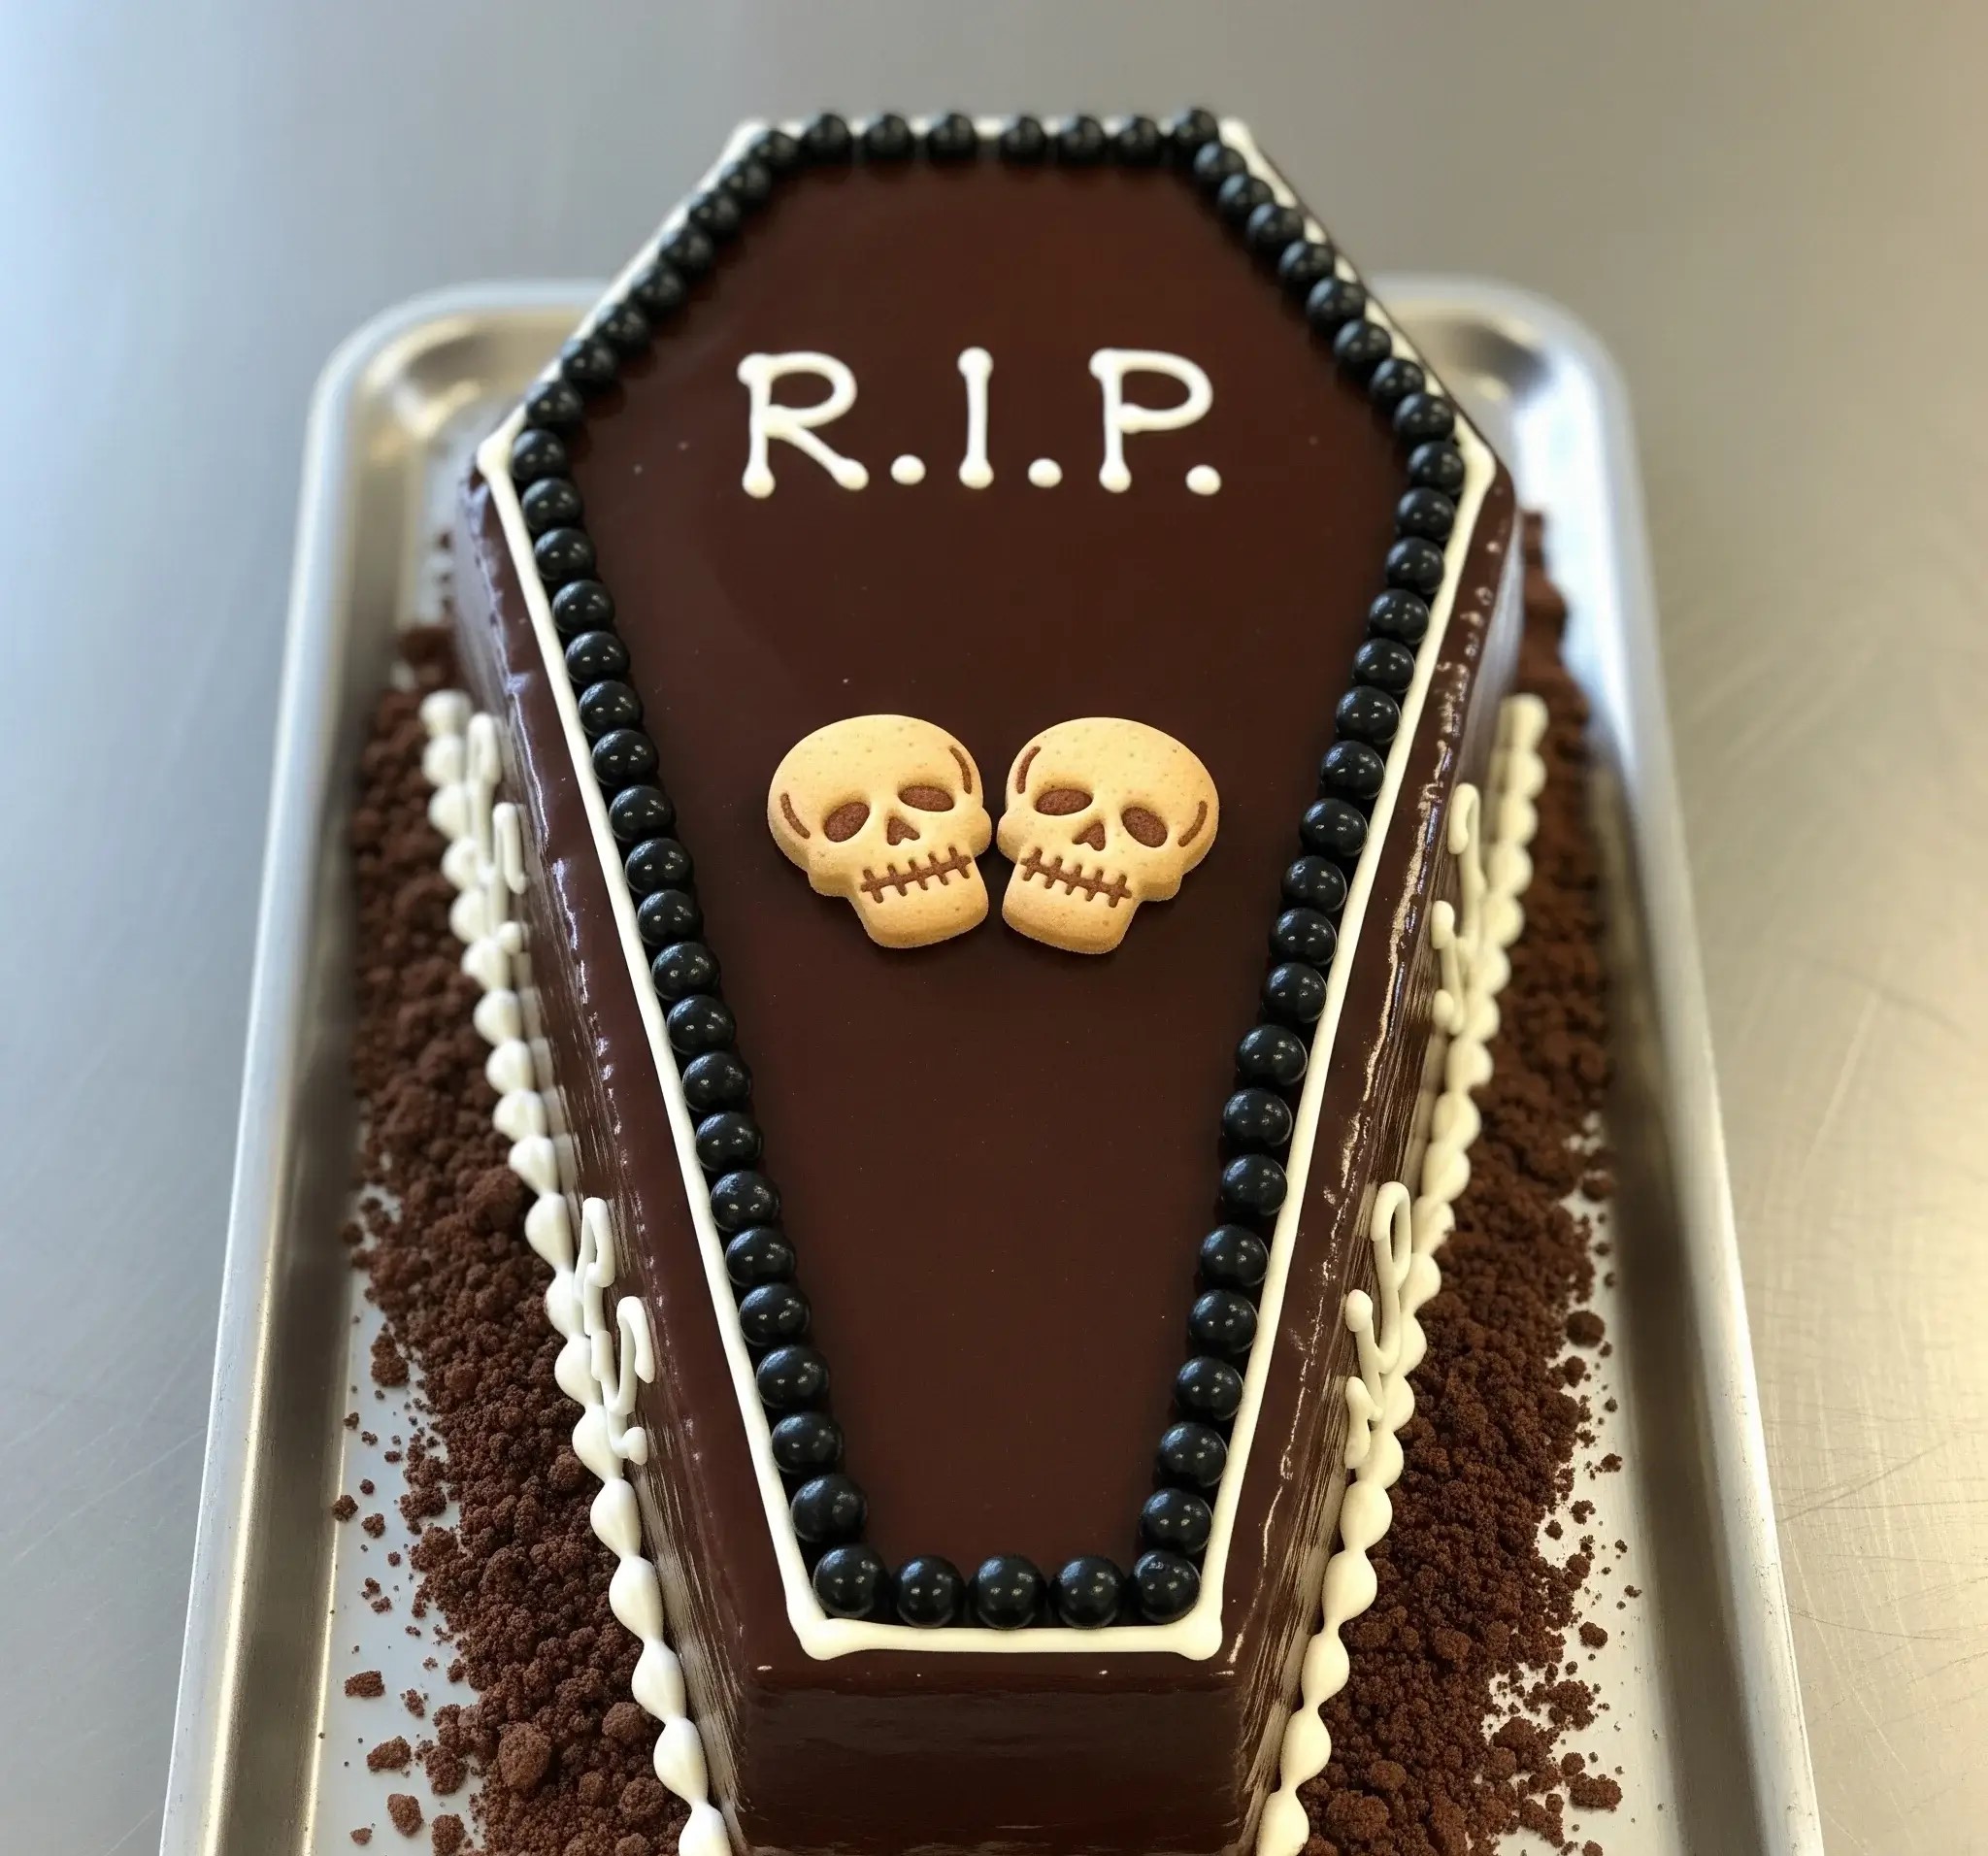
It’s got that glossy, rich chocolate glaze that looks almost unreal, a clean coffin shape, bold “R.I.P.” icing, black pearl borders, and those two little skull cookies staring back at you—it’s dramatic in the best way.
And underneath all that? A super moist, chocolatey cake that stays soft even days later.
What I like most is how much character this cake has. It’s not just another themed dessert—it actually gets people talking.
They crowd around it, take photos, ask how it was made. It’s part dessert, part centerpiece.
If you’re into bolder bakes, this one’s worth the extra steps. It takes a bit of carving and decorating, but nothing fancy or technical.
Just a little time, a few smart tricks, and the results are totally worth it.
Coffin Cake Recipe
Ingredients
For the Chocolate Cake (9×13 size, to be carved):
- 2 cups all-purpose flour
- ¾ cup unsweetened cocoa powder
- 2 tsp baking powder
- 1½ tsp baking soda
- ½ tsp salt
- 1¾ cups granulated sugar
- 2 large eggs
- 1 cup plain yogurt (or sour cream)
- 1 cup whole milk
- ½ cup vegetable oil
- 2 tsp vanilla extract
- 1 cup boiling water
For the Chocolate Ganache Coating (mirror-like finish):
- 2 cups dark chocolate chips or chopped couverture chocolate
- 1 cup heavy cream
- 2 tbsp unsalted butter (softened)
For Decorating:
- ½ cup white royal icing (for “R.I.P.” and borders)
- ½ cup black royal icing or black edible pearls (for border beads)
- 2 skull-shaped cookies or fondant skulls
- 1½ cups chocolate cookie crumbs (for dirt effect around cake base)
- Piping bags with small round tips
- Offset spatula
- Sharp knife and paper template
- Silver serving tray or baking sheet
Instructions
1. Bake the Chocolate Cake Base:
- Preheat oven to 350°F (175°C). Grease and line a 9×13-inch rectangular cake pan with parchment paper.
- In a large bowl, sift together flour, cocoa powder, baking powder, baking soda, and salt.
- In a separate bowl, whisk eggs, sugar, yogurt, milk, oil, and vanilla extract until smooth.
- Slowly add the dry ingredients to the wet ingredients and mix well.
- Carefully pour in the boiling water while stirring. The batter will be thin — that’s perfect.
- Pour the batter into the prepared pan and bake for 35–40 minutes or until a toothpick comes out clean.
- Cool completely in the pan, then transfer to a flat surface for carving.
2. Shaping the Coffin:
- Print or draw a coffin-shaped template (about 10 inches long) on paper and cut it out.
- Place the cooled cake on a board. Position the template over it and use a sharp knife to trim around the edges.
- Use leftover cake scraps to build up the sides of the coffin if needed. You want a raised, 3D shape.
3. Crumb Coat and Chill:
- Lightly frost the shaped cake with a thin layer of chocolate ganache (or buttercream if preferred) to trap crumbs.
- Chill in the fridge for 30 minutes to set.
4. Prepare the Ganache Coating:
- Heat the heavy cream in a saucepan until steaming but not boiling.
- Pour it over the chocolate and butter in a bowl. Let sit for 1–2 minutes, then stir until glossy and smooth.
- Let ganache cool slightly until thick but pourable.
5. Coating the Cake:
- Place the chilled cake on a wire rack over a tray.
- Pour the ganache evenly over the top, letting it drip over the sides. Smooth with an offset spatula for a flawless finish.
- Chill again until the ganache firms up.
6. Decorating the Coffin:
- Using white royal icing in a piping bag with a small round tip, pipe the word “R.I.P.” near the top center of the coffin.
- Attach two skull cookies or fondant skulls just below the writing.
- Use black royal icing or place black edible pearls along the entire top border of the coffin for the bead outline.
- Pipe white decorative dots or mini scallops around the bottom edge for contrast and detail.
- Carefully transfer the cake to a silver tray.
- Generously sprinkle chocolate cookie crumbs around the base to mimic dirt, completing the graveyard effect.

What Tools Do I Need To Carve a Coffin Cake?
To carve a coffin cake neatly, you don’t need fancy tools—just the right basics and a little patience. These simple tools help you get clean edges and good shape.
- Serrated knife: for cutting through the cake without tearing it.
- Paper template: to trace the coffin shape accurately.
- Small paring knife: for trimming corners and edges cleanly.
- Offset spatula: to smooth frosting or ganache over carved areas.
- Cake turntable: helps rotate the cake while decorating.
- Bench scraper: for leveling sides and sharpening edges.
- Toothpicks or skewers: to hold cake layers or support raised edges.
Can I Make a Coffin Cake Without a Coffin Cake Pan?
Yes, you can easily make it without a special pan. Most people use a regular rectangular cake and carve the shape by hand.
- Bake in a 9×13 or similar size pan: gives you enough surface to cut the coffin shape.
- Print or draw a coffin shape: use paper as your guide.
- Use a sharp knife: carefully trim along the edges.
- Layer if needed: you can stack two cakes for a thicker look.
- Use frosting or ganache: to hold the carved shape in place.
How Do You Get a Shiny Chocolate Glaze On a Cake?
A glossy chocolate glaze, also called ganache, makes your coffin cake look smooth and dark like a polished coffin lid.
- Use high-quality dark chocolate: melts better and shines more.
- Warm heavy cream gently: do not boil it.
- Add soft butter: helps the ganache set glossy, not dull.
- Stir slowly: mix until it’s smooth and silky.
- Let it cool slightly: pour when it’s thick but still spreadable.
- Chill the cake before pouring: cold surface helps glaze set neatly.
How Do You Make Black Edible Pearls For Cake Decorating?
You can make your own black edible pearls at home using basic ingredients. It’s simple and fun if you enjoy decorating.
- Use fondant or gum paste: roll into tiny balls.
- Let them dry for 12–24 hours: they need to harden fully.
- Paint with black gel food color + clear alcohol or lemon extract: gives rich black finish.
- Optional – use edible black shimmer dust: for a glossy effect.
- Store in an airtight container: they’ll stay hard for weeks.

Can I Use Fondant To Cover a Coffin Cake Instead Of Ganache?
Yes, fondant works too and gives a very clean, coffin-like finish. It’s a good choice if you want smooth edges and a matte look.
- Use ganache or buttercream under the fondant: it helps the fondant stick.
- Roll the fondant evenly: about ⅛ inch thick is ideal.
- Cover from top to bottom carefully: use hands or smoothers.
- Trim extra with a pizza cutter or knife: then fix edges with fingertips.
- Avoid air bubbles: smooth gently as you go.
Can I Make a Coffin Cake a Day In Advance?
Yes, and it often turns out even better. Making the cake early gives flavors time to settle and makes decorating easier.
- Bake and carve the day before: wrap the cake tightly in cling film.
- Store in the fridge: it keeps shape firm for ganache or fondant.
- Add final decorations next day: pearls, skulls, and dirt look best when fresh.
- Keep it covered: use a cake box or large container to prevent it from drying out.
What Can I Use To Create The Dirt Effect Around The Coffin Cake?
That “fresh grave” look is one of the best details, and it’s super easy to make. You don’t need anything fancy.
- Chocolate sandwich cookie crumbs: crushed without filling.
- Brownie crumbs: for a chunky dirt texture.
- Chocolate cake scraps: crumble and toast lightly.
- Oreo crumbs: dark and rich in color.
- Crushed chocolate cereal: gives a crunchy look.
How Do I Transport a Shaped Cake Like a Coffin Without It Falling Apart?
Moving a shaped cake takes care, but it’s easy if you prep it right.
- Use a sturdy cake board: slightly bigger than the cake.
- Chill the cake before moving: firm ganache or fondant holds shape better.
- Place in a tall cake box or container: protects from dust and accidents.
- Add non-slip mat under the board: keeps it from sliding.
- Drive slowly and keep it flat: place on a level surface in your vehicle.
How Do I Store a Coffin Cake Before Serving?
Storing the cake the right way keeps it moist, safe, and ready to serve. The method depends on how it’s decorated.
- If using ganache: store in a cool place or the fridge.
- If using fondant: store in a cool, dry place—not in the fridge (can sweat).
- Keep it covered: use a cake dome, box, or loose foil to protect.
- Avoid direct sunlight or heat: it can melt or crack the coating.
- Bring to room temperature before serving: flavors and texture improve.

