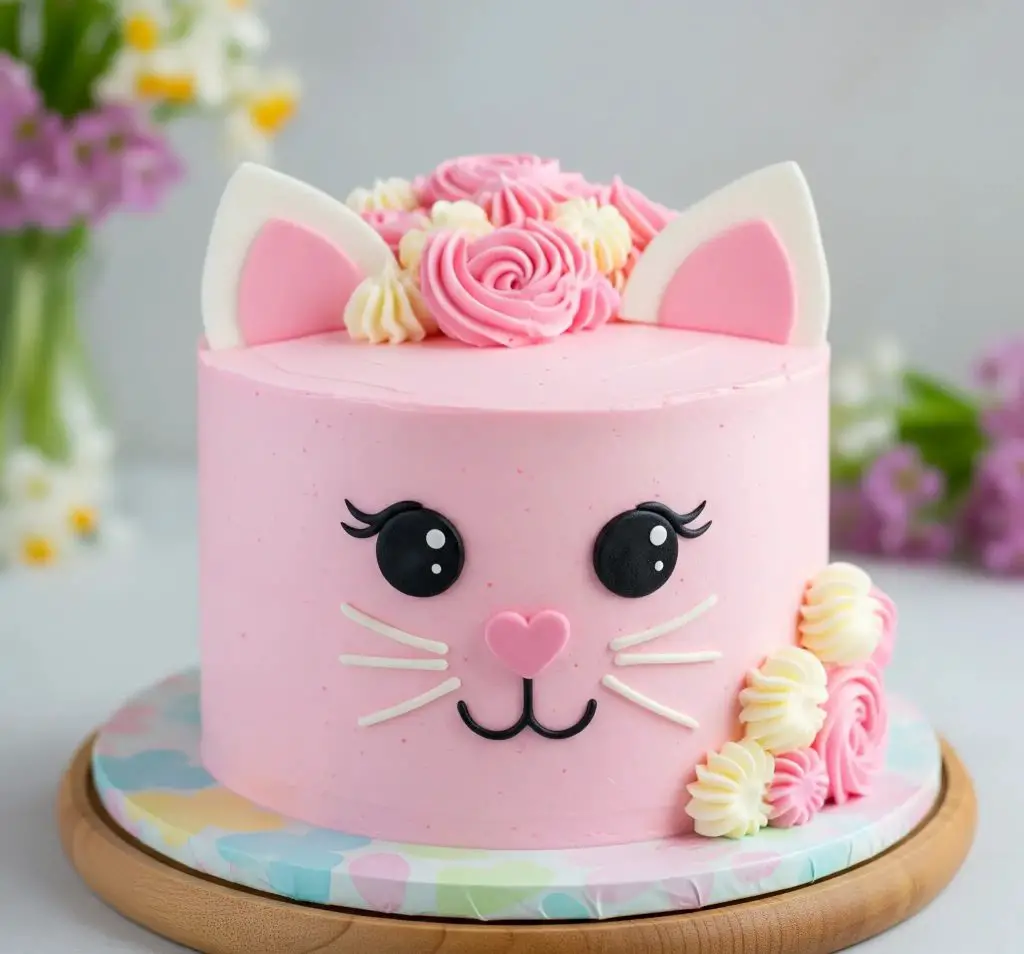
Sweet, shy, and way too cute to slice… but we’re doing it anyway.
You know that moment when a cake walks into the room (well, gets carried in), and everyone just pauses, smiles, and says, “Awwww!” — this is that cake.
The first time I made this cat cake, I honestly didn’t expect it to turn out this adorable. I was just playing around with pink buttercream and a little leftover fondant, and then suddenly—there it was.
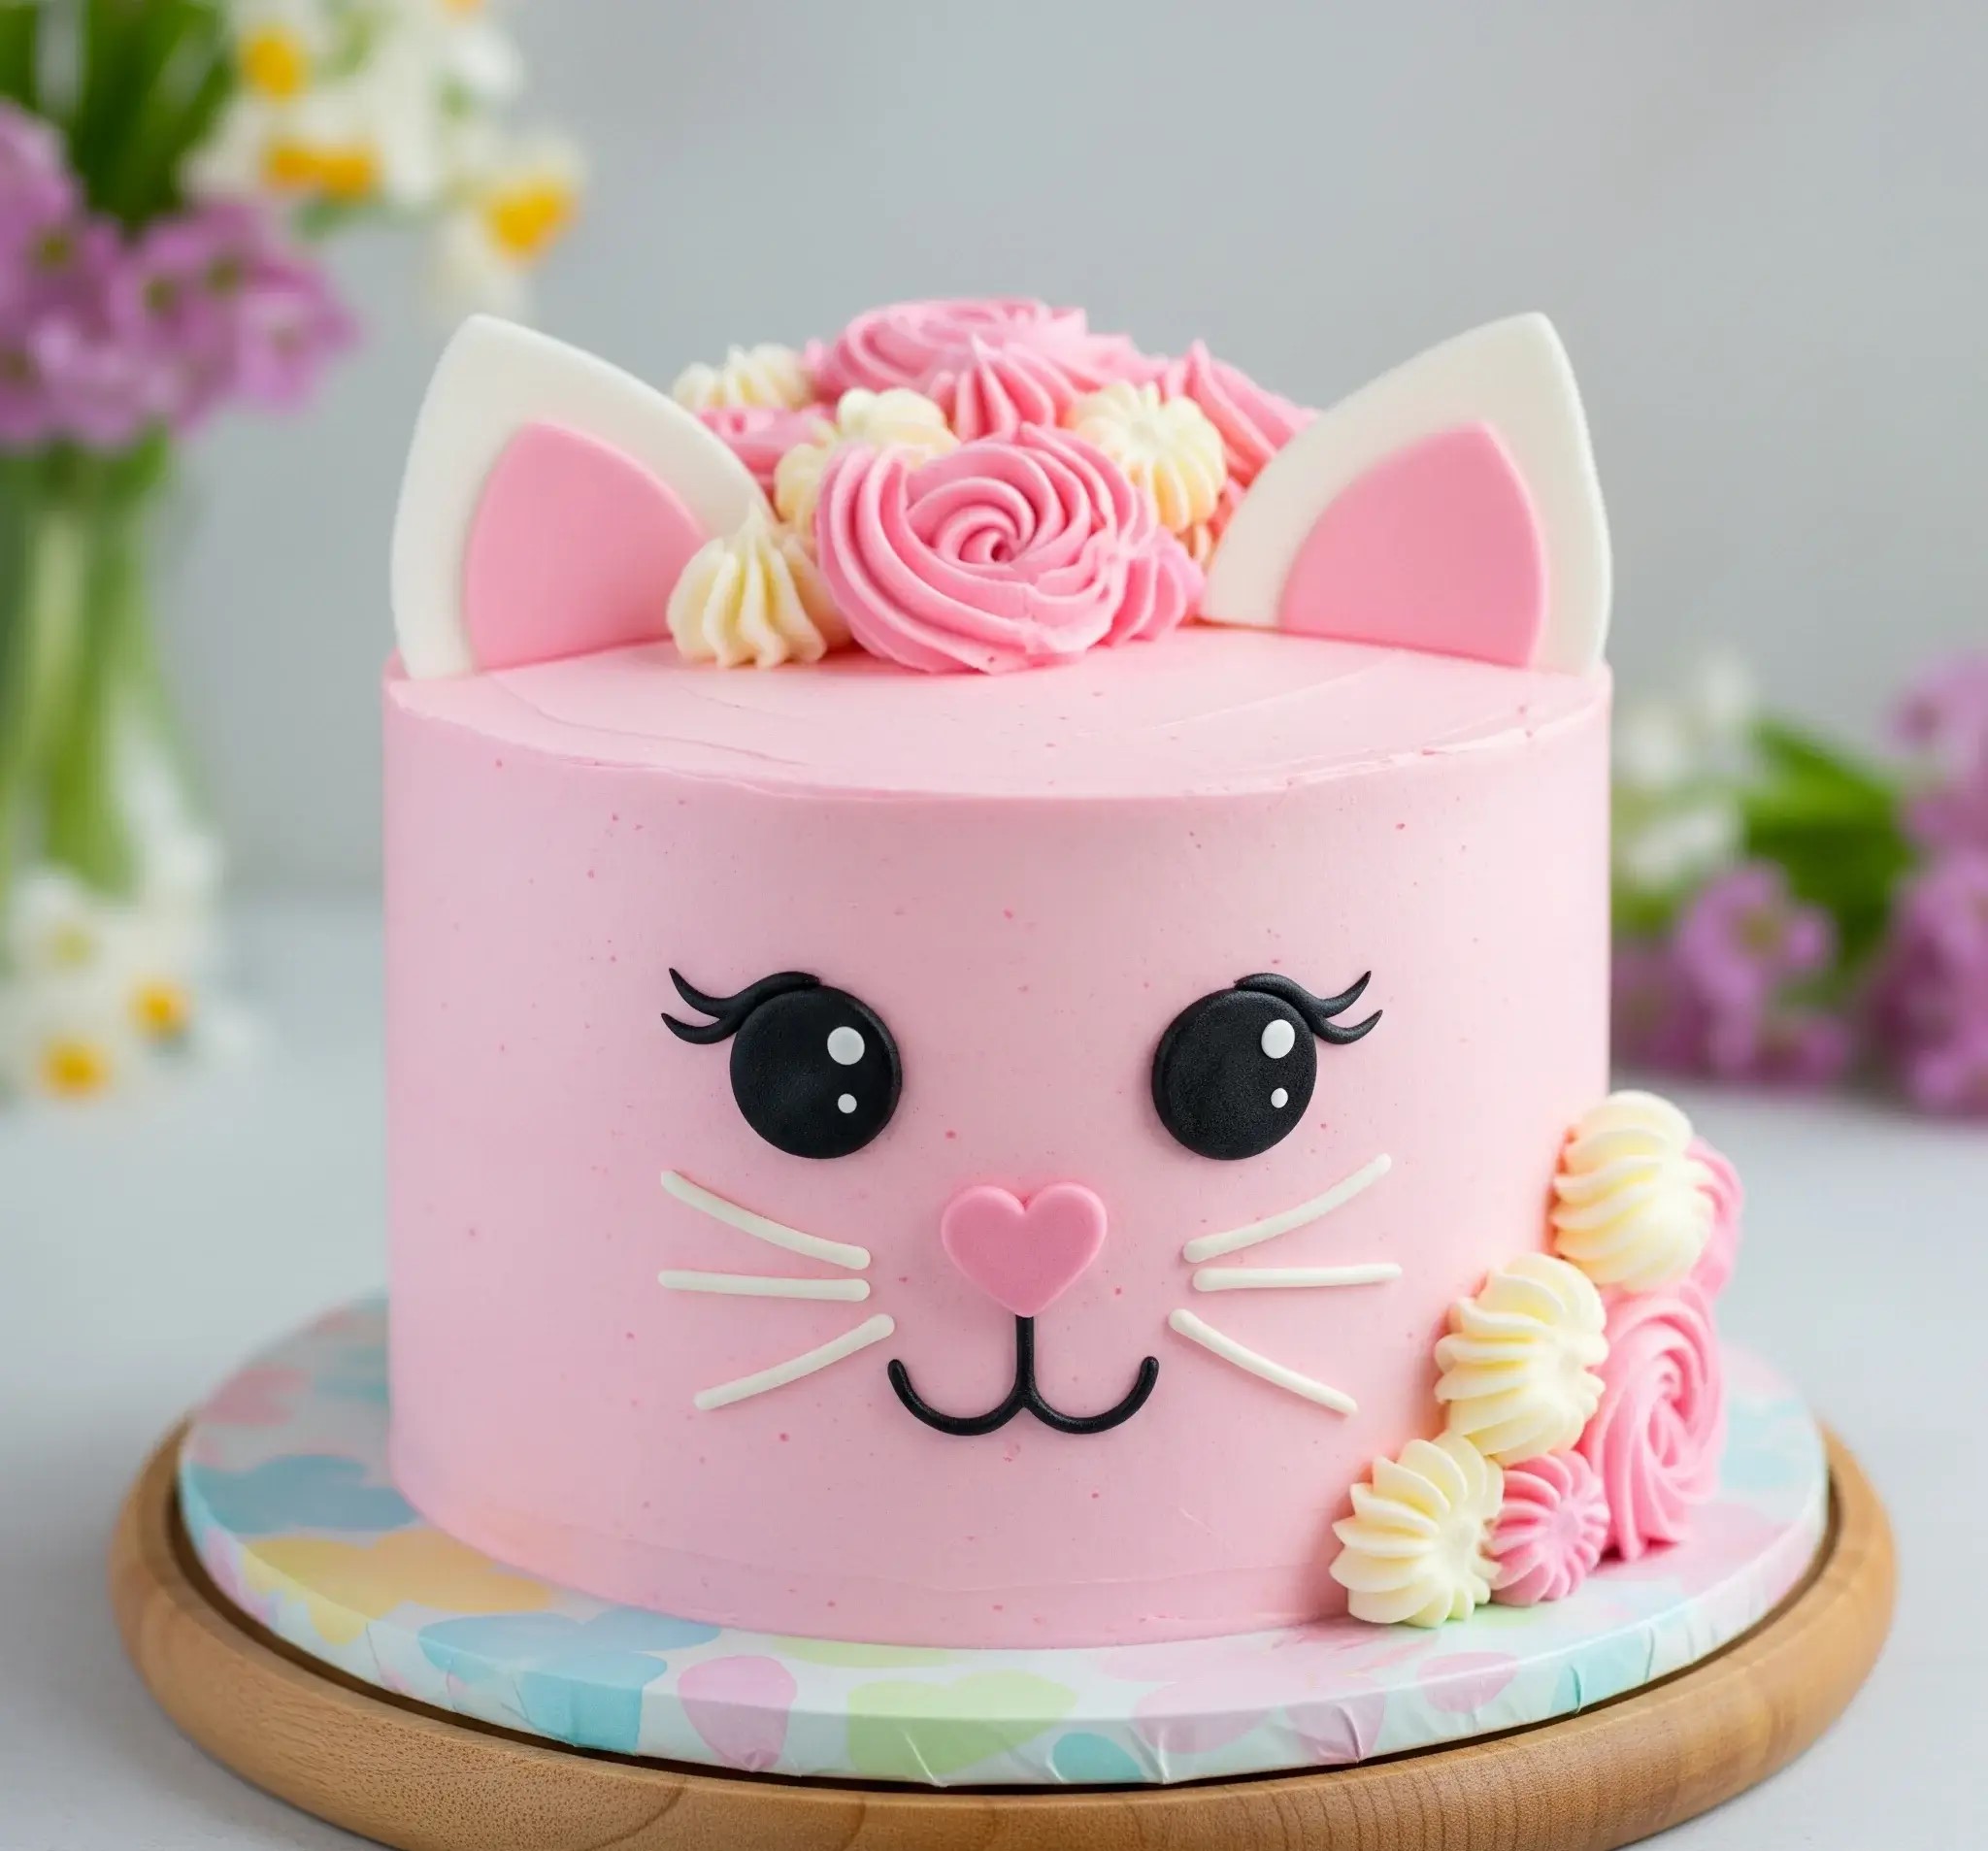
A soft, wide-eyed little face, with ears poking up and a swirl of flowers like a crown. I wasn’t even halfway through decorating, and I already wanted to hug it.
This cake isn’t fancy. It’s not complicated. It’s just… pure joy. Sweet vanilla layers, smooth pastel frosting, and a face that could melt anyone’s heart—even the grumpy uncle who claims he “doesn’t do cute.”
What I love most about this cake is that you don’t need any special skills to make it. If you can roll fondant and pipe a swirl, you’re good to go.
And even if your lines aren’t perfect or your eyes go a little crooked—guess what? It still turns out adorable. That’s the magic of it.
So if you’ve got a little one (or a not-so-little one) who loves cats, cartoons, or just anything charming and pink—this cake’s going to make their day.
I’ll walk you through every single step like we’re baking together in your kitchen. No stress, no complicated stuff—just sweet fun and lots of smiles.
Let’s start baking this fluffy little cutie.
Cat Birthday Cake Recipe
Ingredients
For the Vanilla Cake (3 layers – 6-inch rounds):
- 2 ½ cups (310g) all-purpose flour
- 2 ½ tsp baking powder
- ½ tsp baking soda
- ½ tsp salt
- ¾ cup (170g) unsalted butter, softened
- 1 ¾ cups (350g) granulated sugar
- 4 large eggs, room temperature
- 1 tbsp pure vanilla extract
- 1 cup (240ml) whole milk, room temperature
- ¼ cup (60ml) vegetable oil
For the Pink Vanilla Buttercream:
- 1 ½ cups (340g) unsalted butter, softened
- 6 cups (720g) powdered sugar, sifted
- 3 tbsp whole milk (adjust for consistency)
- 2 tsp pure vanilla extract
- Pink gel food coloring
For Decorations:
- Black fondant (eyes, eyelashes, mouth)
- Pink fondant (nose, inner ears)
- White fondant (ears, whiskers)
- Extra buttercream in pink, ivory, and white (for rosettes)
- Flower piping tips (Wilton 1M and 2D recommended)
- Round piping tips for whiskers
- Offset spatula and cake scraper
- 6-inch cake board (decorative if possible)
Instructions
1. Bake the Cake Layers
- Preheat oven to 350°F (175°C). Grease and line three 6-inch round cake pans.
- In a bowl, whisk together flour, baking powder, baking soda, and salt. Set aside.
- In a large bowl, beat the butter and sugar until pale and fluffy (3-4 minutes).
- Add eggs one at a time, mixing well after each. Stir in vanilla.
- Mix in oil.
- Alternate adding the flour mixture and milk in three parts, beginning and ending with dry ingredients.
- Divide evenly between the pans and smooth the tops.
- Bake for 25–30 minutes, or until a toothpick comes out clean.
- Let cakes cool in pans for 10 minutes, then turn onto wire racks and cool completely.
2. Prepare the Pink Buttercream
- Beat butter until creamy and pale (5 minutes).
- Gradually add sifted powdered sugar, one cup at a time.
- Mix in vanilla and 2 tablespoons milk. Add an extra tablespoon if needed.
- Add a small amount of pink gel food coloring and beat until the color is fully blended and pastel pink.
3. Assemble and Frost the Cake
- Level the cake layers with a serrated knife if needed.
- Place the first cake layer on your cake board. Spread a layer of pink buttercream on top.
- Repeat with the second and third layers.
- Apply a thin crumb coat all over the cake. Chill for 30 minutes.
- Apply a second thicker layer of pink buttercream. Use a cake scraper to get a smooth finish and flat top. Chill again to firm up.
4. Make the Cat Face and Ears
- Roll out black fondant and cut out two large circles (eyes), thin lashes, and a small curved mouth.
- Roll pink fondant and cut a small heart for the nose. Also cut two small triangles for the inner ears.
- Roll white fondant and shape two large outer triangles for the ears.
- Use white fondant ropes for six whiskers (3 on each side).
- Once the cake is chilled and firm, gently press the fondant eyes, lashes, nose, mouth, and whiskers onto the front center.
- Attach the white ears to the top using toothpicks or skewers (trim to fit). Press the pink inner triangles into the white bases.
5. Pipe the Buttercream Rosettes
- Divide leftover buttercream into three bowls. Tint one light pink, leave one ivory, and one white.
- Fit piping bags with Wilton 1M and 2D tips.
- Pipe rosettes in various colors on top of the cake between the ears, forming a crown.
- Add a few matching rosettes on the bottom right side to balance the design.
6. Final Touches
- Chill the cake for at least 1 hour before serving to set all decorations.
- Serve the cake at room temperature for best flavor and texture.
7. Storage Tips:
- Store in an airtight container in the fridge for up to 3 days.
- Bring to room temperature before serving.
- Fondant decorations hold best in a cool room (not humid).

What Tools Do I Need To Decorate a Cat-Themed Cake?
To decorate a cat-themed cake smoothly and neatly, you just need a few basic tools that are easy to find and simple to use.
- Offset spatula: for spreading buttercream smoothly across the cake.
- Cake scraper: helps get clean, flat sides for a professional look.
- Piping bags and tips: especially star tips (like Wilton 1M and 2D) for flowers and details.
- Rolling pin: for flattening fondant evenly.
- Small fondant cutters or craft knife: to shape the eyes, nose, mouth, ears, and whiskers.
- Toothpicks or skewers: for attaching fondant ears securely.
- Turntable (optional but helpful): makes frosting and decorating much easier.
Can I Make a Cat Cake Without Using Fondant?
Yes, you can absolutely make a cat cake without any fondant. Everything can be done using just buttercream and a few piping tips.
- Eyes and nose: Pipe them with dark and light-colored buttercream using small round tips.
- Whiskers: Use long strands of piped frosting or thin chocolate sticks.
- Ears: Cut triangle shapes from cookies or cake slices and frost them.
- Flowers or crown: Use colored buttercream and star tips to create rosettes.
How Far In Advance Can I Decorate a Cat Birthday Cake?
Decorating ahead is helpful, especially for detailed cakes like this.
- Buttercream base: Can be done 1–2 days ahead. Keep the cake in the fridge.
- Fondant features: Can be made 2–3 days ahead and stored in an airtight container at room temp.
- Full decoration (with everything on): Best done the night before.
- Avoid assembling too early: Fondant can soften if left on moist buttercream for too long.

What Size Cake Is Best For a Cat Face Design?
Choosing the right size helps make the face design look neat and balanced.
- 6-inch round cake (3 layers): Perfect for 8–10 servings and gives a tall, cute finish.
- 7-inch or 8-inch round cake: Great for larger groups and adds more space for flowers and details.
- Cupcakes (optional): Can be made as extras or side treats with cat features piped on top.
How Do I Keep The Cake Smooth And Pastel Like The One In The Picture?
Getting that smooth pastel finish is all about using the right buttercream and a few neat tricks.
- Use American or Swiss meringue buttercream: They hold shape and color well.
- Chill between layers: Crumb coat, chill for 30 minutes, then apply the final layer.
- Use a cake scraper: Gently rotate the cake on a turntable while smoothing the sides.
- Use gel food coloring: A tiny drop gives soft, pastel tones without changing the texture.
- Wipe your tools clean often: This avoids streaks and crumbs in the final layer.
How To Transport a Cat Face Cake Safely?
Transporting cakes can be tricky, but with a few simple steps, your cat cake will reach safely without smudges.
- Use a sturdy cake board: At least 2 inches larger than the cake.
- Place the cake in a tall cake box: Make sure it fits snugly.
- Keep the cake cold: A chilled cake holds shape better during travel.
- Flat surface in the car: Use the floor of the car, not the seat.
- Avoid sudden stops: Drive slowly and carefully, especially around turns.

