I didn’t grow up with cannoli cake. In fact, I only started making it because I wanted something that felt like dessert but still had that cozy, familiar vibe—like something you’d find at the end of a big dinner with people you love, when everyone’s full but still sneaking one more bite.
The first time I made this cake, I wasn’t trying to impress anyone. I just wanted a soft, homemade vanilla cake layered with a not-too-sweet cream and a few chocolate chips tucked inside for texture. Nothing fancy.
But the way everyone reacted? You’d think I had pulled off a magic trick.
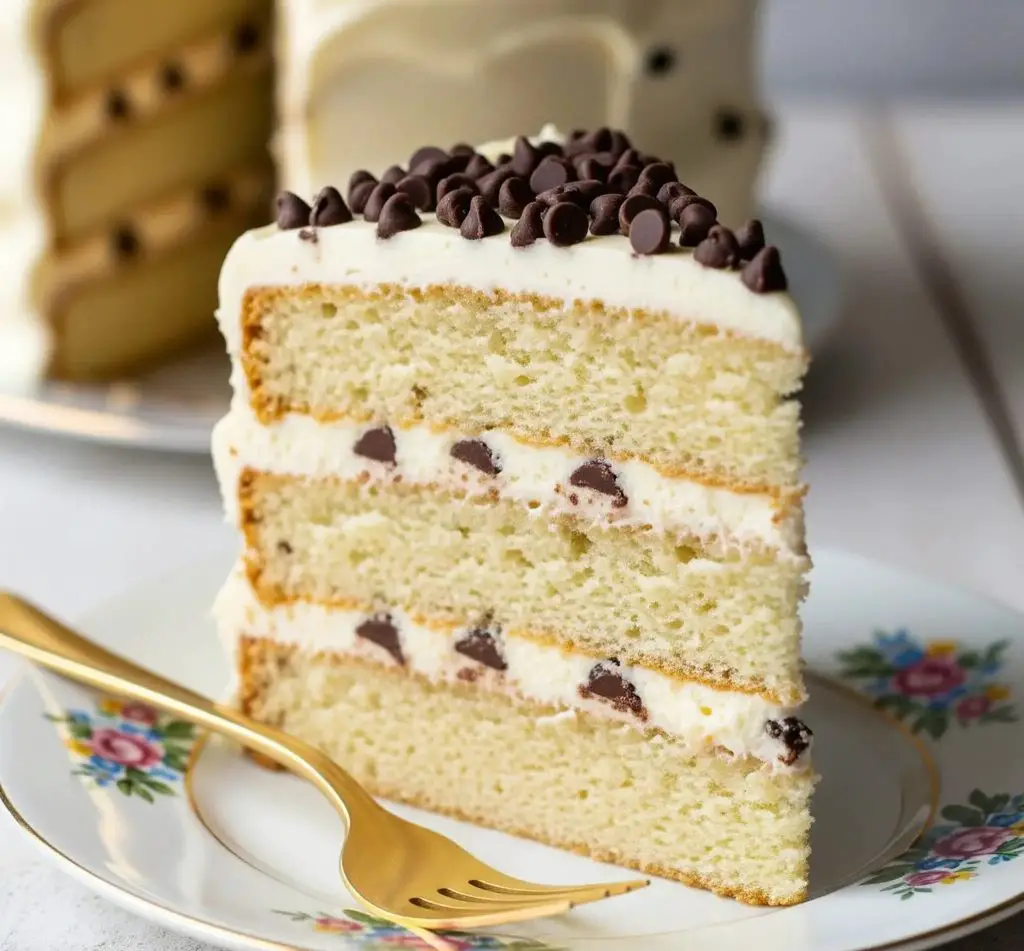
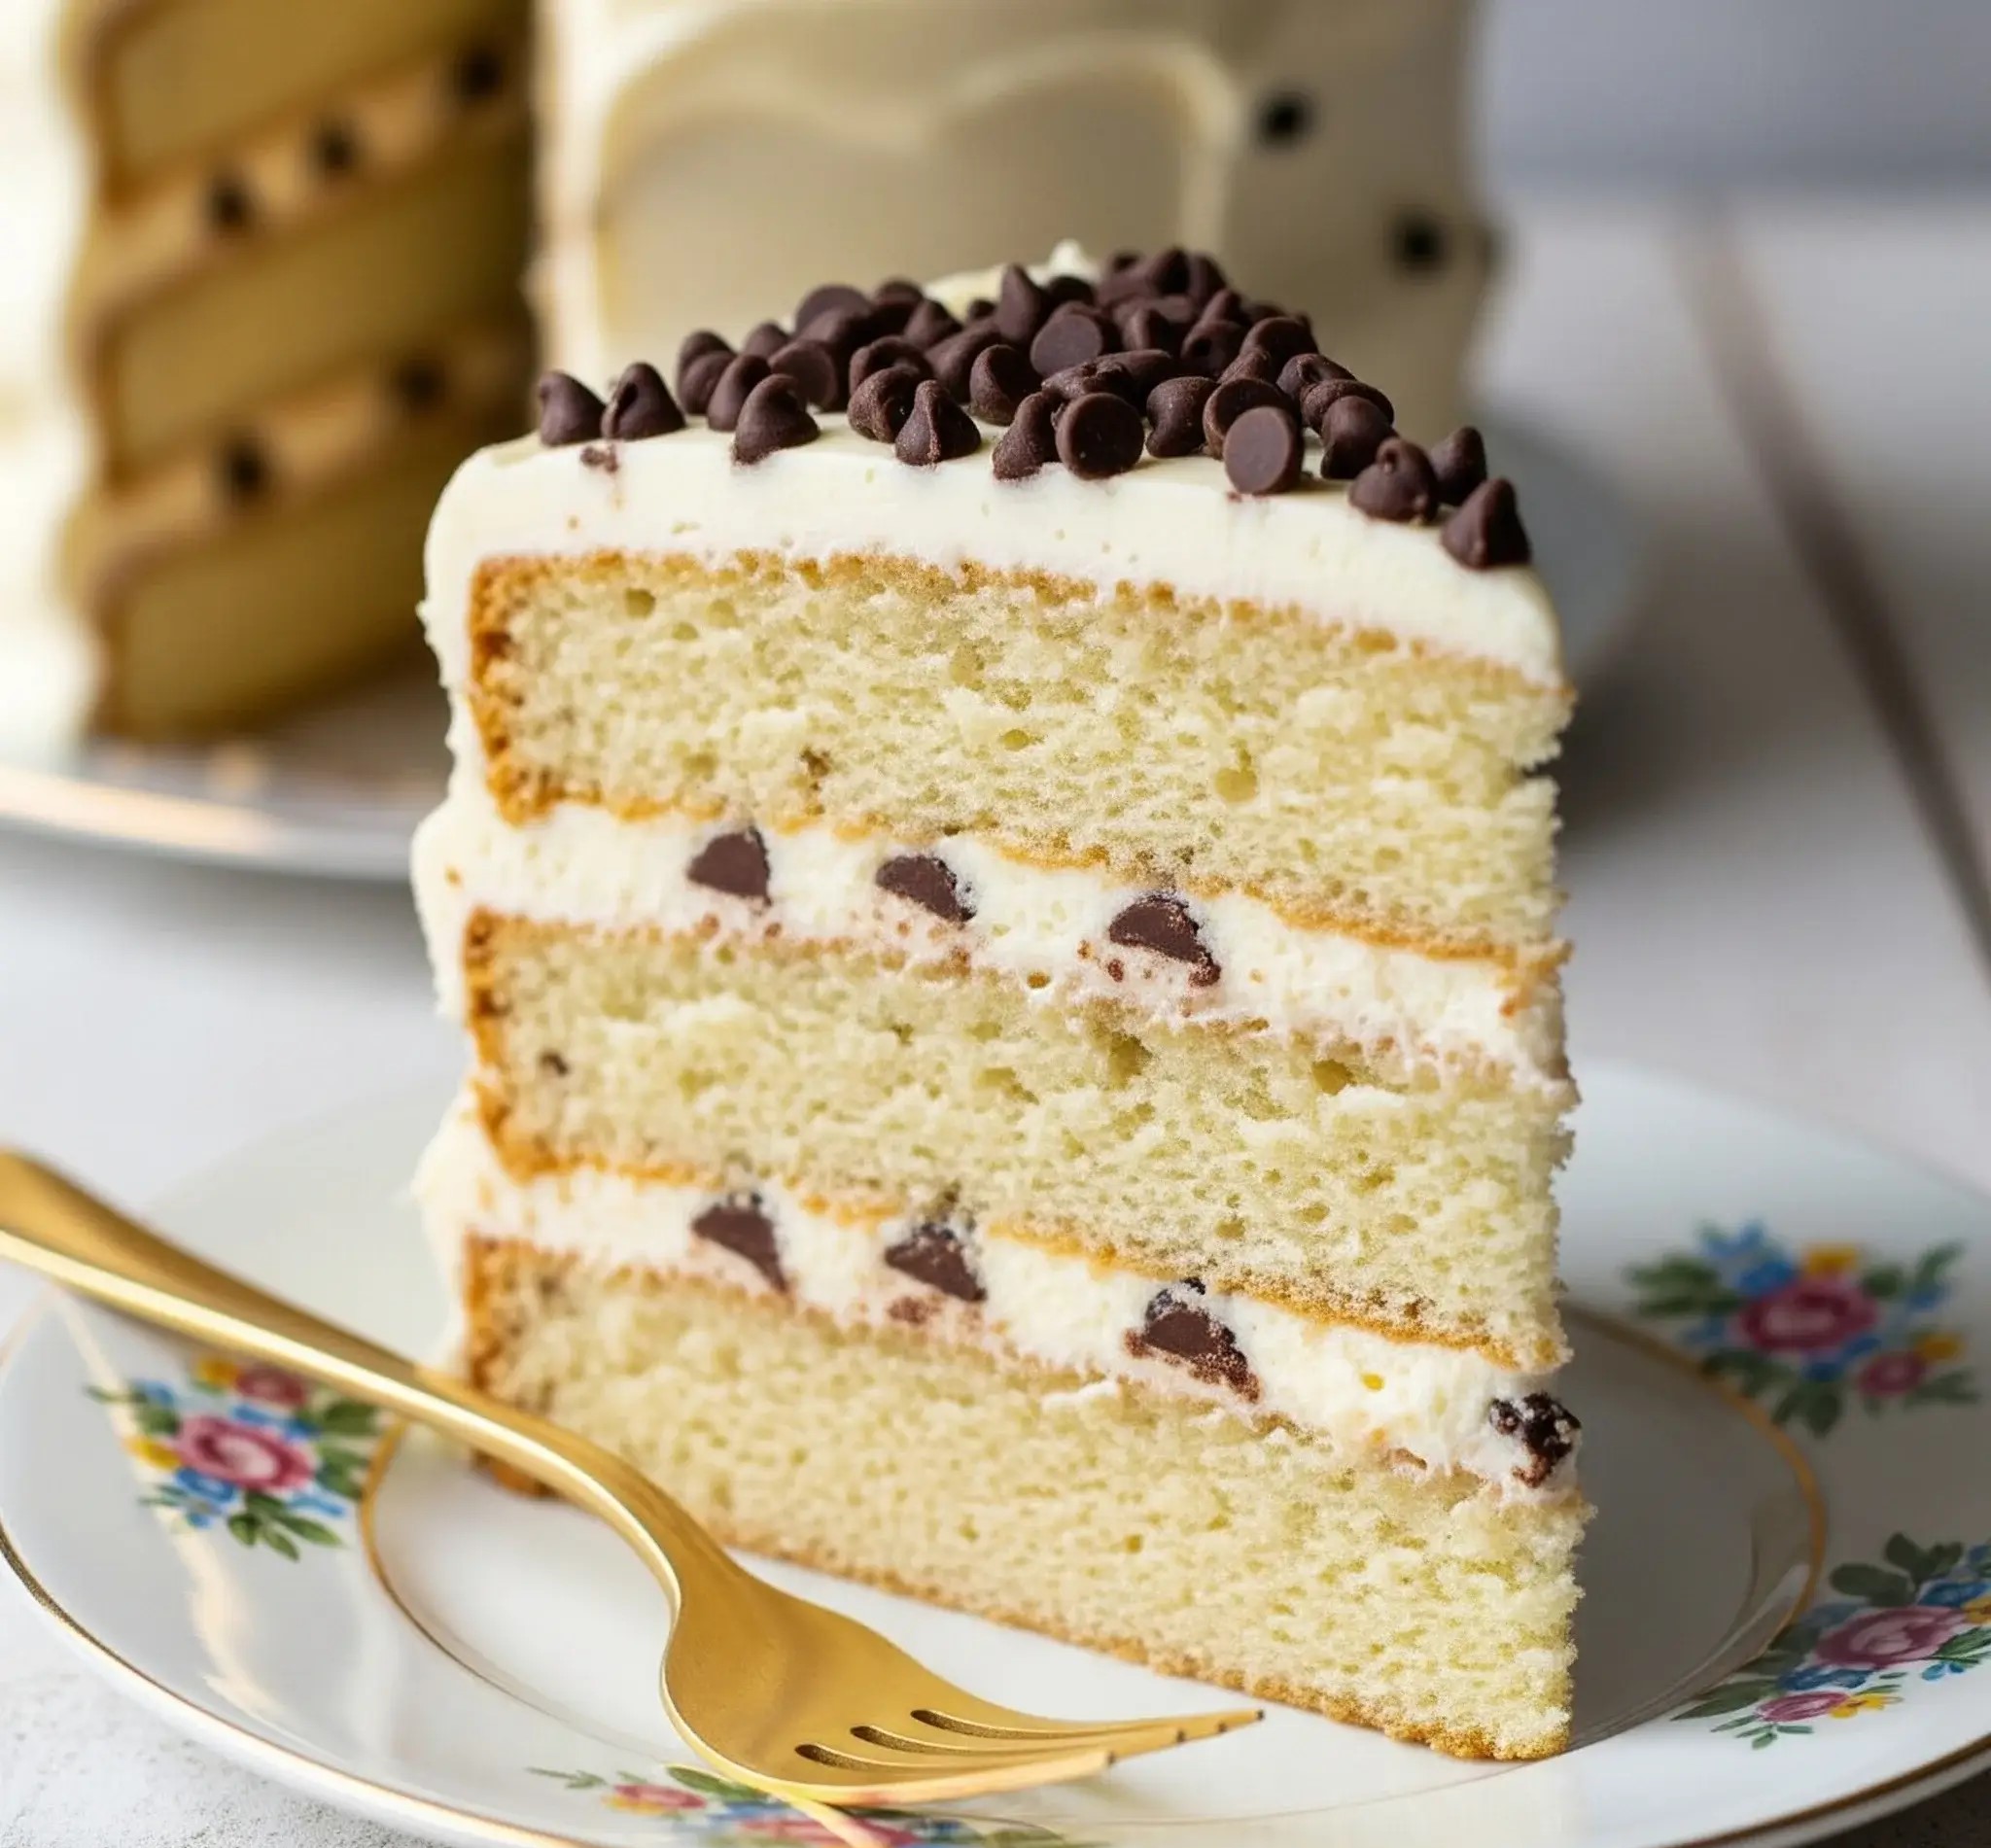
What I love most is how balanced it is—no sugar overload, no overly heavy frosting. Just fluffy vanilla layers, a creamy filling inspired by real cannoli, and mini chocolate chips scattered like little surprises in every bite.
This cake has slowly become one of those things I make when I want something special but not over-the-top.
And now that I’ve made it a few times, I’ve got every step down to the tiniest detail—so yours can turn out exactly like mine.
Let’s do this together. I’ll show you how I make it from start to finish—every bowl, every spoonful. It’s simple, it’s sweet, and it’s always worth it.
Cannoli Cake Recipe (Three-Layer Vanilla Cake With Cannoli Cream And Chocolate Chips)
Ingredients
For the Vanilla Cake Layers (Three 8-inch rounds):
- 2 ½ cups (315g) all-purpose flour (sifted)
- 2 ½ tsp baking powder
- ½ tsp baking soda
- ½ tsp salt
- ¾ cup (170g) unsalted butter, room temperature
- 1 ¾ cups (350g) granulated sugar
- 4 large eggs, room temperature
- 1 tbsp vanilla extract
- 1 cup (240ml) whole milk, room temperature
- ¼ cup (60ml) plain yogurt or sour cream (for moisture)
For the Cannoli Cream Filling:
- 1 ½ cups (360g) whole milk ricotta, well-drained
- 1 ½ cups (360g) mascarpone cheese
- 1 cup (120g) powdered sugar, sifted
- 1 tsp pure vanilla extract
- 1 tsp orange zest (optional but traditional)
- ½ cup (90g) mini semi-sweet chocolate chips
For the Whipped Vanilla Frosting:
- 1 ½ cups (345g) unsalted butter, room temperature
- 4 cups (480g) powdered sugar, sifted
- 2 tbsp heavy cream or milk
- 1 tbsp vanilla extract
- Pinch of salt
For Garnish:
-
½ cup (90g) mini semi-sweet chocolate chips (for topping)
Instructions
- Preheat your oven to 350°F (175°C). Grease and line three 8-inch round pans with parchment paper.
- In a large bowl, whisk together the flour, baking powder, baking soda, and salt. Set aside.
- In a separate large mixing bowl, beat the butter and sugar until light, pale, and fluffy—about 3–4 minutes using a hand or stand mixer.
- Add in the eggs, one at a time, beating well after each addition. Then mix in the vanilla extract.
- Stir in the yogurt.
- With mixer on low speed, alternate adding the dry ingredients and the milk into the butter mixture, starting and ending with dry ingredients.
- Divide the batter evenly between the three pans. Tap each pan gently on the counter to remove air bubbles.
- Bake for 23–27 minutes, or until a toothpick inserted in the center comes out clean.
- Let the cakes cool in the pans for 10 minutes, then remove and let them cool completely on a wire rack. Make sure they are fully cooled before assembling.
- If your ricotta has excess moisture, drain it by placing it in a cheesecloth-lined strainer over a bowl for at least 30–60 minutes.
- In a mixing bowl, combine the ricotta, mascarpone, powdered sugar, vanilla extract, and orange zest.
- Beat until smooth and creamy, about 2 minutes. Gently fold in the mini chocolate chips.
- Chill the filling in the fridge while you prepare the frosting.
- In a large bowl, beat the butter on medium speed until fluffy and light in color—about 4 minutes.
- Gradually add the powdered sugar, one cup at a time, beating well and scraping the sides of the bowl as needed.
- Add vanilla, cream, and a pinch of salt, and beat on high for 2–3 more minutes until light and smooth. If too thick, add an extra spoonful of cream.
- Place one cake layer on a serving plate or cake board. Spread a generous amount of cannoli filling over the top. Make sure to spread it evenly to the edges.
- Add the second layer and repeat with more cannoli filling.
- Add the third cake layer. Lightly press to keep it stable.
- Frost the outside and top of the cake with the vanilla frosting, smoothing it out with a cake scraper or offset spatula.
- Sprinkle the top with mini chocolate chips for decoration, just like in the photo.
- Refrigeration: Chill the cake for at least 1 hour before slicing for the cleanest layers.
- Storage: Store covered in the refrigerator for up to 4 days. Bring to room temperature before serving for best texture.
- Freezing: You can freeze unfrosted cake layers tightly wrapped for up to 2 months.

Can I Use Store-Bought Ricotta For Cannoli Cake Filling?
Yes, you can use store-bought ricotta, but it needs a little extra care before using.
- Drain excess moisture: Place the ricotta in a cheesecloth or fine strainer over a bowl for a few hours or overnight in the fridge. This makes the filling thick and creamy.
- Avoid low-fat ricotta: Full-fat ricotta gives a smoother, richer texture to your filling.
- Whip until smooth: Beat the ricotta with mascarpone and sugar until no lumps remain—it should feel like a light cream, not gritty.
Can I Make Cannoli Cake Ahead Of Time?
Yes, this cake is great for making ahead, and it actually tastes even better after chilling.
- Assemble a day before serving: The filling sets better and the flavors develop overnight in the fridge.
- Wrap layers separately if storing unassembled: Wrap baked cakes tightly in plastic wrap and refrigerate or freeze them to keep them soft.
- Keep fully assembled cake chilled: Store the finished cake in a cake box or covered stand to prevent drying out.
How Do I Keep Cannoli Filling From Being Too Runny?
Nobody wants runny filling—here’s how to make sure it holds its shape.
- Drain ricotta properly: This is the most important step. Use a fine mesh strainer or cheesecloth.
- Don’t skip mascarpone: It helps stabilize the filling and adds a velvety texture.
- Use powdered sugar, not granulated: It dissolves better and won’t make the cream watery.
- Avoid overmixing: Mix until just combined. Overbeating can cause the mixture to loosen.
- Chill before using: Let the filling sit in the fridge for 30–60 minutes before spreading it on the cake.
Can I Use Boxed Cake Mix For Cannoli Cake?
Yes, you can. It’s a helpful shortcut when you’re short on time.
- Use white or vanilla cake mix: These work best with the cannoli cream flavor.
- Replace water with milk: This makes the cake richer and softer.
- Add a spoon of sour cream or yogurt: It improves texture and adds a slight tang that pairs well with the filling.
- Let cakes cool completely before filling: Warm cake will make your filling melt and slide.

What Size Pans Should I Use For a 3-Layer Cannoli Cake?
The most common and reliable pan size for a 3-layer cannoli cake is 8-inch round pans.
- Use three identical 8-inch pans: This ensures even baking and uniform layers.
- Line bottoms with parchment paper: Prevents sticking and makes removal easy.
- Weigh batter for each pan: If you want perfectly even layers, use a kitchen scale to divide batter evenly.
- Don’t overfill: Fill each pan no more than ⅔ full so they don’t overflow.
Is Orange Zest Important In Cannoli Filling?
It’s not required—but it makes a noticeable difference in flavor.
- Adds fresh flavor: Just a little zest lifts the whole filling and balances the sweetness.
- Traditional touch: Many authentic cannoli recipes include citrus zest for aroma.
- Can be skipped: If you don’t like it or don’t have it, leave it out. The filling will still taste amazing.
How Do I Prevent Cake Layers From Sliding With Soft Filling?
Stacking soft-filled cakes takes care—but it’s not hard when done right.
- Chill the filling first: Cold filling is thicker and easier to spread.
- Pipe a frosting dam: Add a thin ring of frosting around the edge of each layer before adding the filling—it stops it from spilling out.
- Don’t overfill: Use just enough cream to hold the layers together, not so much that it squishes out.
- Refrigerate before frosting: Let the stacked cake chill for at least 30 minutes before covering it with frosting.
- Use cake dowels or straws: For taller cakes or warm environments, these give added support.
Can I Freeze Cannoli Cake?
You can freeze it, but only in parts. The full cake doesn’t freeze well once assembled with filling.
- Freeze cake layers only: Wrap them tightly in plastic wrap and foil, then freeze for up to 2 months.
- Don’t freeze cannoli filling: It can become watery and grainy after thawing.
- Assemble after thawing: Thaw cake layers in the fridge overnight, then add fresh filling and frosting.
You May Also Like To Check Out These Recipes:
- Keto Mug Cake
- Zucchini Cake
- Funfetti Cake From Scratch
- Chocolate Mini Cake
- Mint Chocolate Cake
- Pineapple Sunshine Cake
- Rainbow Cake
- Halloween Cake
- 50th Birthday Cake
- Car Cake Recipe
- Fall Wedding Cake
- Black Forest Cake
- Harry Potter Birthday Cake
- Birthday Cake Ideas For Men
- Vintage Wedding Cake
- Black And White Wedding Cake
- Bluey Birthday Cake
- Chocolate Cake Pops

