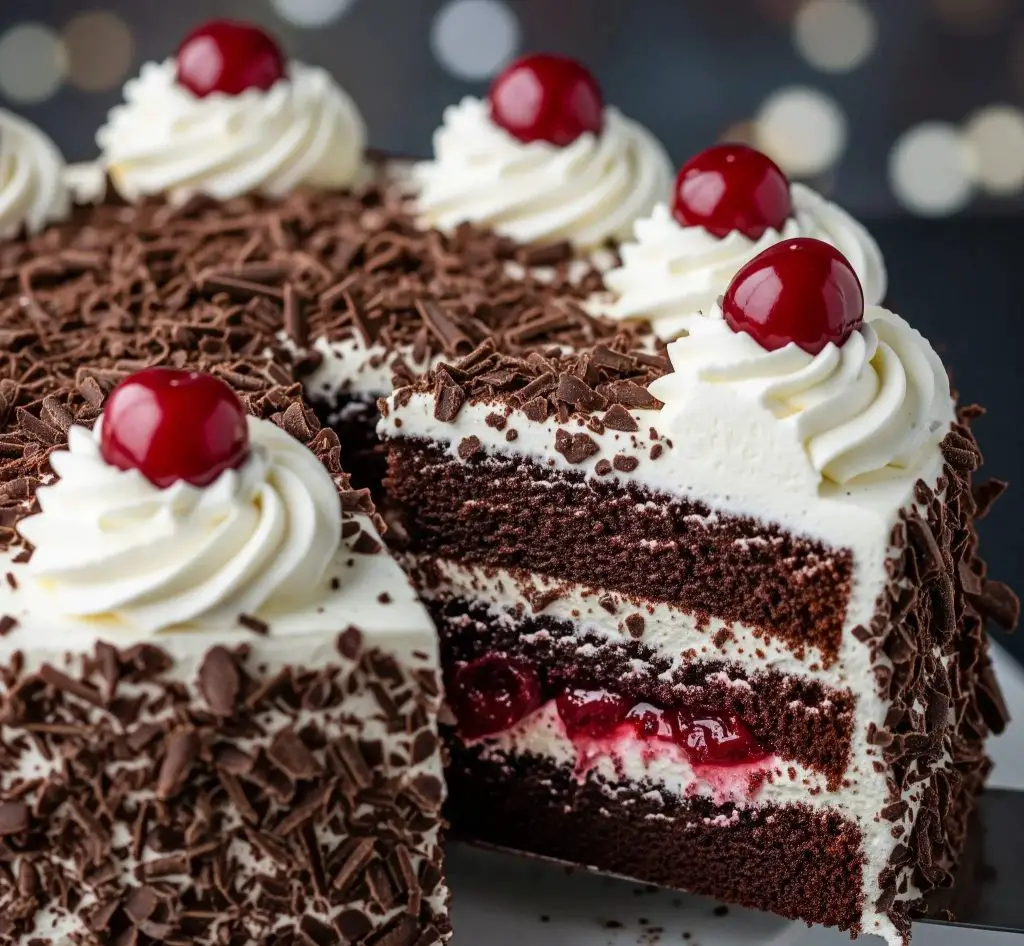
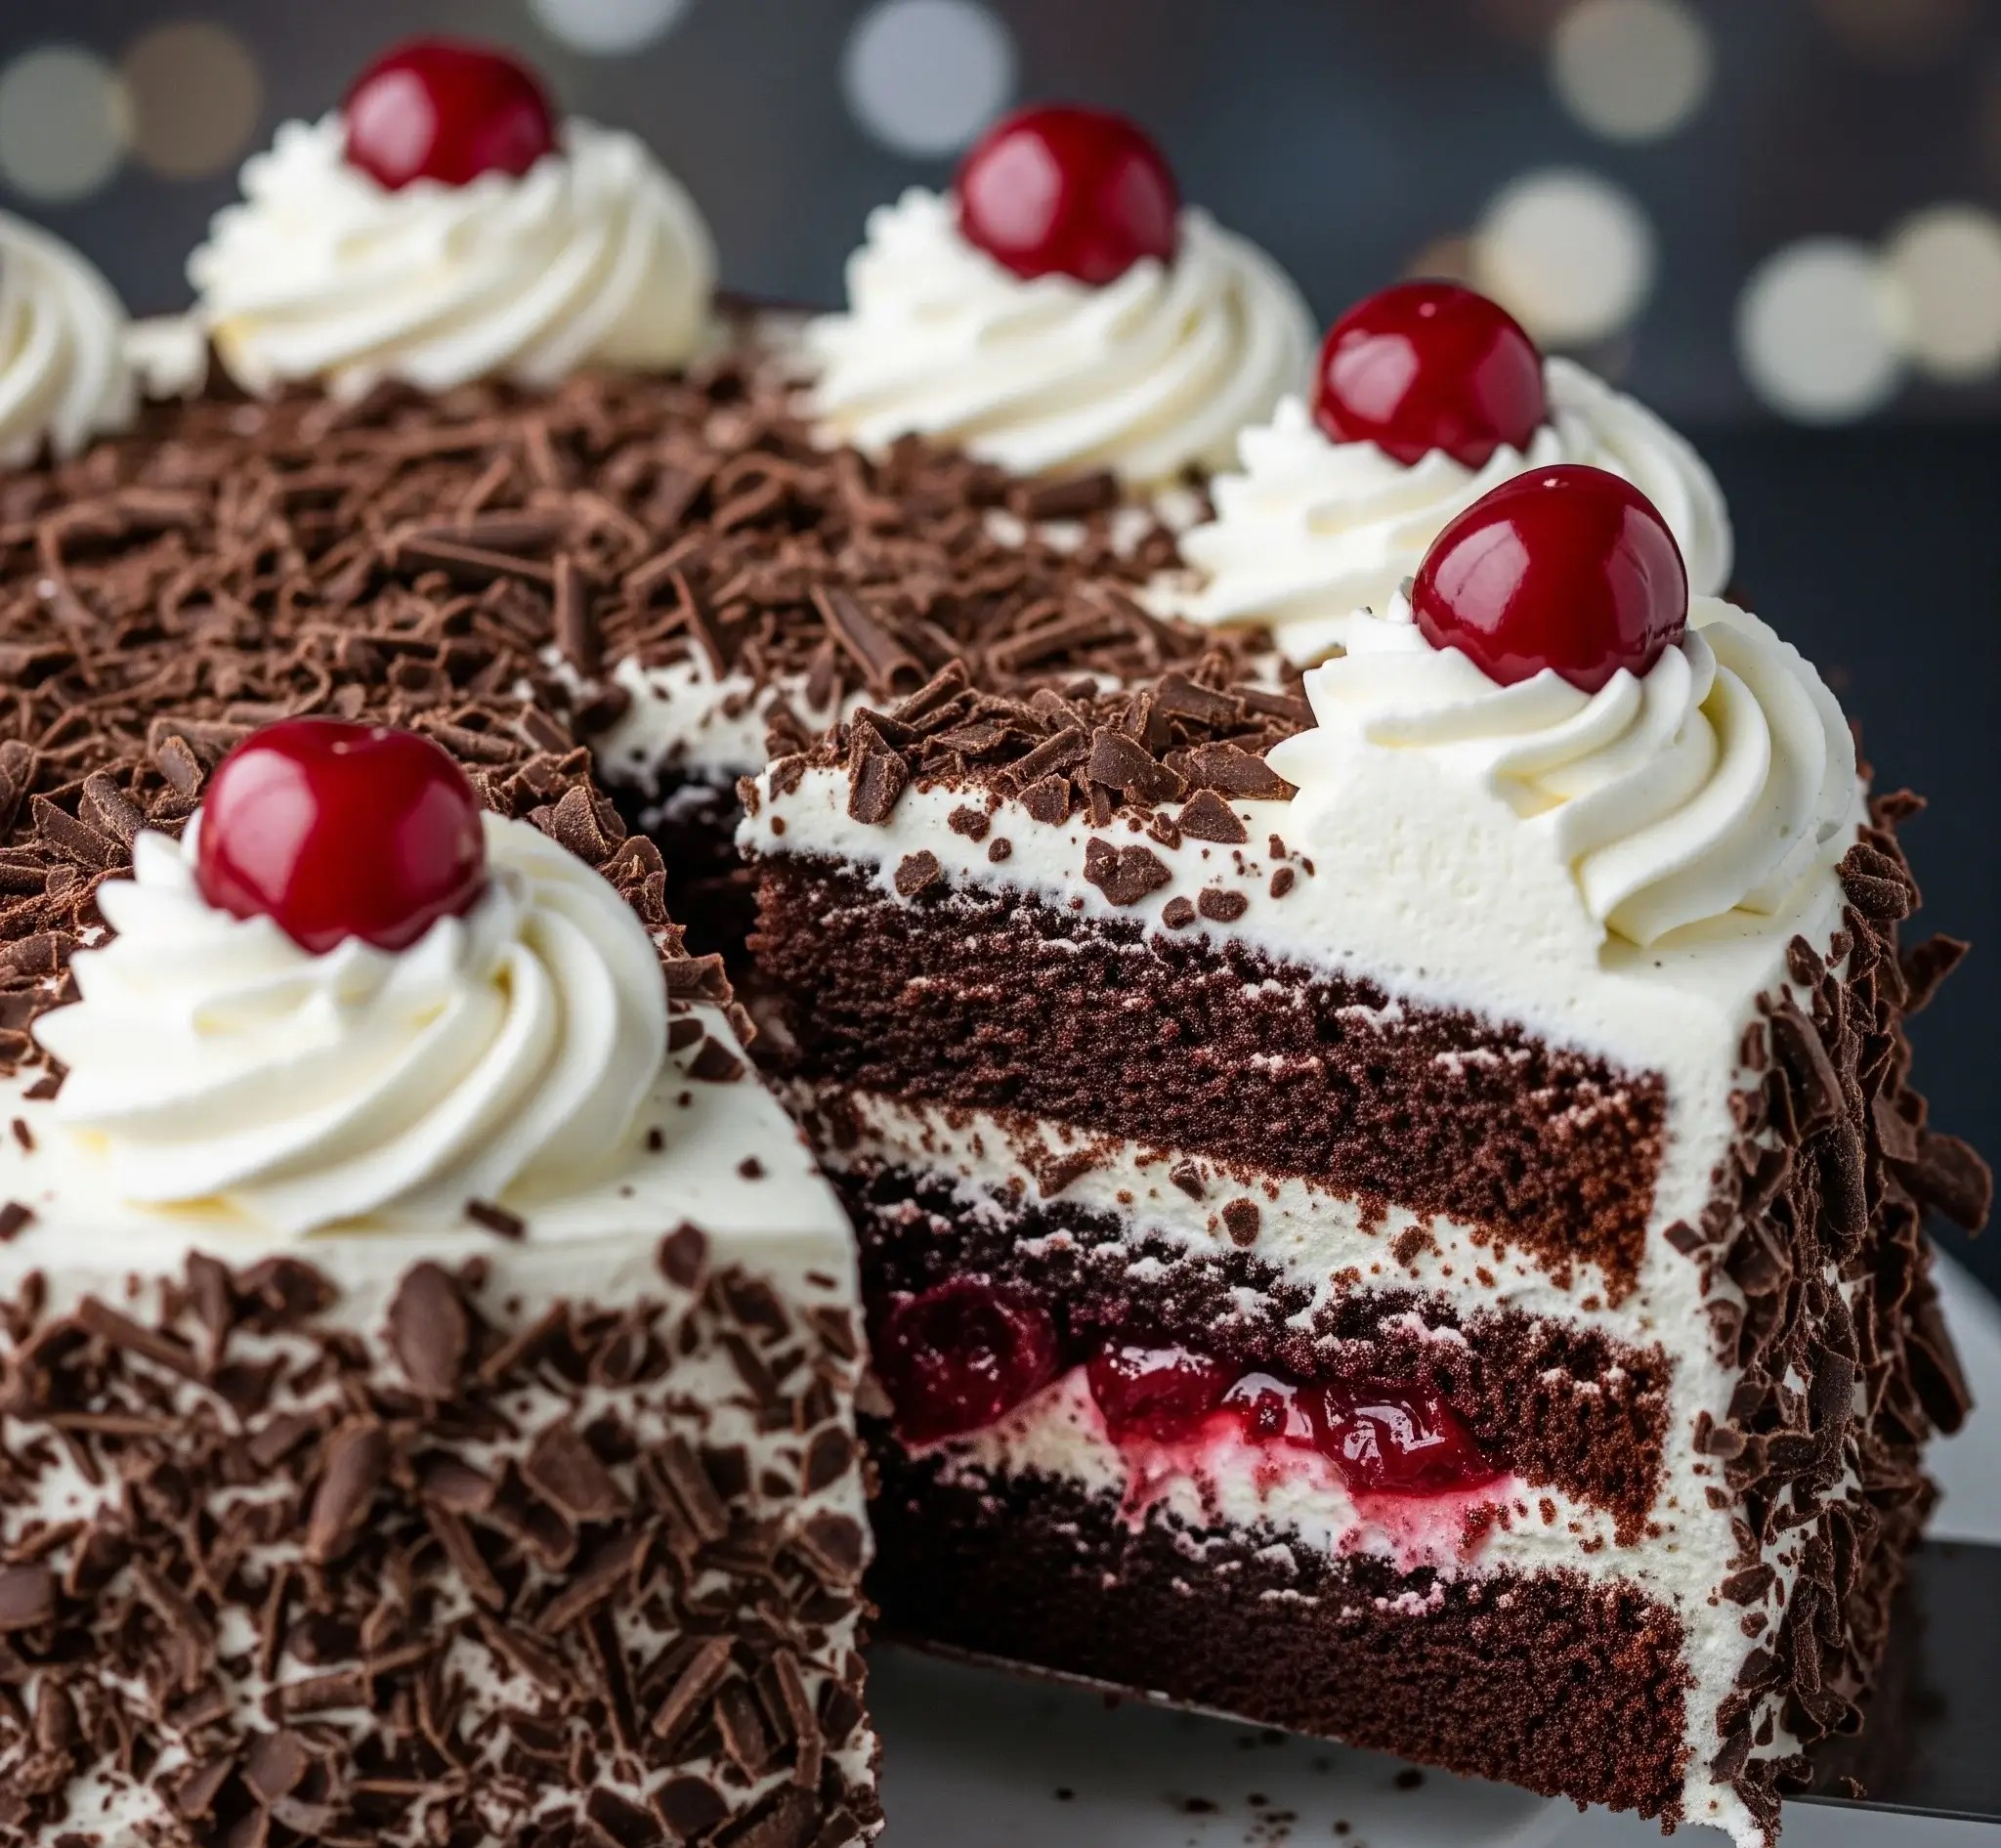
Chocolate cake is great—but when you add whipped cream, juicy cherries, and dark chocolate curls on top, it becomes something unforgettable.
That’s what I love about Black Forest Cake. It’s the kind of dessert that feels fancy without being fussy, and honestly, once you make it at home, you’ll wonder why you ever bought it from a bakery.
The first time I made this cake, I wasn’t sure if I could pull it off. But after seeing how beautifully it turned out—and how quickly it disappeared—I was hooked.
The chocolate layers are rich and soft, the cream is light and fluffy, and the cherry filling adds just the right amount of tart sweetness.
It looks impressive, but every step is totally doable with simple ingredients.
If you follow this recipe closely, you’ll get that same show-stopping cake you see in the photo—perfect for birthdays, holidays, or just a weekend treat that makes people smile.
Black Forest Cake Recipe (Serves 10–12)
Ingredients
For the Chocolate Sponge (3 layers):
- All-purpose flour – 1 ¼ cups (150g)
- Unsweetened cocoa powder – ½ cup (45g)
- Baking powder – 1 tsp
- Baking soda – ½ tsp
- Salt – ¼ tsp
- Granulated sugar – 1 cup (200g)
- Eggs – 2 large (room temperature)
- Buttermilk – ½ cup (120ml)
- Vegetable oil – ½ cup (120ml)
- Hot water – ½ cup (120ml)
- Vanilla extract – 1 tsp
- Instant coffee – 1 tsp (optional, deepens chocolate flavor)
For Cherry Syrup:
- Canned dark cherries in juice or fresh pitted cherries – 1 ½ cups (reserve juice)
- Granulated sugar – ¼ cup (50g)
- Cornstarch – 1 tbsp
- Lemon juice – 1 tsp
For Whipped Cream Frosting:
- Heavy whipping cream (cold) – 2 ½ cups (600ml)
- Icing sugar – ½ cup (60g)
- Vanilla extract – 1 tsp
- Stabilizer (optional) – 1 tsp (like gelatin or cream stabilizer)
For Decoration:
- Chocolate bar (semi-sweet or dark) – 1 bar (for shavings)
- Whole cherries (fresh or canned) – about 8–10
- Piping bag fitted with a star nozzle
Instructions
- Preheat oven to 170°C (340°F). Grease and line three 7-inch round cake pans.
- In a large bowl, sift flour, cocoa powder, baking powder, baking soda, and salt.
- In another bowl, whisk eggs and sugar for 2 minutes until light. Add oil, vanilla, and buttermilk. Stir well.
- Mix in dry ingredients until smooth. Dissolve instant coffee (if using) in hot water, then add slowly to the batter. Mix well.
- Divide batter evenly into the pans. Bake 20–25 minutes or until a toothpick comes out clean.
- Cool completely on a wire rack. Chill layers for 30 minutes before assembling to reduce crumbs.
- If using canned cherries, drain and reserve juice. If using fresh, pit and halve them.
- In a saucepan, add cherries, ½ cup juice or water, sugar, cornstarch, and lemon juice.
- Heat on medium until thick and bubbly (about 4–5 minutes). Cool completely.
- Chill a mixing bowl and beaters for 10 minutes.
- Pour cold cream into the bowl. Add icing sugar and vanilla.
- Beat until stiff peaks form. If using a stabilizer, mix it in once the cream begins to thicken.
- Place the first sponge layer on a cake board or plate.
- Spread a thin layer of whipped cream. Spoon some cherry filling on top (avoid too much juice).
- Add the second layer and repeat: whipped cream, then cherries.
- Add the final cake layer. Cover the whole cake with a light layer of cream (crumb coat). Chill 15 minutes.
- Apply a final thick layer of whipped cream all over the cake. Smooth it using a cake scraper or spatula.
- Use a peeler or knife to create chocolate shavings from the bar.
- Press chocolate shavings onto the sides and top of the cake evenly.
- Pipe 8–10 swirls of whipped cream around the top edge.
- Place one cherry on each swirl.
- Refrigerate the cake for at least 4 hours, or overnight for best flavor and firmness.

How Do I Keep Whipped Cream From Melting On Black Forest Cake?
To keep whipped cream stable and firm on your cake, follow these easy tips:
- Use full-fat heavy cream: It should be at least 35% fat so it holds its shape better.
- Chill everything before whipping: Keep your bowl, beaters, and cream cold before whipping to get better volume.
- Whip to stiff peaks: Make sure the cream holds strong peaks but don’t over-whip or it will turn grainy.
- Add a stabilizer: Use powdered sugar, cornstarch, or cream stabilizer to keep it firm longer.
- Assemble on a cool cake: Never apply whipped cream to a warm or slightly warm cake—always let it cool fully.
- Refrigerate the cake immediately: Once frosted, keep the cake in the fridge to avoid melting.
Is Black Forest Cake Eggless?
Black Forest Cake is usually made with eggs, but it can definitely be made egg-free with great results. Many people bake eggless versions using easy substitutes like:
- Yogurt
- Buttermilk
- Condensed milk
- Vinegar + baking soda
What Size Pan Is Best For Black Forest Cake?
The pan size you choose affects the shape, height, and baking time of your cake. Here are the most common sizes used:
- 7-inch round pans: Perfect for tall cakes with 3 layers.
- 8-inch round pans: Good for 2 thick layers or a slightly wider cake.
- 6-inch round pans: Great for mini cakes or smaller servings.
How Do I Get Even Cake Layers For Black Forest Cake?
Getting even layers isn’t hard if you follow these simple tips:
- Weigh or measure your batter: Divide batter equally into pans to get uniform layers.
- Use cake strips: Wrap wet cake strips around the pans to stop the sides from baking too fast.
- Trim the tops: Use a serrated knife or cake leveler to gently slice off domed tops after baking.
- Rotate pans mid-bake: If your oven has hot spots, turn the pans halfway for even baking.
- Use a turntable while slicing: It helps you level layers smoothly without cutting too deep on one side.
How Do I Make Black Forest Cake Without An Oven?
No oven? No problem. You can still bake a delicious Black Forest Cake using alternative methods:
- Steaming: Pour the batter into a cake pan, cover it with foil, and steam in a large pot for 40–50 minutes.
- Pressure cooker: Preheat a dry cooker with no whistle or rubber ring, place a stand, and bake the cake pan for 40 minutes on low flame.
- Air fryer: Use a cake pan that fits the air fryer basket and bake at 160°C for 25–30 minutes.
- Microwave: Only if using a microwave-safe pan and microwave cake recipe; not ideal for traditional sponge.

Can I Make Black Forest Cake Without Gelatin?
Yes, you can easily make Black Forest Cake without using gelatin. The whipped cream can still hold well with these alternatives:
- Cornstarch: Mix a small amount into sugar before whipping cream to help stabilize.
- Milk powder: Adds thickness and helps the cream stay firm longer.
- Agar agar: Plant-based substitute for gelatin if you need extra hold.
- Icing sugar (with starch): Most powdered sugars have a bit of starch, which helps cream stay stable.
How Do I Stop The Cake Layers From Sliding?
Sliding layers can ruin the look of your cake, but they’re easy to avoid with a few smart steps:
- Use thick whipped cream: Avoid runny cream or over-whipped cream—it should be stiff and spreadable.
- Don’t overfill with cherries: Too much cherry filling can make layers unstable. Spread evenly and avoid excess syrup.
- Chill after each layer: Let the cake rest in the fridge for 10–15 minutes after adding each layer.
- Level your sponge: Flat layers are more stable—trim domes before stacking.
- Use a cake ring: While assembling, a cake ring helps hold the layers in place until fully chilled.
How Do You Store Black Forest Cake?
Black Forest Cake needs to be stored properly to keep it fresh and delicious. Here’s how to do it right:
- Refrigerate immediately: The cream and cherry filling are perishable, so don’t leave the cake out for long.
- Store in an airtight box: This prevents the cream from drying out and keeps the cake from absorbing fridge smells.
- Keep away from strong odors: Store it away from items like garlic or onions.
- Best consumed within 2–3 days: After that, the sponge may turn soggy and the cream may lose texture.
Can I Freeze Black Forest Cake?
Yes, you can freeze it, but it’s best done in parts for the best taste later. Here’s what works:
- Freeze sponge layers only: Wrap each cooled sponge layer in cling wrap and foil.
- Avoid freezing assembled cake: Whipped cream and cherries can change texture and weep after thawing.
- If freezing slices: Wrap each piece tightly in cling film, then foil, and freeze in an airtight container.
- Thaw in the fridge overnight: Never thaw at room temperature—it may make the cream watery.
You May Also Like To Check Out These Recipes:
- Bluey Birthday Cake
- Chocolate Cake Pops
- Chocolate Zucchini Cake
- Gluten Free Chocolate Cake
- No Bake Eclair Cake
- Dirt Cake With Gummy Worms
- Peanut Butter Chocolate Cake
- Single Tier Wedding Cake
- White Wedding Cake
- Flower Cake Design
- 16th Birthday Cake
- Flamingo Cake
- Yogurt Cake
- Sugar Cookie Cake
- Pecan Pie Dump Cake
- Butterfinger Poke Cake

