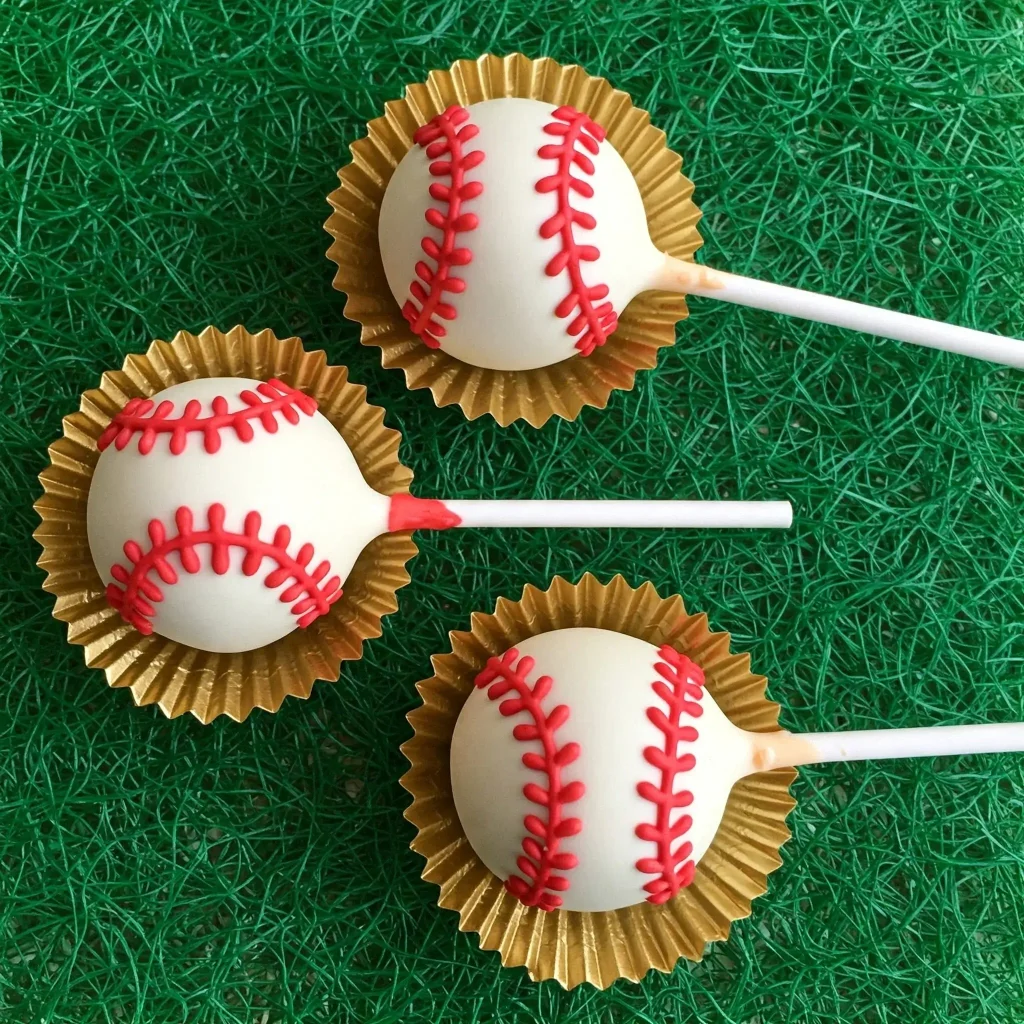
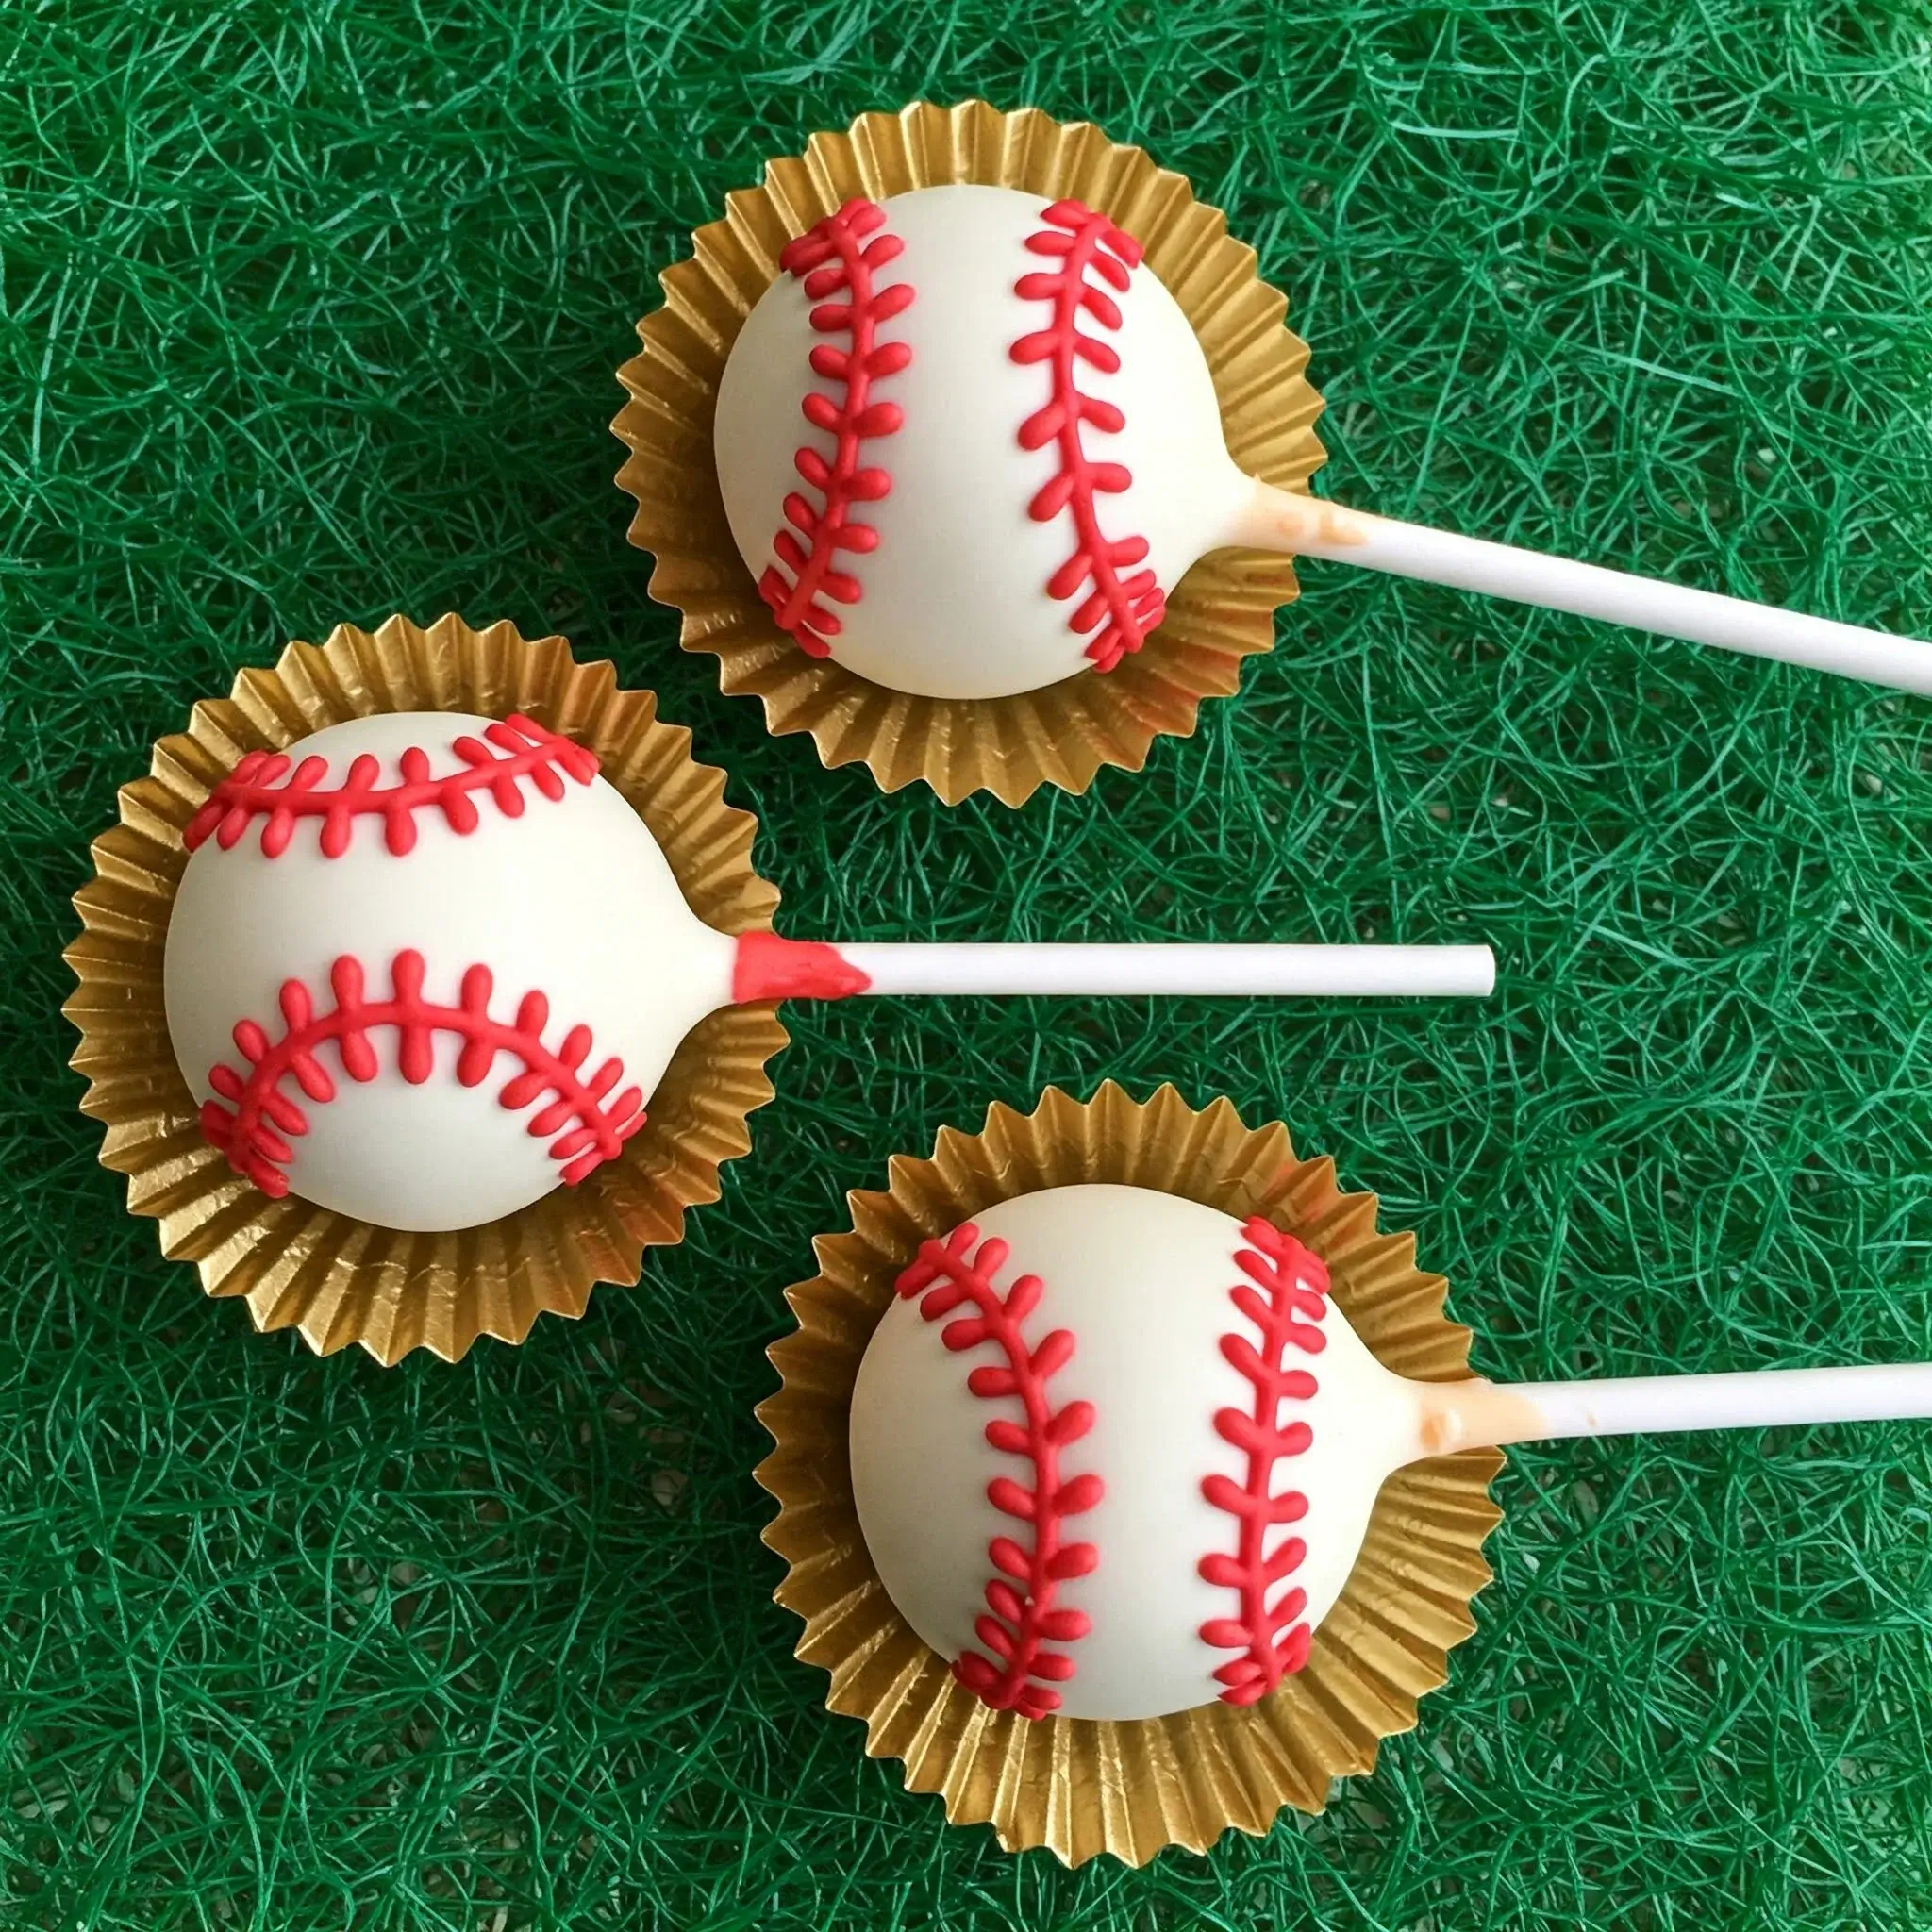
I still remember the first time I brought a batch of baseball cake pops to my nephew’s birthday party.
I didn’t expect them to get so much attention—but within minutes, kids were grabbing them like candy (well, they are candy, kind of).
A few adults even snuck a second one when they thought no one was looking. That’s when I knew these weren’t just cute little treats—they were total crowd-pleasers.
These cake pops are everything you want when you’re baking for a special day: fun to look at, easy to eat, and surprisingly simple to make.
You don’t need fancy equipment, pastry school training, or hours of free time. If you’ve got a few basic ingredients, a bit of patience, and a steady hand (or a helpful kid who doesn’t mind getting messy), you’re golden.
And let’s be honest—there’s just something fun about turning cake into a little baseball on a stick. It’s like dessert dressed up for game day.
Whether it’s a birthday, a sports celebration, or just a Tuesday afternoon, these cake pops bring a little excitement wherever they go.
Want to know exactly how I get mine smooth, round, and stitched like the real thing? I’ll show you every step—no fancy words, no fluff, just a straightforward guide that anyone can follow.
Baseball Cake Pops Recipe
Ingredients
For the Cake:
- 1 ½ cups all-purpose flour
- 1 cup granulated sugar
- ½ cup neutral oil (like sunflower or canola)
- 2 large eggs
- ¾ cup plant-based or dairy milk
- 1 ½ tsp vanilla extract
- 1 ½ tsp baking powder
- ¼ tsp salt
For the Frosting (Binder):
- ½ cup plant-based or dairy butter, softened
- 1 ¾ cups powdered sugar, sifted
- 2 tbsp milk (same as used above)
- 1 tsp vanilla extract
For Assembly:
- White candy melts (about 12 oz)
- Red candy melts or red royal icing (for the stitching)
- Cake pop sticks (6-inch length)
- Gold mini cupcake liners
- Styrofoam block or cake pop stand (for drying)
Instructions
- Preheat your oven to 350°F (175°C).
- Grease and flour an 8-inch round cake pan or line with parchment paper.
- In a mixing bowl, whisk flour, baking powder, and salt.
- In another bowl, combine sugar and oil. Add eggs one at a time, mixing well after each.
- Stir in vanilla extract and milk until well combined.
- Gradually add the dry ingredients to the wet mixture. Mix just until smooth.
- Pour into the prepared pan and bake for 30–35 minutes or until a toothpick inserted comes out clean.
- Let it cool completely, then crumble finely by hand or using a food processor.
- In a bowl, cream the softened butter until light and fluffy.
- Gradually add sifted powdered sugar.
- Mix in milk and vanilla extract until smooth and spreadable.
- Add just enough frosting (about ⅓ to ½ cup) to the crumbled cake to create a dough that holds its shape when squeezed.
- Scoop out 1.5-inch portions and roll into smooth, round balls.
- Place them on a baking tray lined with parchment paper.
- Chill in the freezer for 15 minutes (firm, not frozen).
- Melt white candy melts in a microwave-safe bowl in 30-second intervals, stirring between each until fully smooth.
- Dip the tip of each cake pop stick about ½ inch into the melted coating, then insert into a cake ball (about halfway in). This helps the stick adhere.
- Chill for another 10 minutes to secure the stick.
- Dip the entire cake pop into the melted white coating, ensuring a smooth, full coverage. Gently tap off excess.
- Stick upright into Styrofoam to set completely.
- Melt red candy melts or prepare a small batch of thick red royal icing.
- Transfer to a piping bag with a fine round tip (Wilton #1 or #2 size works best).
- Pipe two symmetrical curved lines along opposite sides of each pop to mimic baseball seam placement.
- Add alternating small “V” stitches across each curve, keeping them evenly spaced.
- Allow to set at room temperature for 1 hour.
- Place each cake pop into a gold mini cupcake liner for a polished presentation.
- Serve on a green-textured tray to emulate a baseball field aesthetic (optional but visually appealing).

What Kind Of Cake Is Best For Cake Pops?
The cake should be soft and moist, not dry or crumbly. This helps it hold together when you mix it with frosting.
- Go for moist and dense cakes: They shape better and don’t fall apart easily.
- Avoid airy sponge cakes: These don’t bind well with frosting.
- Boxed or homemade both work: Just make sure the final texture is soft and rich.
- Chocolate, vanilla, or red velvet: These flavors work best for shaping and taste.
How Do You Make Cake Pops Stay On The Stick?
Loose or falling cake pops are frustrating—but with the right steps, you can keep them firm.
- Dip the stick in melted chocolate first: This acts like glue inside the cake ball.
- Insert the stick only halfway in: Not too deep, or the ball might slide down.
- Chill cake balls after inserting sticks: At least 15–30 minutes in the fridge.
- Use the right stick thickness: Too thin won’t support the weight.
What’s The Best Way To Draw Baseball Stitching On Cake Pops?
Neat stitching is what makes your cake pops look like actual baseballs.
- Use red candy melts or red royal icing: They hold shape well after piping.
- Use a fine piping tip or toothpick: This gives you more control.
- Draw two curved lines: On opposite sides of the cake pop.
- Add tiny “V” or cross stitches: Along those lines for the baseball effect.
- Practice on parchment first: Get used to the movement before working on the real thing.
Can I Make Baseball Cake Pops Without Eggs Or Dairy?
Yes, you can use simple egg- and dairy-free recipes that still taste great.
Options:
- Vanilla sponge (egg-free, dairy-free)
- Chocolate cake made with vinegar and oil
- Banana cake with plant-based milk
- Frosting made with plant butter or shortening
- Dairy-free chocolate coating or white compound coating
Do You Need a Mold To Shape Cake Pops?
Nope, you can easily make them by hand. Molds are optional.
- Roll by hand: Use your palms to shape the cake and frosting mix into smooth balls.
- Use a cookie scoop: Keeps sizes even and saves time.
- Chill the mix before shaping: It’s easier to handle and less sticky.
- Optional: Use silicone molds: If you want perfect spheres or special designs.
How Do You Make Smooth Cake Pops Without Cracks?
Cracks usually happen when temperature is off. Keeping everything balanced helps.
- Don’t freeze cake balls too long: Just chill them until firm, not rock hard.
- Let melted coating cool slightly: Hot coating on cold cake causes cracks.
- Dip gently, not forcefully: No swirling or rough movements.
- Tap off excess coating slowly: Let gravity do the work.
- Let them set at room temperature: Avoid putting them straight into the fridge after dipping.

What Kind Of Chocolate Or Candy Melts Should I Use?
The coating matters a lot—it should be smooth, not too thick, and taste good too.
- Use candy melts made for dipping: They melt easily and set quickly.
- Go for compound chocolate: It doesn’t need tempering and is beginner-friendly.
- Add a little vegetable oil or shortening: If the melts are too thick.
- Avoid adding water: It makes the coating seize and clump.
How Far In Advance Can I Make Cake Pops For a Party?
Making them ahead saves stress, but timing is key to keeping them fresh.
- Cake balls can be made 2–3 days ahead: Store them in the fridge in a covered container.
- Dip and decorate 1 day before: So the coating stays crisp and fresh.
- Keep them at room temperature after coating: Unless your house is very warm.
- Avoid humid storage areas: Moisture ruins the finish.
How Do You Stop Cake Pops From Falling Apart?
Crumbly pops are usually caused by bad cake-to-frosting ratio or rough handling.
- Use just enough frosting: Too much makes them too soft; too little makes them dry.
- Mix until the dough holds its shape: You should be able to form a smooth ball without cracks.
- Chill before adding sticks: Firm dough is easier to handle.
- Insert sticks slowly and firmly: And chill again after this step.
How Do I Color Candy Melts Red For Stitching?
Red stitching is the finishing touch—but getting the right red takes care.
- Use oil-based food coloring: Water-based coloring ruins candy melts.
- Start with white melts: Then add red color a little at a time.
- Mix thoroughly: So the color spreads evenly.
- Keep the temperature low: Overheating changes texture and color.
Can You Freeze Baseball Cake Pops?
Yes, you can freeze them—but how you freeze them makes a big difference in the end result.
- Freeze undecorated cake balls first: It helps with shape and texture.
- Wrap each pop in plastic wrap: This prevents freezer burn.
- Use a sealed container: Keeps air and moisture out.
- Thaw in the fridge, not the counter: This keeps the coating from sweating or cracking.
You May Also Like To Check Out These Recipes:
- Fruit Cake
- Ocean Cake
- Pool Party Cake
- Pineapple Juice Cake
- Dulce De Leche Cake
- Lemon Olive Oil Cake
- Princess Cake
- 3 Tier Wedding Cake
- Tropical Birthday Cake
- American Flag Cake
- Chocolate Wedding Cake
- Earl Grey Cake
- Beach Wedding Cake
- Two Tier Wedding Cake
- Molten Lava Cake
- 4th Of July Cake Pops
- 4th Of July Cookie Cake

