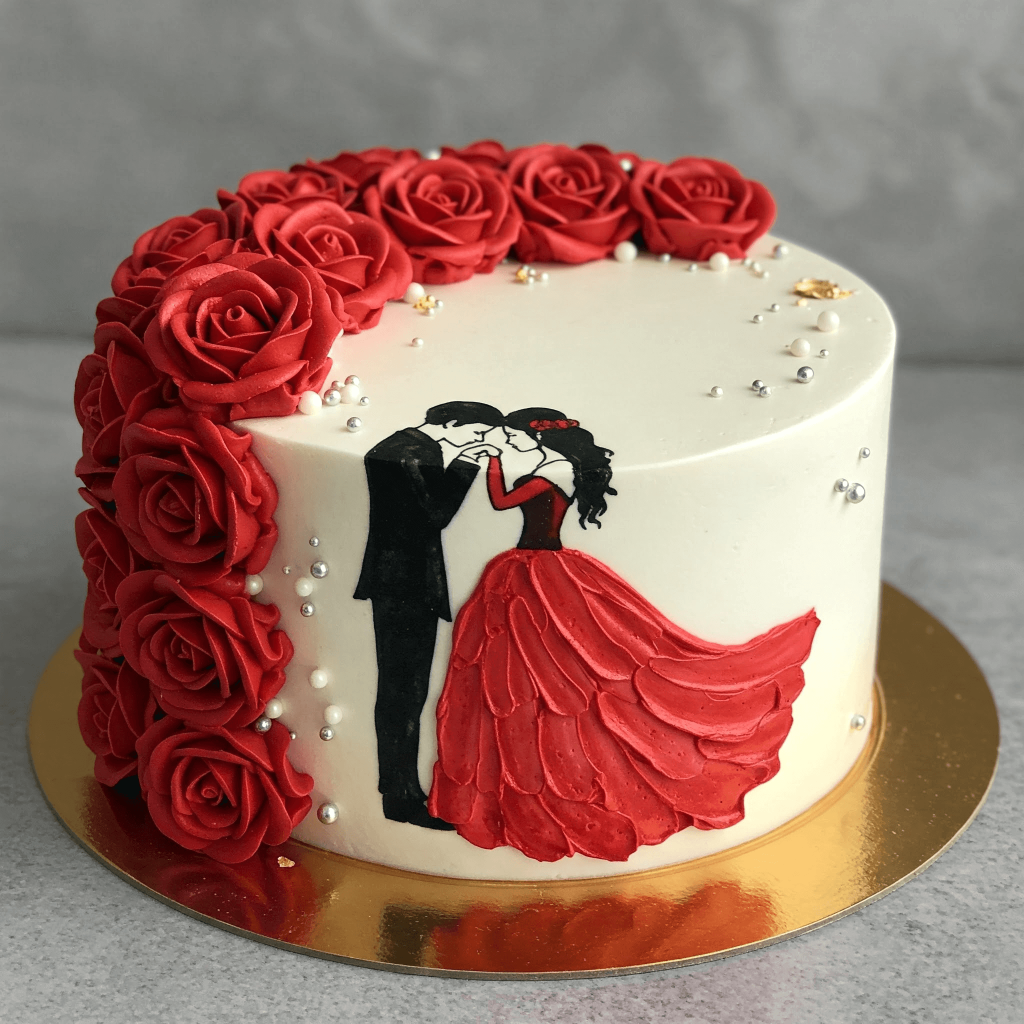
Anniversaries sneak up on me sometimes. One minute it’s just another Tuesday, and the next I’m standing in the kitchen thinking, “How did we get here already?”
It’s wild how fast time moves when you’re sharing it with someone who matters. And honestly, every year that passes feels like something worth celebrating—even if it’s just with a quiet moment, a smile, and a slice of cake.
This cake isn’t about being fancy or perfect. It’s about making something with your own hands that says, “I remember. I’m grateful. I love you.”
That’s what I had in mind when putting this recipe together. It’s simple, it’s sweet, and there’s plenty of room to make it your own.
Anniversary Cake Recipe
Ingredients
For the Vanilla Sponge (8-inch, 2-layer):
- 2 ½ cups all-purpose flour
- 2 ½ tsp baking powder
- ½ tsp baking soda
- ½ tsp salt
- 1 cup unsalted butter, room temperature
- 1 ¾ cups granulated sugar
- 4 large eggs, room temperature
- 2 tsp vanilla extract
- 1 cup whole milk, room temperature
- 2 tbsp white vinegar (to activate rising)
For the Buttercream Frosting (White Base):
- 2 cups unsalted butter, room temperature
- 6 cups powdered sugar, sifted
- 2 tsp vanilla extract
- 4–5 tbsp heavy cream or milk
- White gel food coloring (optional, for extra brightness)
For the Red Rose Decorations:
- 1 cup unsalted butter
- 2–3 cups powdered sugar (adjust for consistency)
- 1 tsp vanilla extract
- Red gel food coloring
- Piping bags
- Open star piping tip (Wilton 1M recommended)
For the Silhouette Art (Bride & Groom):
- Black edible food paint
- Red edible food paint
- Fine food-safe paintbrush
- Toothpick (for detail work)
- Parchment paper for sketch reference (optional)
For the Decorative Pearls and Gold Touch:
- Edible silver pearls
- Edible gold leaf or gold luster dust
- Small tweezers (for placing pearls precisely)
Instructions
Prepare the Vanilla Sponge Cake:
- Preheat oven to 350°F (175°C). Grease and line two 8-inch round cake pans with parchment paper.
- In a large bowl, whisk together flour, baking powder, baking soda, and salt.
- In another bowl, cream butter and sugar together until pale and fluffy (around 3–5 minutes).
- Add eggs one at a time, mixing well after each. Stir in vanilla extract.
- Add vinegar to milk and let sit for 5 minutes (homemade buttermilk).
- Alternate adding dry ingredients and buttermilk to the batter, beginning and ending with flour. Mix until just combined.
- Divide batter evenly between pans. Bake for 30–35 minutes, or until a toothpick comes out clean.
- Let cakes cool in pans for 10 minutes, then turn out onto a wire rack to cool completely.
Make the White Buttercream Frosting:
- Beat butter for 2–3 minutes until creamy and smooth.
- Gradually add powdered sugar, one cup at a time.
- Mix in vanilla and cream, beating until fluffy (5–6 minutes).
- Add white gel color if desired, to make the base ultra-white.
Frost the Cake:
- Trim cake layers for a flat surface.
- Place one layer on a cake board. Add a generous amount of buttercream and smooth evenly.
- Place second layer on top, then apply a crumb coat (thin layer of frosting). Chill for 15 minutes.
- Apply final smooth coat of buttercream using an offset spatula and bench scraper.
- Chill again while preparing decorations.
Prepare Red Roses (Buttercream):
- Beat butter until smooth. Add powdered sugar and vanilla.
- Mix until stiff yet pipeable. Add red gel food coloring until deep red shade is achieved.
- Fill a piping bag fitted with an open star tip.
- On a parchment sheet, pipe individual roses in varying sizes.
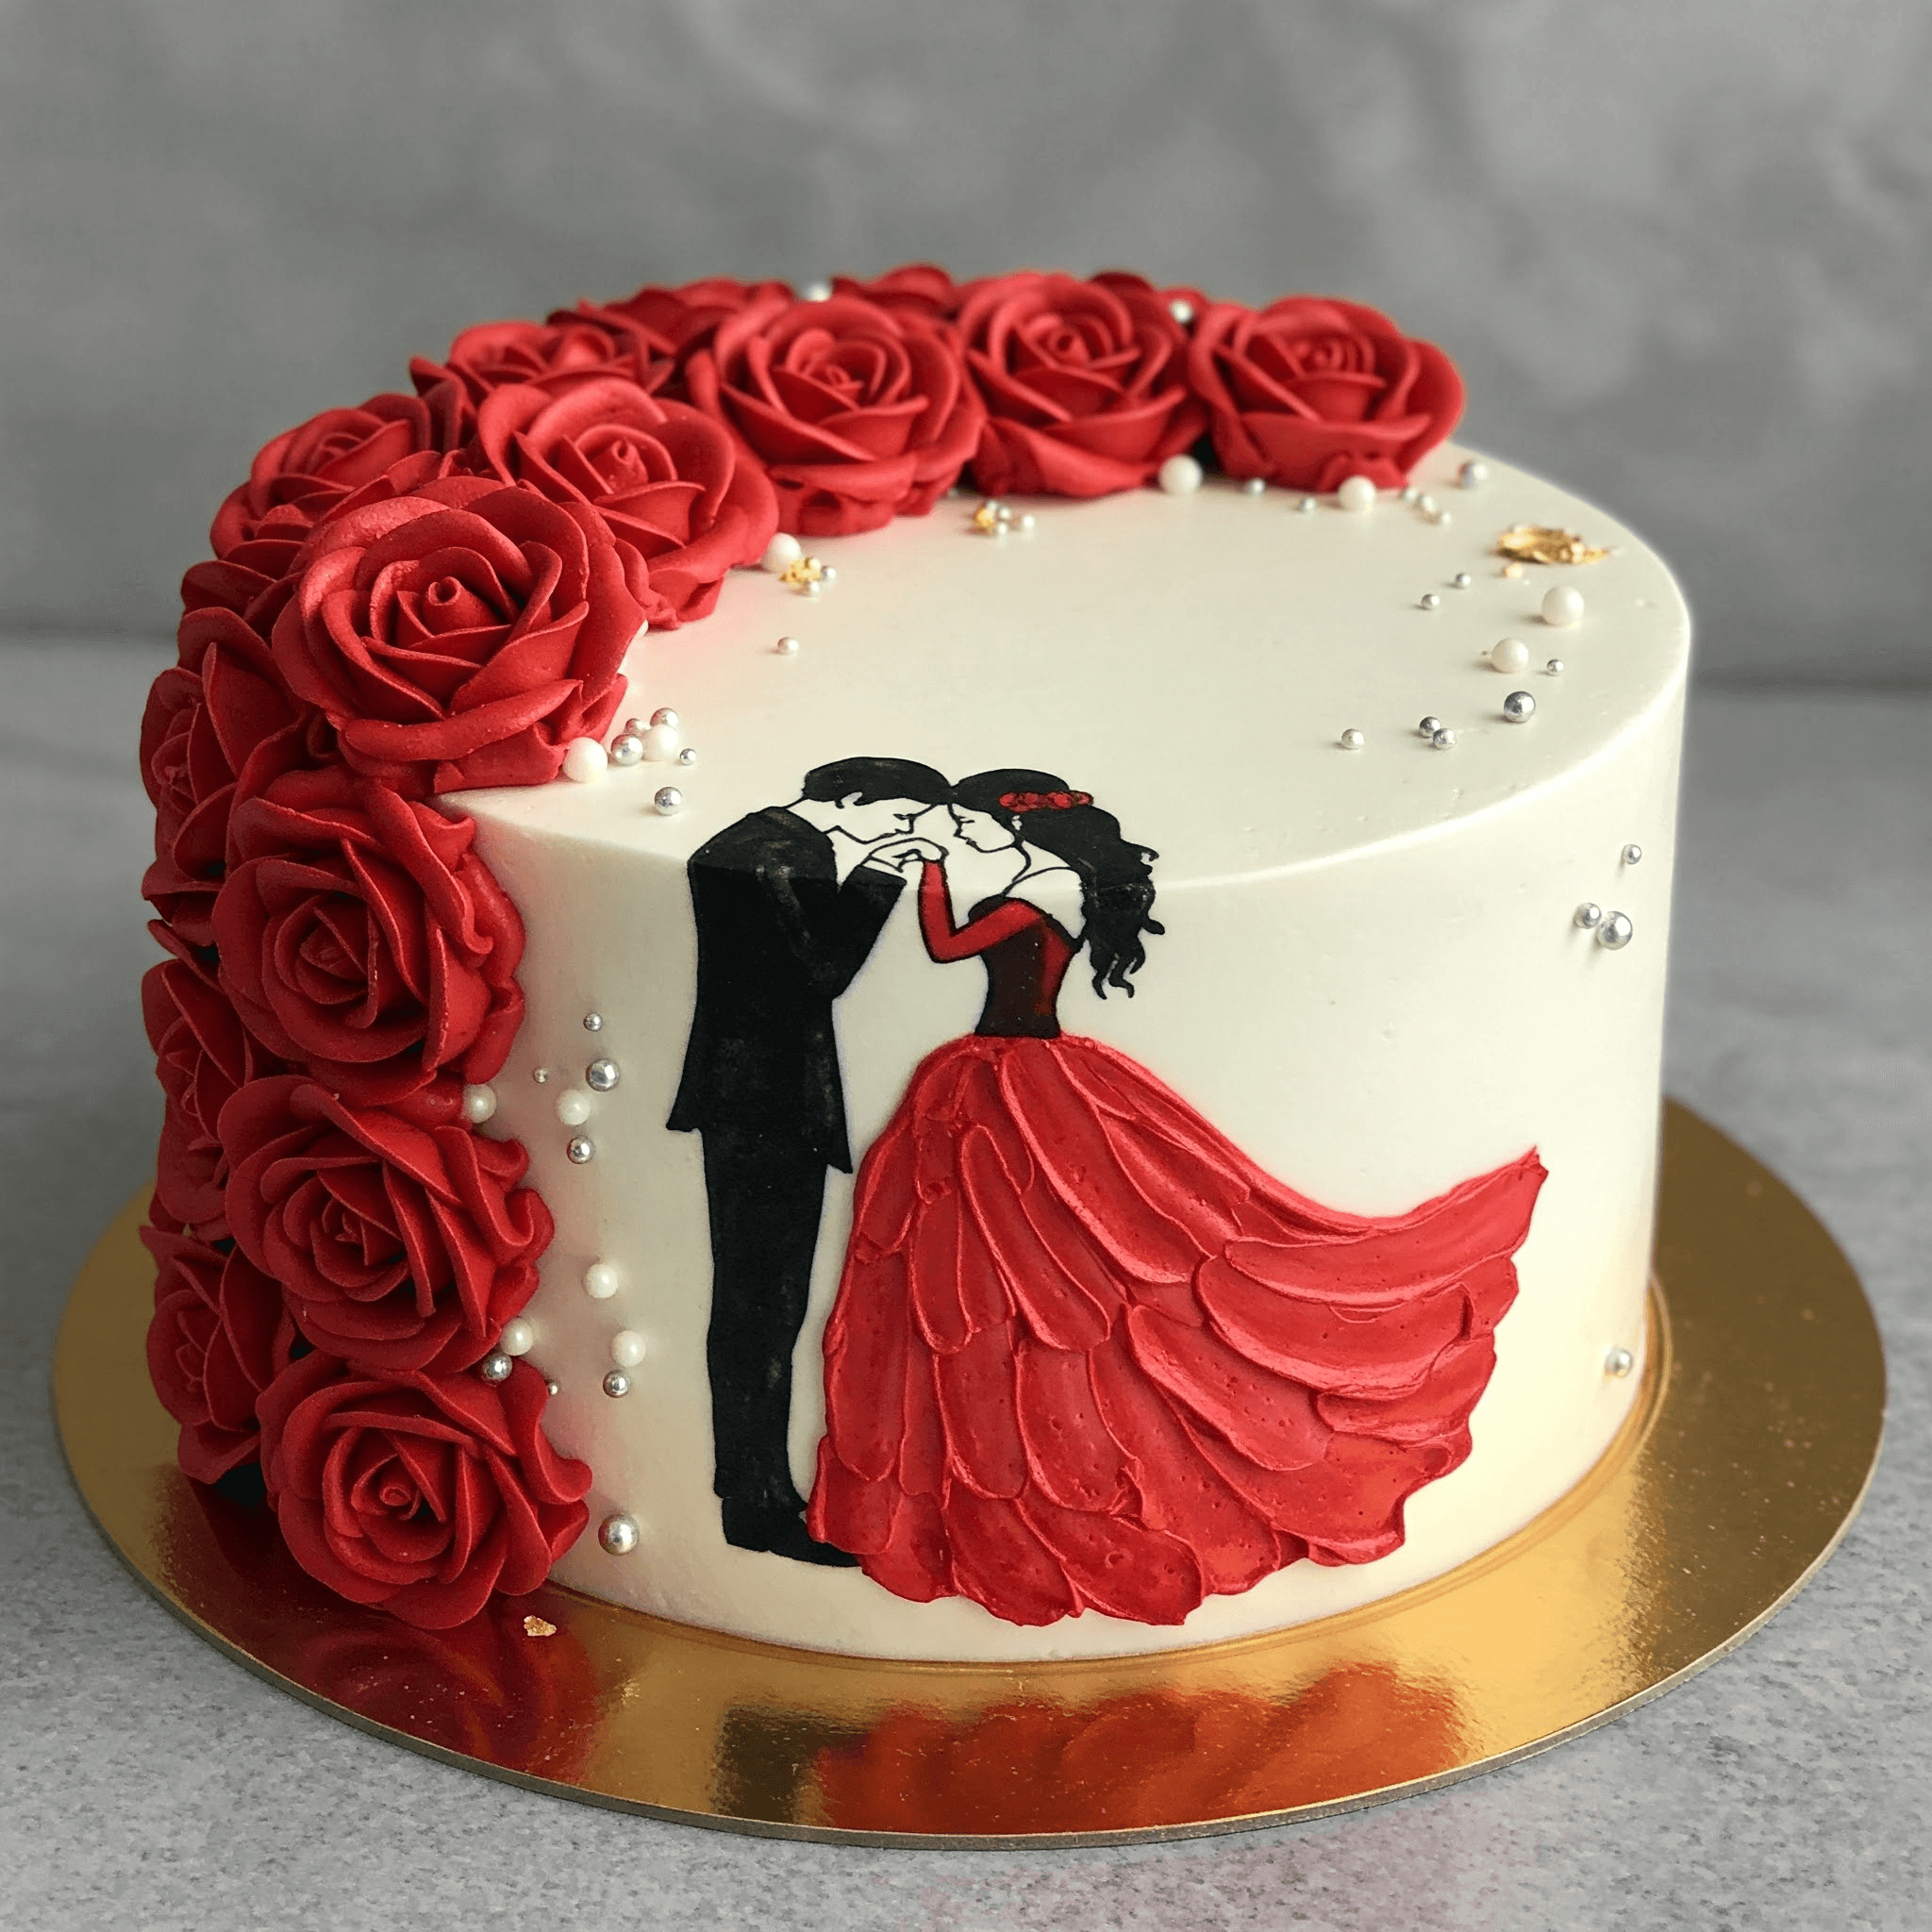
- Chill or freeze until firm. Carefully transfer and place on half of the cake’s top edge and down the side.
Paint the Silhouette:
- Using a reference sketch if needed, lightly etch outline on cake with a toothpick.
- Using a fine brush, paint the couple in black edible paint.
- Use red paint to color in the woman’s dress and floral hair accent.
- Add detail to the gown with textured strokes to create fabric folds. Use a small spatula or brush for raised effect.
Add Final Touches:
- Carefully place silver edible pearls in a scattered pattern across the top and side.
- Use tweezers to place gold leaf flakes, or brush gold luster dust in a few areas for a glamorous shimmer.
- Chill the cake lightly, then allow to come to room temperature before serving.

What Is The Best Cake Flavor For An Anniversary?
The best flavor depends on what you both enjoy, but here are a few timeless choices that most couples love:
- Vanilla bean: Soft, classic, and perfect for adding any type of frosting or fruit.
- Chocolate fudge: Rich and deep, great for those who love chocolate.
- Strawberry cream: Light, fruity, and feels a little romantic.
- Red velvet: Soft texture with a mild cocoa taste and cream cheese frosting.
- Caramel butterscotch: Sweet and slightly nutty, ideal for cooler evenings.
- Lemon sponge: A bit tangy and fresh, good for daytime celebrations.
What Size Cake Is Enough For 2 People For An Anniversary?
For just two people, you don’t need a large cake. These are the perfect sizes:
- 4-inch cake: Just right for two people to share one or two slices each.
- Mini heart-shaped cake: Adds a romantic touch and keeps things simple.
- Two-layer cupcake-sized cake: Personal, cute, and easy to decorate.
Can I Make An Eggless Anniversary Cake?
Yes, you can definitely make an egg-free cake that still tastes soft and delicious. Here are some egg substitutes:
- Yogurt: Adds moisture and softness to the cake.
- Buttermilk: Helps the cake rise and gives a light texture.
- Applesauce: Adds natural sweetness and binds the batter.
- Mashed bananas: Good for a dense and flavorful cake.
- Vinegar and baking soda: Together, they create bubbles that help the cake rise.

How Far In Advance Can I Bake An Anniversary Cake?
You can bake the cake in advance, but storage matters. Here’s a quick guide:
- 1 to 2 days before: Bake and decorate. Store in the fridge in a covered box.
- 3 to 5 days before: Bake the cake only, wrap in plastic wrap, and refrigerate. Frost it the day you serve.
- Up to 1 month before: Bake and freeze the cake without frosting. Wrap it tightly in plastic and foil. Thaw overnight in the fridge before decorating.
Can I Customize An Anniversary Cake With a Photo?
Yes, you can easily add a photo to your cake using edible printing. Here’s how it works:
- Edible image: You give a bakery your photo, and they print it on sugar paper with edible ink.
- Top placement: The image is gently placed on the cake’s surface—usually on fondant or firm icing.
- Add details: You can include names, dates, or little messages next to the image.
How To Make a Heart-Shaped Anniversary Cake?
Making a heart-shaped cake is easier than it looks. Here’s what you need:
- Heart-shaped pan: This is the simplest way—just bake as usual.
- DIY heart shape: If you don’t have a heart pan, bake one square cake and one round cake. Cut the round cake in half and place the halves on two corners of the square to form a heart.
- Decorate with care: Use a smooth layer of icing and add simple touches like sprinkles, piped roses, or a message on top.

