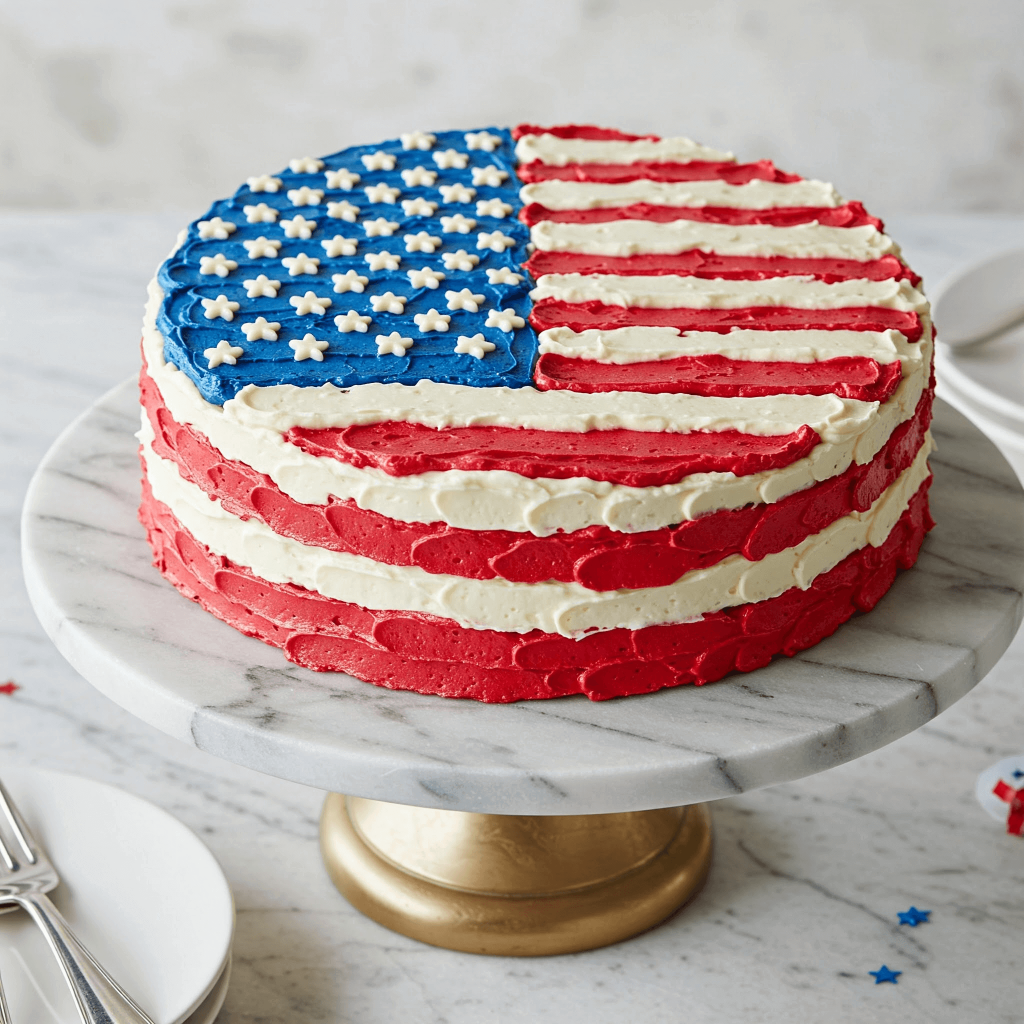
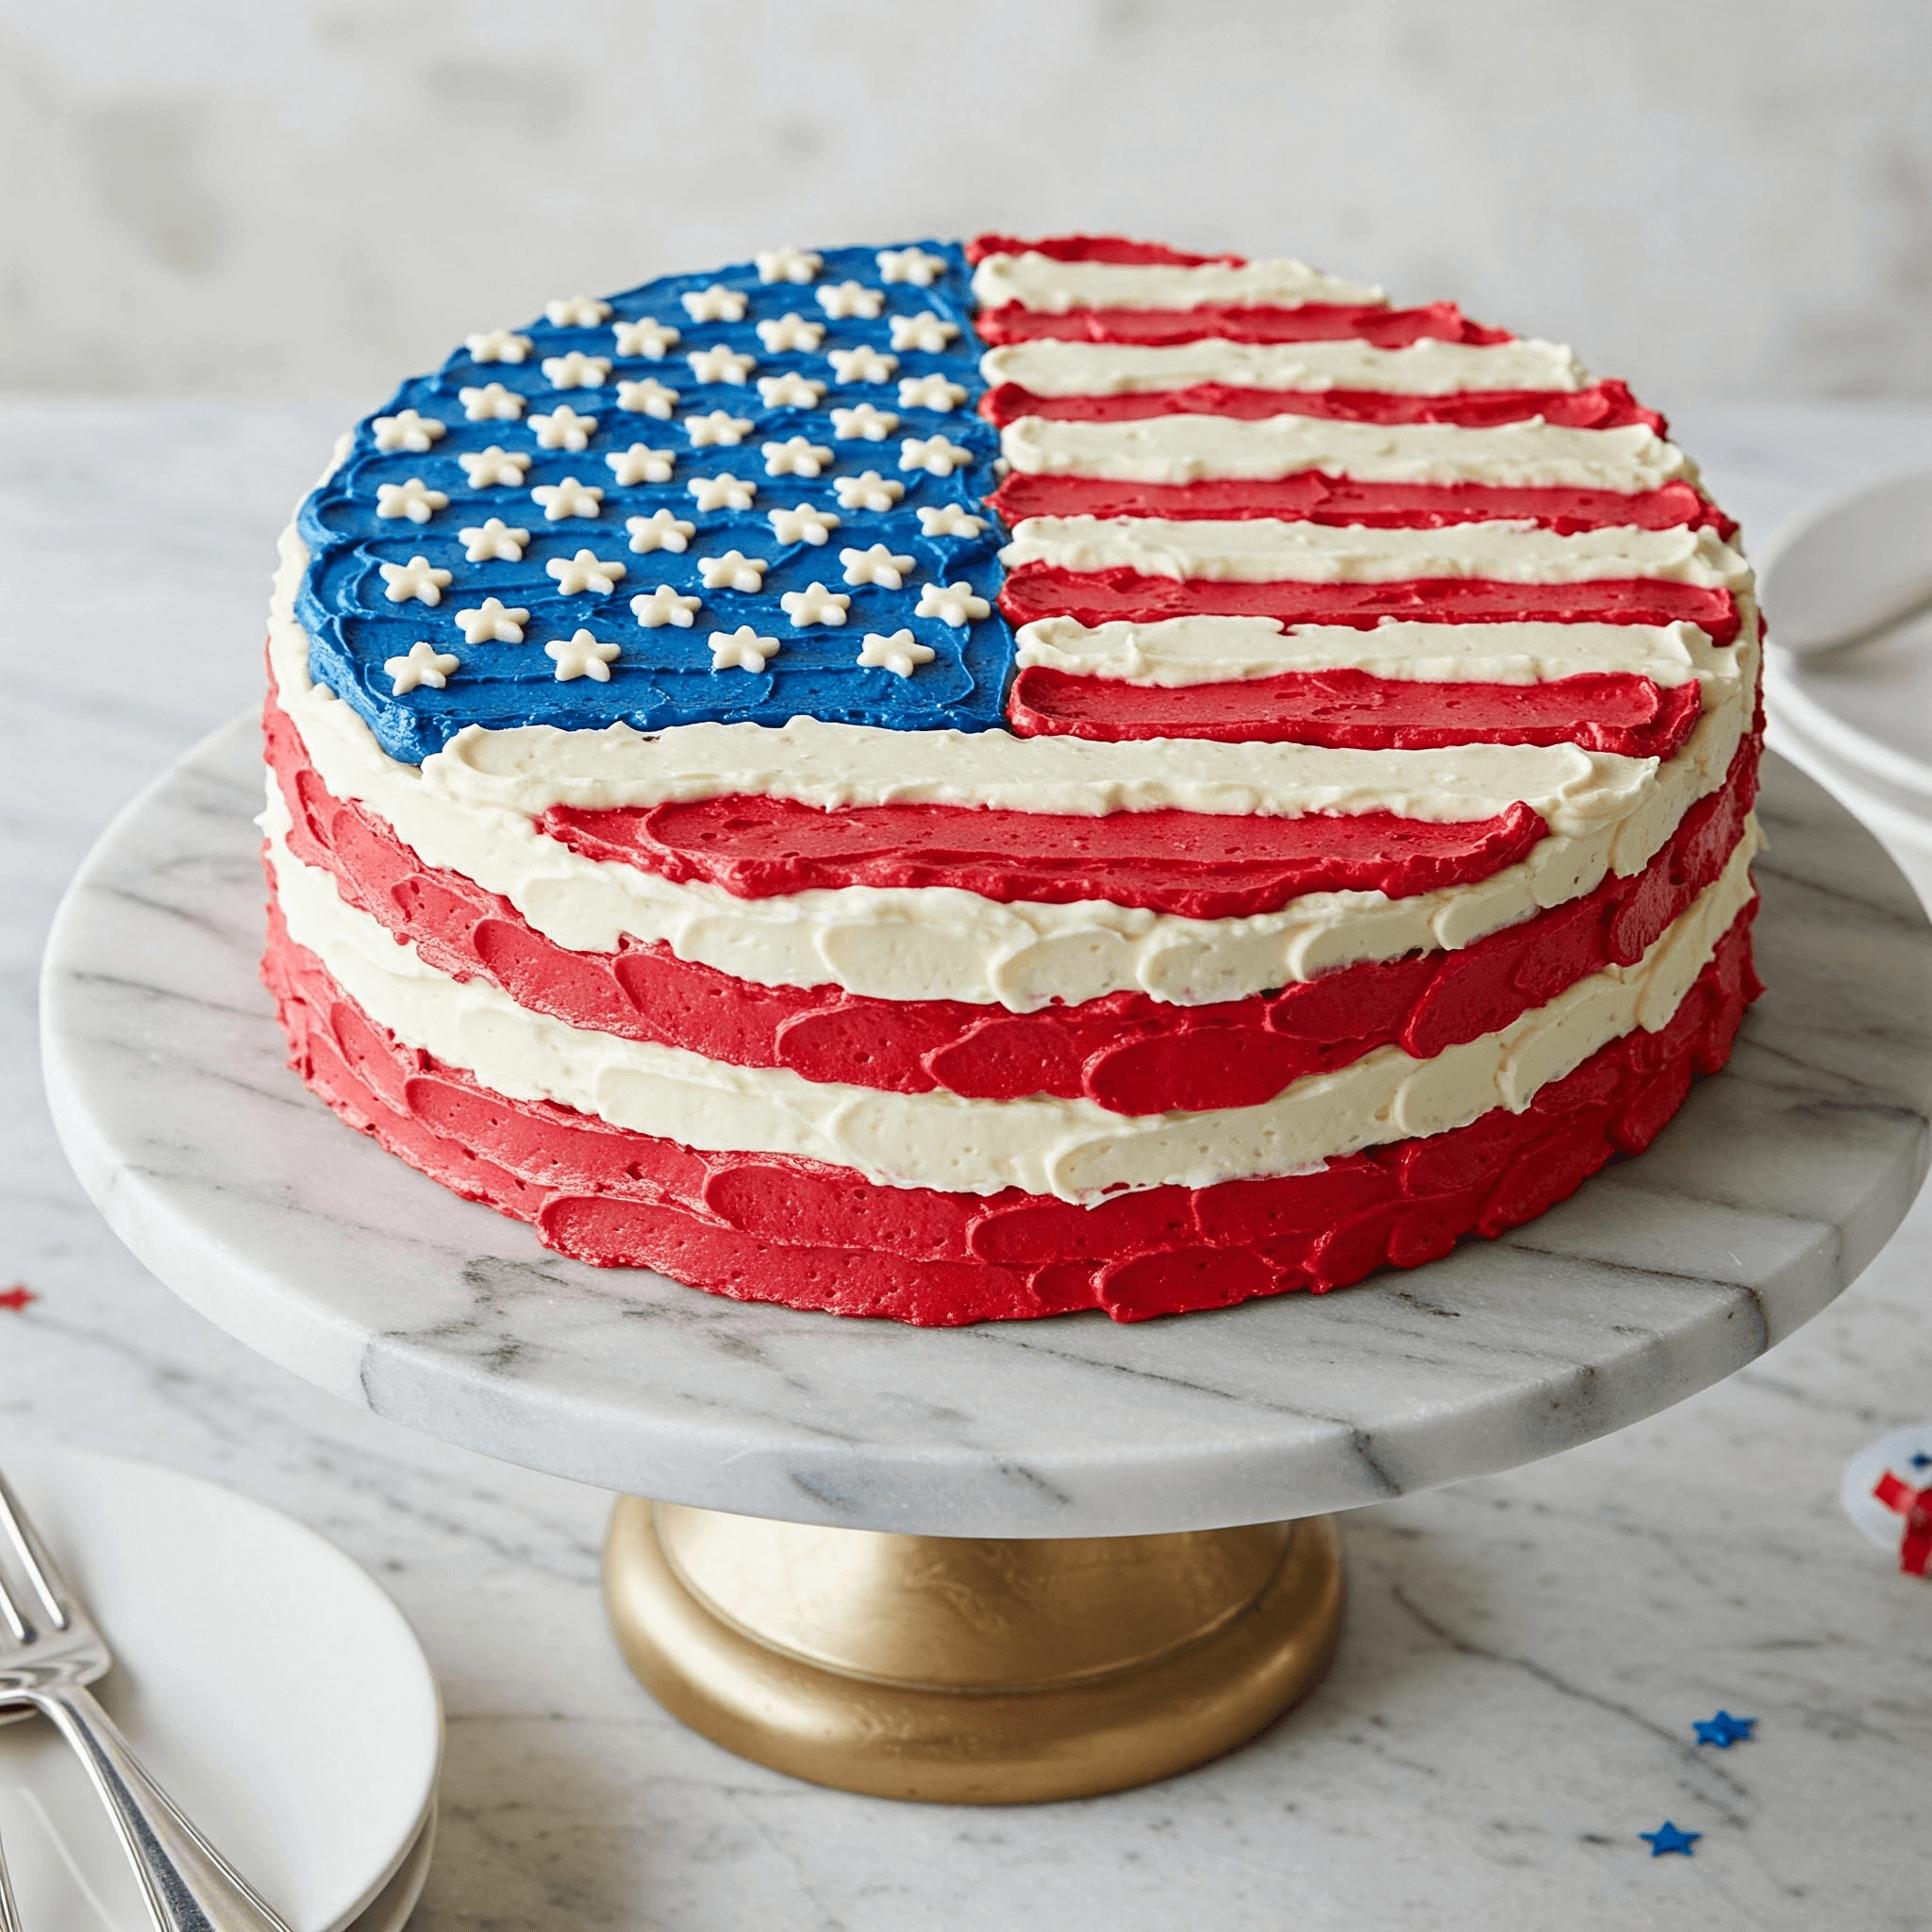
I still remember the first time I made this American Flag Cake. I stood in my kitchen with a messy apron, red and blue food coloring on my hands, and a nervous excitement in my chest.
I wanted it to look like the flag, sure—but more than that, I wanted it to feel like something special. Not just another frosted dessert, but a cake that made people smile the second they saw it.
Turns out? It worked.
This cake is bold, fun, and honestly—kind of magical in its own way. You don’t need fancy tools or bakery-level skills.
If you’ve got a few round cake pans, a little patience, and a willingness to get a bit creative with frosting, you’re set.
The design looks way more complicated than it really is. Underneath all the red, white, and blue? Just soft, fluffy vanilla cake and smooth, buttery icing. Simple, classic flavors that everyone loves.
And the best part? When you set it down on the table, people don’t just reach for a slice—they talk about it. It becomes part of the moment.
So if you’ve got a holiday coming up, or maybe you just want to surprise someone with something unexpected, this is the cake to try.
You don’t need to be a pro. You just need to be someone who cares enough to make something fun.
American Flag Cake Recipe
Ingredients
For the Vanilla Cake (3 layers):
- 3 cups (360g) all-purpose flour (sifted)
- 1 tbsp baking powder
- ½ tsp baking soda
- 1 tsp fine sea salt
- 1 cup (227g) unsalted butter, softened
- 2 ½ cups (500g) granulated sugar
- 5 large eggs, room temperature
- 1 tbsp pure vanilla extract
- 1 ¼ cups (300ml) whole milk, room temperature
- ¼ cup (60ml) vegetable oil (for added moisture)
For the Vanilla Buttercream:
- 2 cups (454g) unsalted butter, softened
- 8 cups (960g) powdered sugar, sifted
- 6 tbsp heavy cream or milk
- 1 tbsp pure vanilla extract
- Pinch of salt
For the Decoration:
- Red gel food coloring
- Royal blue gel food coloring
- Small star piping tip (e.g., Wilton #16 or #18)
- Straight piping tip or small offset spatula for stripes
Instructions
- Preheat your oven to 350°F (175°C).
- Grease and line three 9-inch round cake pans with parchment paper.
- In a large bowl, whisk together flour, baking powder, baking soda, and salt. Set aside.
- In a stand mixer fitted with the paddle attachment (or using a handheld mixer), cream the butter and sugar on medium-high speed for 3–5 minutes until pale and fluffy.
- Add the eggs one at a time, mixing well after each addition.
- Beat in the vanilla extract.
- On low speed, alternate adding the dry ingredients with the milk and oil, beginning and ending with dry ingredients. Mix until just combined—do not overmix.
- Divide the batter evenly between the three pans (use a scale for precision). Smooth the tops.
- Bake for 25–30 minutes or until a toothpick inserted into the center comes out clean.
- Let cakes cool in the pans for 10 minutes, then transfer to wire racks to cool completely.
- In a stand mixer with the paddle attachment, beat softened butter on medium-high until smooth and pale, about 4 minutes.
- Add powdered sugar in 2–3 additions, beating on low to incorporate before increasing to medium speed.
- Add vanilla extract, cream, and salt. Beat until fluffy and smooth, around 4–5 minutes.
- Divide the buttercream into three portions:
- One portion to remain white (about 2 ½ cups)
- One portion to be tinted red
- One portion to be tinted royal blue (smaller portion, about 1 cup)
- Place the first cake layer on a turntable or serving plate. Add a thin layer of white buttercream.
- Repeat with the second and third layers.
- Use an offset spatula to apply a crumb coat (a thin layer of white frosting) all over the cake. Chill for 30 minutes.
- Using a small offset spatula or piping bag, fill the top-left quadrant with blue buttercream. Smooth it to a rectangular patch.
- Pipe small white stars using the star piping tip evenly over the blue area.
- Use a piping bag fitted with a flat or round tip to pipe alternating red and white stripes across the top, starting with red. You can use the flat side of a small spatula to smooth and blend slightly for a painterly effect.
- Pipe thick alternating horizontal red and white stripes around the side of the cake. Use a small offset spatula to create a slightly textured, rustic finish that mimics the top.
- Begin and end with red stripes for visual continuity.
- Chill the cake for 15–30 minutes before serving to set the design.
- Slice with a sharp serrated knife, wiping the blade clean between cuts.
- Store leftovers in an airtight container in the fridge for up to 4 days. Bring to room temperature before serving for best texture.

How Do You Make An American Flag Cake From Scratch?
Making it from scratch is easier than it seems if you follow a clear plan. Here are some helpful tips:
- Start with a solid vanilla base: A soft, fluffy vanilla cake works best for shaping and layering.
- Use gel food coloring: It gives strong color without changing the texture.
- Level your cakes: Use a serrated knife to trim the tops for even stacking.
- Chill the cake before decorating: It helps the frosting go on smoother and prevents crumbs.
- Use the right amount of batter per pan: Weigh or measure it so each layer bakes evenly.
- Decorate once completely cooled: Frosting a warm cake can cause melting and mess.
What Kind Of Frosting Is Best For An American Flag Cake?
The best choice is a frosting that holds its shape and color:
- Buttercream frosting: It’s sturdy, easy to color, and pipes clean lines for stripes and stars.
- Cream cheese frosting: Also works but softens faster, so it’s better in cooler weather.
- Avoid whipped cream for base frosting: It doesn’t hold shape well on its own for detailed designs.
How Do You Decorate a Cake Like The American Flag?
Decorating the flag is all about smart placement and color balance. Here’s how to do it:
- Start with a smooth frosted base: Cover the whole cake in white buttercream.
- Add a blue square in the top left corner: Use colored buttercream or blueberries.
- Pipe red stripes: Use a piping bag with a flat or round tip for clean lines.
- Leave space for white stripes: Alternate them with red.
- Use a star piping tip: For small stars over the blue part, use a small star nozzle.
What Size Cake Pans Should I Use For a Flag Cake?
Cake size affects how your design shows up. These are the best options:
- Two or three 9-inch round cake pans: Ideal for layered round cakes.
- One 9×13-inch sheet pan: Works great if you prefer a flat, rectangular flag shape.
- Smaller pans (6- or 8-inch): Can be used, but you’ll need to scale down the batter and design.
Can I Use Whipped Cream Instead Of Buttercream For The Flag Design?
Yes, but only in certain ways. Here’s what to know:
- Great for topping and fresh fruit versions: It gives a light, fresh look.
- Not strong enough for sharp details: It softens quickly and can lose shape.
- Works better for simple flag cakes: Like when using fruit instead of piped stripes and stars.
- Stabilized whipped cream is better: You can make it stronger with a little gelatin or cream cheese.
Is It Okay To Use Fruit (Like Strawberries And Blueberries) Instead Of Colored Frosting?
Yes — in fact, it’s one of the most popular ways to decorate this cake:
- Strawberries: Slice them to create red stripes across the cake.
- Blueberries: Use them whole for the blue field.
- Frosting for stars: Pipe tiny white stars over the blueberries.

How Far In Advance Can I Make An American Flag Cake?
You can prepare parts of the cake early if needed. Here’s what works best:
- Bake the cake layers 1–2 days ahead: Wrap them tightly and refrigerate.
- Make frosting up to 3 days early: Keep it in an airtight container in the fridge, then bring to room temperature before using.
- Decorate 1 day ahead: For best results, finish the design the night before and store in the fridge.
How Do I Keep The Colors From Bleeding Into Each Other?
This is a common issue with colored frosting, but you can avoid it:
- Use gel food colors: They bleed less than liquid ones.
- Let each layer dry slightly before adding the next: This helps keep lines clean.
- Don’t overwork the frosting: Overmixing can make colors break down.
- Chill the cake between steps: This sets each color before you move on.
Can I Make An American Flag Cake Gluten-Free Or Dairy-Free?
Yes, it’s totally possible with the right swaps:
- Use a gluten-free flour blend: Choose one that replaces all-purpose flour 1:1.
- Use plant-based butter or oil: Many frostings work with non-dairy butter.
- Use almond, soy, or oat milk: These work well in both cake and frosting recipes.
Do I Need a Special Piping Tip For The Stars And Stripes?
Not – but it does help to use the right tips:
- Star tip (like Wilton #16 or #18): For small stars over the blue field.
- Flat tip or round tip: For neat, even red and white stripes.
- Small offset spatula: Works fine if you don’t want to use piping bags at all.
How Do I Store An American Flag Cake Without Ruining The Design?
Storage is easy if you’re careful. Here’s what to do:
- Refrigerate the cake in a cake box: Keeps the shape safe and colors intact.
- Avoid covering with plastic wrap: It can stick to the frosting and smudge the design.
- Store leftovers in an airtight container: Keeps it fresh for up to 4 days.
- Bring to room temperature before serving again: The frosting will soften and taste better.
You May Also Like To Check Out These Recipes:
- Fruit Cake
- Earl Grey Cake
- Beach Wedding Cake
- Olive Oil Cake
- Raspberry Cake
- Italian Cream Cake
- Peach Coffee Cake
- Peach Sheet Cake
- Molten Lava Cake
- Blue Velvet Cake
- Raspberry Ripple Cake
- Birthday Cake For Women
- White Chocolate Raspberry Cake
- Berry First Birthday Cake

